MAINTENANCE
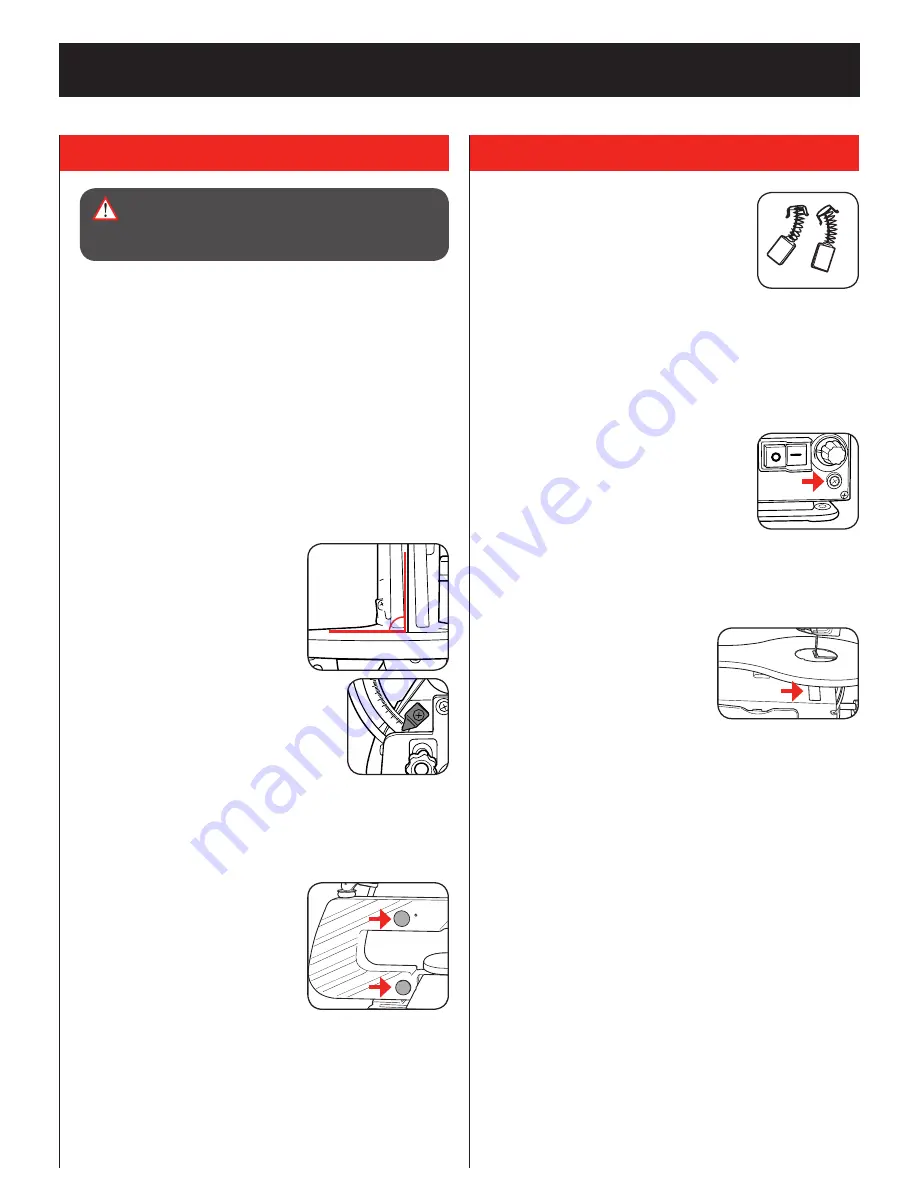
Carbon brushes
When the carbon brushes wear out the tool will
spark and/or stop. Discontinue use as soon as
this happens.
They should be replaced prior to recommencing
use of the tool. Carbon brushes are a wearing
component of the tool and are therefore not
covered under warranty. Continuing to use the tool when carbon
brushes need to be replaced may cause permanent damage to the
tool. Carbon brushes will wear out after many uses but when the
carbon brushes need to be replaced take the tool to an electrician or
a power tool repairer for a quick and low cost replacement. Always
replace both carbon brushes at the same time.
Inspecting or replacing the fuse
When required, inspect or replace blown fuse.
1. Switch off and disconnect variable speed
scroll saw from mains power supply.
2. Using a Phillips head screwdriver, remove the
fuse holder together with the fuse.
3. Remove fuse from fuse holder, inspect and
replace with new 5 amp, 250V fuse if required. A fuse is blown when
the filament (thin silver wire) is broken or out of place (not centred).
Always replace a fuse with the same amperage rating as the one
that came out.
4. Refit fuse holder together with fuse.
Clearing dust (access hole)
Over time sawdust can accumulate
behind the dust port if dust extraction
is not used, this should be checked
periodically.
•
Using a brush or vacuum, clean away
the sawdust and any broken blades
that may have accumulated.
Note:
This panel hole gives easy access to the lower blade holder, and
will aid in the fitting of blades.
Note:
Ozito Industries will not be responsible for any damage or
injuries caused by repair of the scroll saw by an unauthorised person
or by mishandling.
• Keep the ventilation vents of the tool clean at all times, if possible,
prevent foreign matter from entering the vents.
• After each use, blow air through the tool housing to ensure it is free
from all dust particles which may build up. Build up of dust particles
may cause the tool to overheat and fail.
• If the enclosure of the tool requires cleaning do not use solvents but
a moist soft cloth only. Never let any liquid get inside the tool; never
immerse any part of the tool into a liquid.
• The motor mount screws could work loose over time, periodically
inspect and when required tighten the screws.
•
Re-application of a paste wax (not included) on the entire saw table
will allow the work piece to glide smoothly across the work surface.
Let it dry then use a clean piece of cloth to buff the surface out.
Squaring the table to the blade
1. Loosen the table bevel lock knob to
allow the saw table to be approximately
at a right angle to the blade.
2. Place a square on the saw table next
to the blade to check if the table is at
a 90° angle to the blade. If not, then
adjustment is required. Change the
bevel angle until the saw table is at a
90° angle to the blade and tighten the
table bevel lock knob.
3. Loosen the screw holding the scale pointer.
Move the pointer to the 0° position and tighten
the screw.
Oiling arm bearings
Lubricate the arm bearings every 50 hours of use or whenever
there is a squeak coming from the bearings.
1. Carefully place the saw on its side and remove the rubber caps from
the upper and lower arm of the saw.
2. Squirt a few drops of SAE 20 oil on
the end of the shaft and bearings.
3. Leave the saw in this position
overnight to allow the oil time to
soak in.
4. Replace the rubber caps and repeat
the above procedure on the opposite
side of the saw.
5. GENERAL MAINTENANCE
L
WARNING!
ENSURE THE VARIABLE SPEED SCROLL
SAW IS TURNED OFF & DISCONNECTED FROM THE
POWER SUPPLY BEFORE PERFORMING ANY OF THE
FOLLOWING OPERATIONS.
90
°


