06
DEVICE SETUP
2.3 HOST INSTALLATION: THUNDERBAY FLEX 8
This section describes the process of installing the OWC U2
Shuttle into the ThunderBay Flex 8. If you are using both
devices for the first time, please familiarize yourself with the
ThunderBay and its drive sleds first. Please see the assembly
manual at
www.owc.com/support/manuals
for instructions,
then return to this page to install the Shuttle.
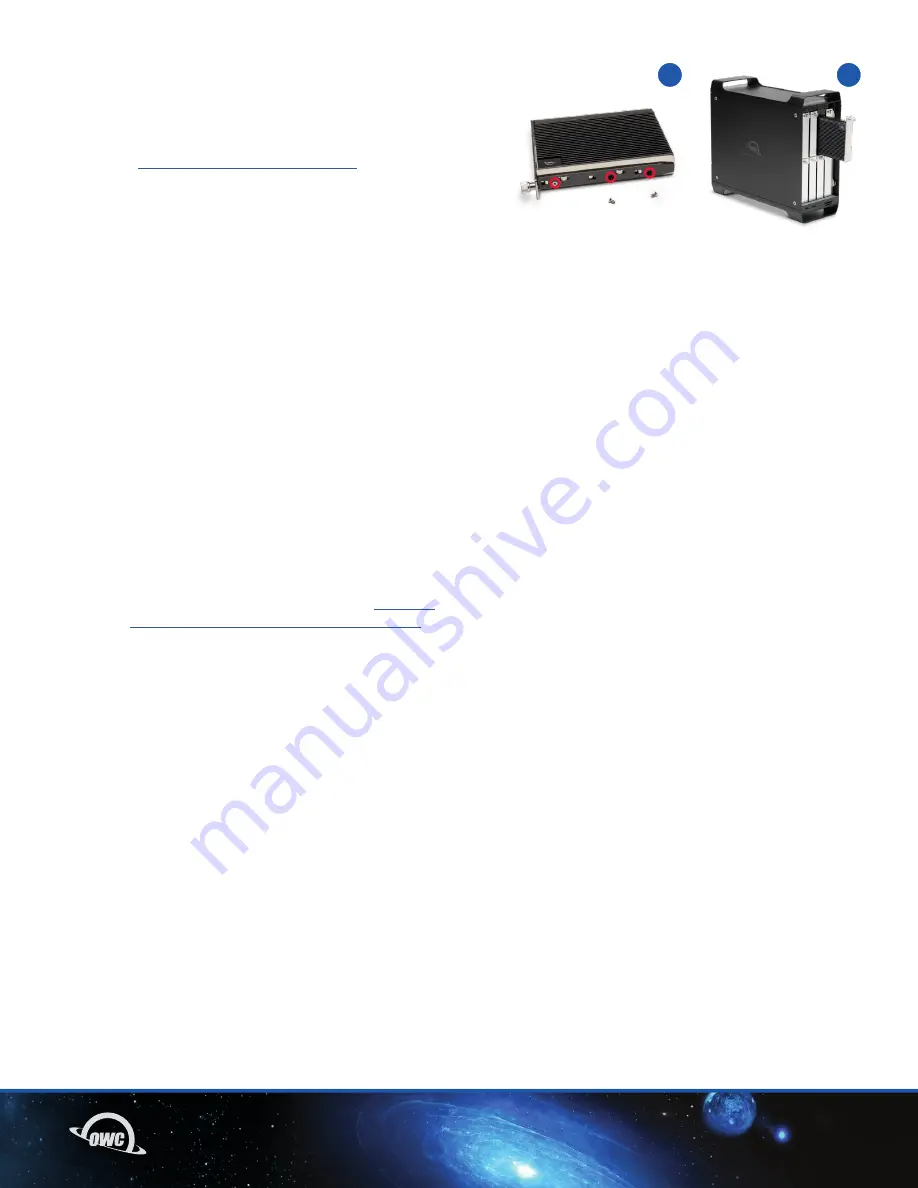
1. While it’s possible to install a U.2 drive or the U2 Shuttle
in any of the top four bays, we strongly recommend the
top-left bay to get the best performance. This bay offers
four lanes of PCIe bandwidth (x4) while the other three only
offer a single lane each (x1).
2. Seat the U2 Shuttle into the drive sled, making sure the
connector on the bottom of the shuttle is aligned with the
connector cutout at the front edge of the sled.
3. Also make sure the six screw holes on the shuttle (3 aside)
align with the corresponding holes on the sides of the drive
sled, then affix the shuttle using six of the 3.5 inch drive
screws that shipped with the ThunderBay.
4. Align the drive sled with the corresponding track inside the
chassis, then carefully insert the sled and slide it back until
the connector on the shuttle seats with the connector on
the ThunderBay; this is similar to the drive install process
described in Section 2.1, Step 8 in the ThunderBay manual.
If it does not seat initially, do not apply more force, remove
the tray, re-align it and try again.
Once the OWC U2 Shuttle is installed, you can format
and/or RAID the M.2 drives installed using
SoftRAID
or the
RAID Assistant feature in Apple’s Disk Utility
application, and then begin using the drives.
3
4


