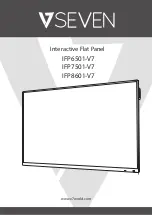
background image


11 


choose system settings, you can set up the function and interface   

1

language setting: choose language setting

you can choose the language you need   

2

system setting: choose system setting, you can change exposure value, set if you 

need program and PPT automatic run or not 

3

positioning  point  settings:  choose  positioning  point  settings,  you  can  set  the 

numbers of the positioning point. 
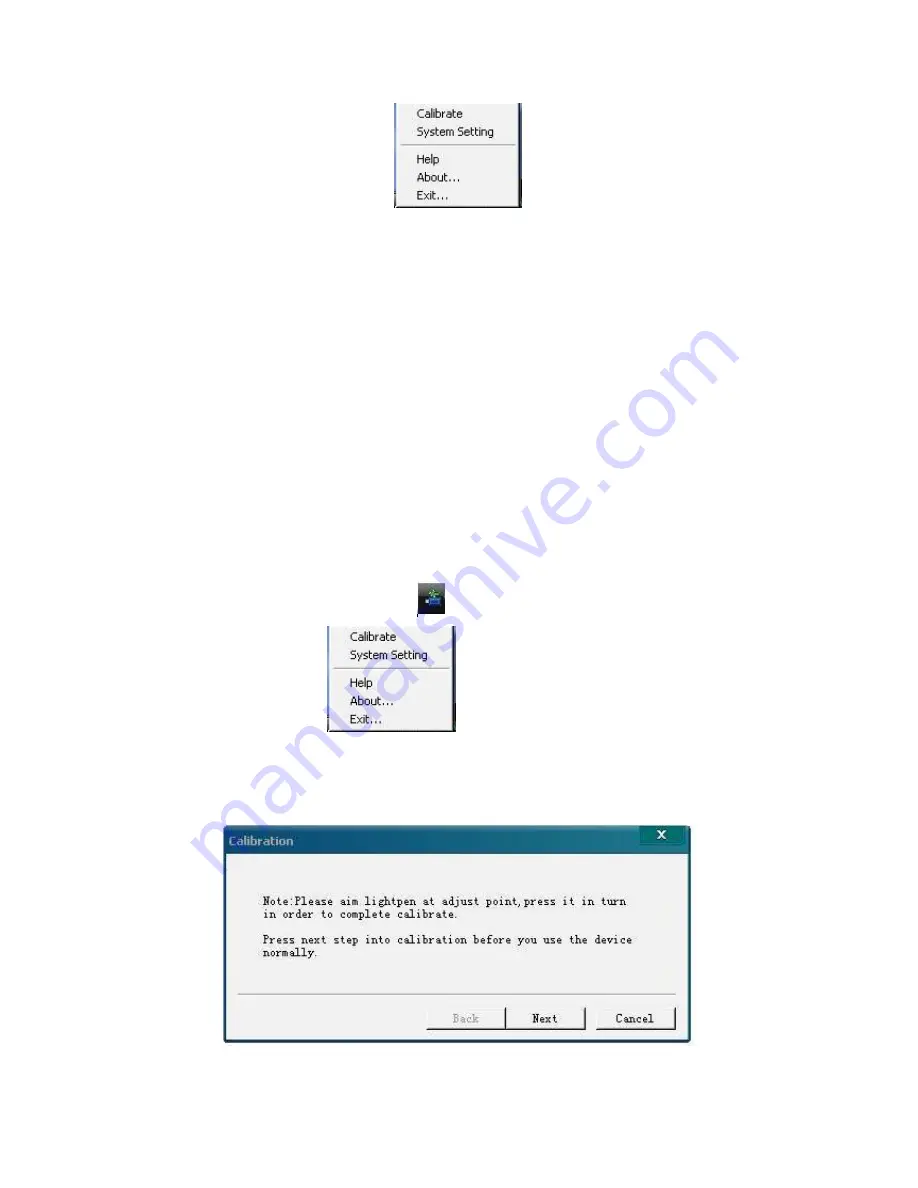


3

Positioning Calibrationiy


The  purpose  for  coordinates  sampling  is  to  make  projector  Genius  frame  of  axes 

correspond to computer frame of axes, projector Genius can recognize the location of 

the Opto-Electrical writing pen on the screen, which makes the pen control the mouse 

pointer correctly. Left click the icon


  in the system taskbar of the right corner of 

the desktop, the menu 

  will pop up, choose Calibrate, the picture 

below will pop up : 


Summary of Contents for WM-WB3200

Page 1: ...overcome the defects of the Speakers s just sit before the computer which lacks of interactive communications 2 System requirements 1 hardware requirements CPU based on X86 processor above pentium166...

Page 2: ...nal receiver Signal receiver is a device which can receive the signal from the indicating device interactive writing pen pointer and identify the location of indicating device and transmit the locatio...

Page 3: ...laser which can be used to determine the scope of available screen it s red when it works 3 Signal indicator light This is the signal indicator light it s green when it works 4 Power indicator light...

Page 4: ...l indicator light will emit light signal that is micro switch is on the pen can write 3 The back cover of the pen body unscrew the back cover and put the batteries into the pen body it can be used 4 P...

Page 5: ...k cover put the batteries and then it can be used 3 Interface It s threaded interface used to connect the telescopic pointer How to use the ponter Interactive writing pen operation Operating methods M...

Page 6: ...e Telescopic rod and pointer body is good for operating on the screen Signal indicator light Rod body retractable Rod knob correctly insert the rod into the body of the pointer rotate it to fix the te...

Page 7: ...7 Click Next to enter Select Destination Directory selecting the link where you can choose installation directory see below...

Page 8: ...8 Choose the file installtation location then click Next Click Next to start the installation...

Page 9: ...9 Confirm installation information click next to start the installation process You can see successful installation interface after finishing the installation Click finish end installation process...

Page 10: ...1 Start settings Properly connected and turn on your computer and projector adjust the projector to the wall or projector screen on the screen shows normal After installation is complete no need to r...

Page 11: ...tioning point settings you can set the numbers of the positioning point 3 Positioning Calibrationiy The purpose for coordinates sampling is to make projector Genius frame of axes correspond to compute...

Page 12: ...click ok and finish positioning operation 4 Other menu introduction 1 Help Use mouse or interactive writing pen left click the icon on the lower right of the taskbar choose help you can open the help...

Page 13: ...l come ture on the desktop and a list of Smart Pointer will be created in start Now you have two ways to start up whiteboard 1 click the shortcut menu twice 2 open the Start of windows to All Programs...

Page 14: ...pencil icon on the toolbar you can write on board or in Microsoft Office Word Excel PowerPoint document image processing functions and so on or go on writing in the image editing mode of software ann...

Page 15: ...s thickness has only three kinds 8 Eraser Click the eraser button to random erase operation before and adjustment button can adjust the size of the eraser Double click the eraser button it erases the...

Page 16: ...menu we can open more powerful expansion function menu you can see details as follows Expansion Function Menu 1 pencil In this mode the function of pencil is same with the state of basic function men...

Page 17: ...an help users conduct deformation drawing you can draw any defromation easy and convenient to operate you can adjust the colour and thickness as follows Draw by hands Auto match 5 eraser click the era...

Page 18: ...urtain you can conduct covering and opening which can make targeted information stand out It is easy for teaching presentation You can adjust the size of the curtain click any button of the four sides...

Page 19: ...e In addtion you can set up the thickness and colour 10 adjust thickness adjust thickness in this mode is the same with basic function menu but it has more adjustment area than in the basic function m...

Page 20: ...the same with the use method of basic function menu 17 screen capture It is the same with the use method of basic function menu 18 erase all erase all writing on the screen 19 undo redo revoke and re...

Page 21: ...ion function menu you can see a resources manager interface in the right of the screen as follows Resources Manager 1 New file click this button you can build a new project file 2 Save file click this...

Page 22: ...22 3 Load file click this button in addition you can click this button so that the background pictures can be inserted details as follows...

Page 23: ...ackground picturues whicn enriches the speech and teaching content 5 Delete page delete the front page 6 Duplicate page copy the last page 7 Perior next page conduct page turning function NOTES If you...

Page 24: ...ht interference A Can t conduct coordinates sampling cursor jumping up and down or discontinuous line may be because of strong light interference or something wrong with the devices A simple way to de...

Reviews: