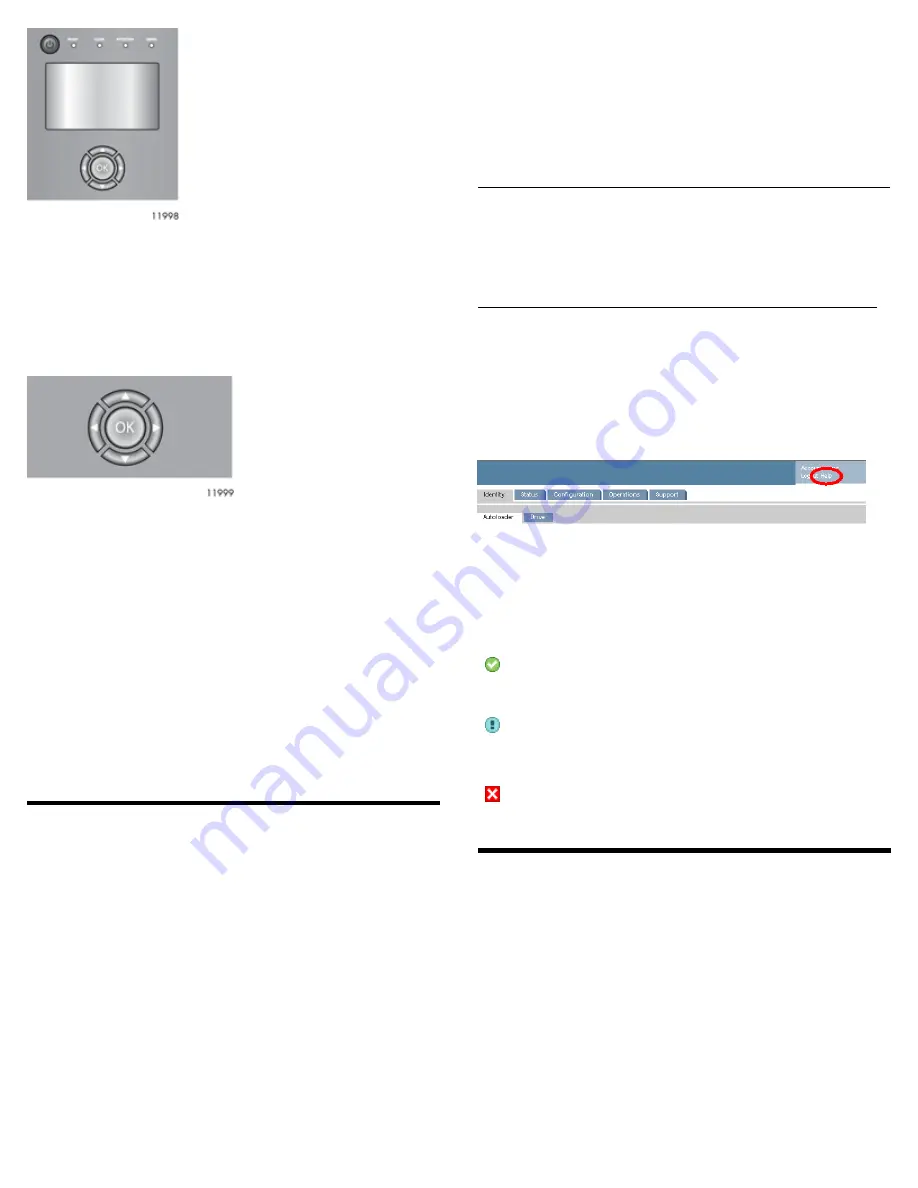
See “OCP menu” on page 10 for more information.
Control keys
The OCP displays a menu that lets you access information and execute
commands using the five control keys: Up, Down, Left, Right, and
OK.
LED indicators
The OCP has four LEDs that provide information.
Ready— Green, steady when power is on, blinking with tape drive or
Library robotics activity.
Clean — Amber when a tape drive cleaning operation is recommended.
Attention — Amber if the Library has detected a condition that user
attention is necessary, but that the device can still perform most
operations.
Error— Amber if an unrecoverable tape drive or Library error occurs.
A corresponding error message displays on the LCD screen. User
intervention is required; the device is not capable of performing some
operations.
Using the remote management interface
(RMI)
With the RMI, you can monitor, configure, and operate most Library
functions from a web browser. The only tasks you cannot do from the
RMI are:
When possible, use the RMI as the primary Library interface because
the web interface provides access to additional features, includes online
help, and is easier to use. The only tasks you cannot do from the RMI
are:
• Opening the mailslots.
• Initiating the Wellness test.
• Saving and restoring configuration files, saving support tickets, and
downloading firmware via a USB flash drive.
To enable the Library RMI, follow the instructions in this installation
process to:
• Connect the Library to your local area network with an Ethernet
cable..
• Configure the network settings of the .
• If you intend to use the administrative functions of the RMI, set the
Administrator password using the OCP.
NOTE:
The Library is shipped without an administrator password. You
must set the administrator password with the OCP before you can
use the RMI administrator functions. Once the administrator
password is set, you can access the RMI by providing the
administrator password on the login screen.
Logging in
Using the OCP, find the Library IP address from the Info > Network
screen. Open any HTML web browser and enter the Library IP address.
Select the account type. For the administrator account, you must also
enter the administrator password. Click Sign In.
Once signed in, click Help in the upper right-hand corner for more
information about the fields and information in the RMI.
Status icons
The green
Status OK
icon indicates that the Library is fully
operational and that no user interaction is required.
The blue exclamation point
Status Warning
icon indicates
that user attention is necessary, but that the device can still
perform most operations.
The red X
Status Error
icon indicates that user intervention
is required and that the device is not capable of performing
some operations.
Unpacking the Library
Remove the packaging, accessories, and Library from the box one layer
at a time. Place the Library on a level work surface. Carefully remove
the foam padding from the Library. Save the packaging materials to
move or ship the Library in the future.
Page 3
Summary of Contents for NEO 400S
Page 10: ...OCP menu Page 10...


