


2
Before using REM AutoFit with VerifitLINK
REM AutoFit with
Verifit
®
LINK Quick Guide
Quick, accurate and automatic verification with
your Verifit.
What is REM AutoFit?
REM AutoFit is a tool in Genie 2 that allows the
HCP to match real ear targets automatically. This
makes the real ear measurement (REM) process
more efficient whilst ensuring the HCP maintains
quality and control over the fitting. REM AutoFit
is compatible with any REM systems that are
compliant with IMC 2 (Inter Module Communication
protocol 2) which includes Interacoustics, MedRx,
Otometrics, Sivantos and Auditdata systems.
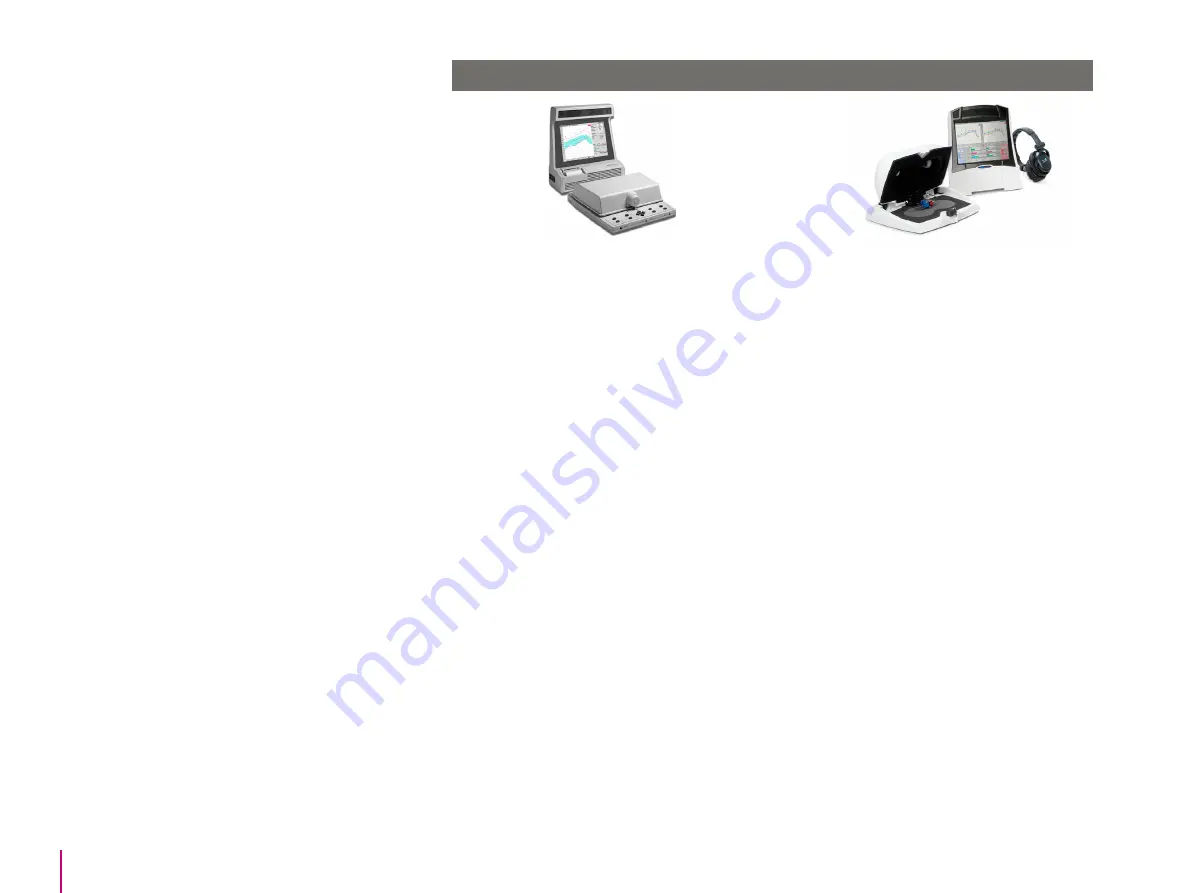
Oticon offers automatic target matching with
Verifit1* or Verifit2 using Audioscan’s VerifitLINK.
Using REM AutoFit with VerifitLINK, it is possible
to automatically match targets at 3 input levels
within 2 minutes 30 seconds. Furthermore, from
Genie 2
|2021.2 , it is possible to launch Audioscan’s
ProbeGUIDE™ directly from REM AutoFit, to ensure
the right probe tube placement, before
measurement. This guide provides step-by-step
support through the REM AutoFit process when
used with your Verifit system.
Why do audiologists perform real
ear measurements?
The main reason is to verify that speech sounds
are audible and comfortable for the client. Ensuring
that targets for a chosen rationale are being met
is a good starting point for a new fitting.
Real ear measurements must therefore be
consistent, reliable, repeatable, and correct.
The first time you use REM AutoFit with
VerifitLINK (you need to do this only once):
•
Ensure you have software version 3.22 or
later for Verifit1, or 4.14 or later for Verifit2
(4.18 or later is required for simultaneous
binaural measurements)
•
You must have a network connection between
the Verifit and your computer. If you are already
using the Verifit NOAH module, you have the
necessary network connection. If you do not
have a network connection, refer to your Verifit
user guide or contact your Verifit distributor or
local IT support to set it up. See also Audioscan’s
Quick Guide to Verifit Network Setup‒for
network/IT professionals.
•
On the Verifit, open the Setup network
screen (or in the main test menu screen on the
Verifit 2) and note your Verifit’s network
address (IP address normally in a format such
as XXX.XX.X.XXX).
•
Open Genie 2 and in the Preferences top menu,
click Edit Preferences. In the navigation bar on
the left, click Customize software and then click
the Measurement module tab. Go to REM AutoFit
settings and select VerifitLINK.
•
In the VerifitLINK box below, enter your Verifit’s
IP address.
Every time you use the tool you must
ensure that:
•
you have chosen the correct acoustics and
fitting levels according to your client’s
audiogram. Also make sure you have entered
these choices in the Acoustics tool and
Selection screen respectively in Genie 2.
•
the Verifit has a valid microphone calibration.
Check your local protocol to learn how often to
carry out microphone calibration.
•
the maximum eardrum SPL in the Verifit is set
to a safe level according to your client’s
audiogram and predicted or measured UCLs.
•
program linking is set up as desired in Genie 2.
REM AutoFit with VerifitLINK adjusts the
hearing aids to match targets in P1
We strongly recommend that you run a feedback
analysis before starting. We also recommend that
you use the same fitting rationale in REM AutoFit
with VerifitLINK and Genie 2.
* S/N 2070 and higher


