


RevOrig_20170727
iOS, Android, PC or Mac Oscilloscope
7
2.22 Analog Channel 1x / 10x Probe
The analog probe has a sliding red lever
that allows the user to move between 1x and 10x
modes. Once a mode is selected on the analog probe, chose the matching state by selecting either
or
. The selected state will be gray and the unselected state will be translucent.
To enable 10x mode, the user must slide the red lever located on the physical probe. The 10x option
located in software only changes the voltage scales in software; it does not actually divide the
voltage. Please remember to slide the red lever on the physical probe for all 10x measurements.
2.23 Analog Channel DC / AC Coupling
When current is flowing in the same direction, touch
.
When current is changing directions, touch
. The selected state will be gray and the unselected
state will be translucent.
2.24 Channel Labeling
Touch
on the menu bar. Then, touch either
or
to the right of the
word LABEL. A keyboard will appear. Enter the desired name using the keys on the keyboard.
When finished touch away from the keyboard and the name will display next to the word
LABEL in the analog menu. Your custom label will also appear next to that waveform.
2.25 Math On/Off
Touch
on the menu bar. At the bottom of the menu, MATH appears. to turn MATH on,
touch
and it will change to
. The function will appear on the screen in red. To turn
MATH off, touch
and it will turn to
indicating MATH is deactivated.
2.26 Math Functions
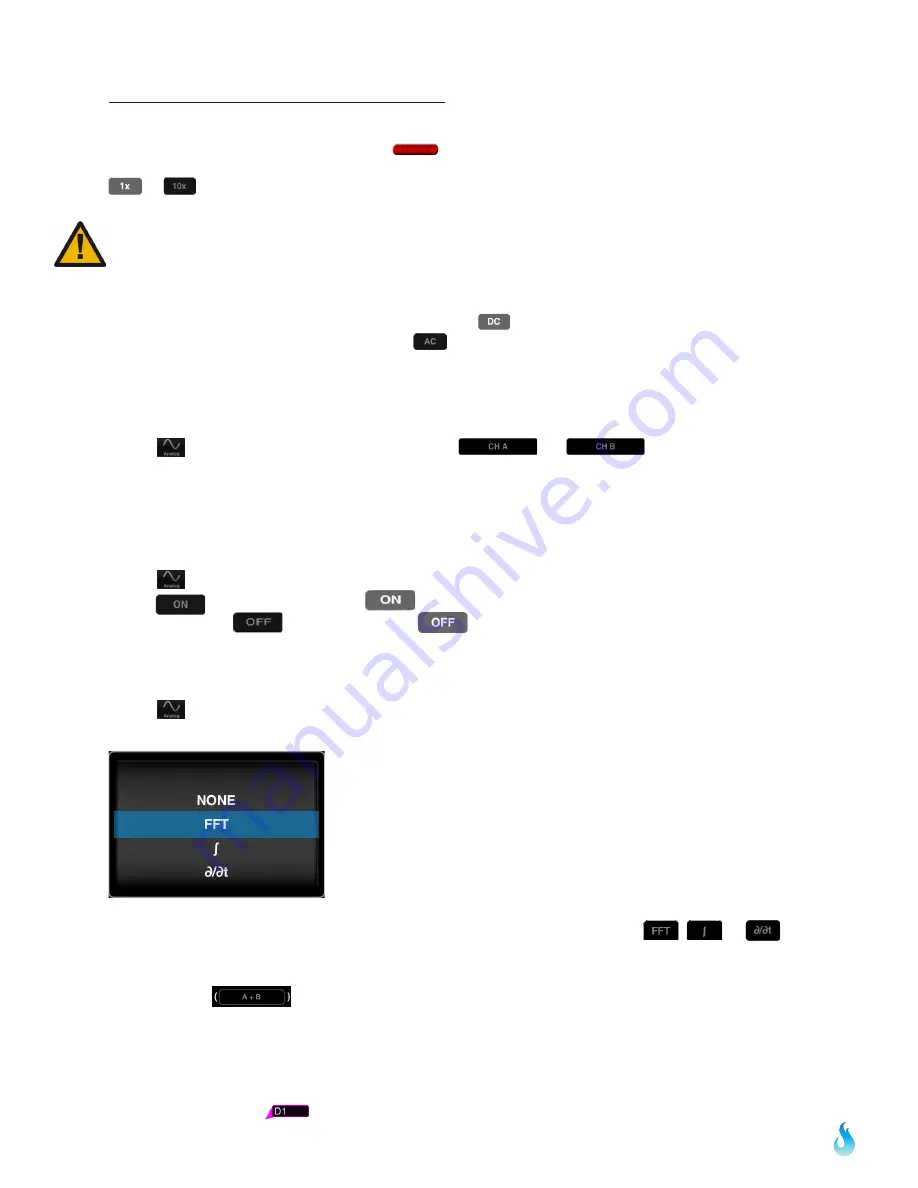
Touch
on the menu bar. Then, touch the box directly below the word MATH. A pick wheel
will appear with the following options:
Use the pick wheel to select the desired setting. To activate the setting tap away from the
menu. The appropriate symbol should then appear in the selection box:
,
or
.
After identifying the appropriate symbol, the source needs to be selected. Simply touch the
selection box
to the right of the previous FFT box. A pick wheel will appear. Once
the desired source settings are selected, touch away from the menu. The appropriate sources
for both A and B are displayed directly below this selection box.
2.30 Digital Channels
The purple, yellow, blue and orange signals represent the four digital channels. Simply touch
the far left rectangle
of the desired digital signal. Leave your finger on the rectangle and


