background image


12(21) 

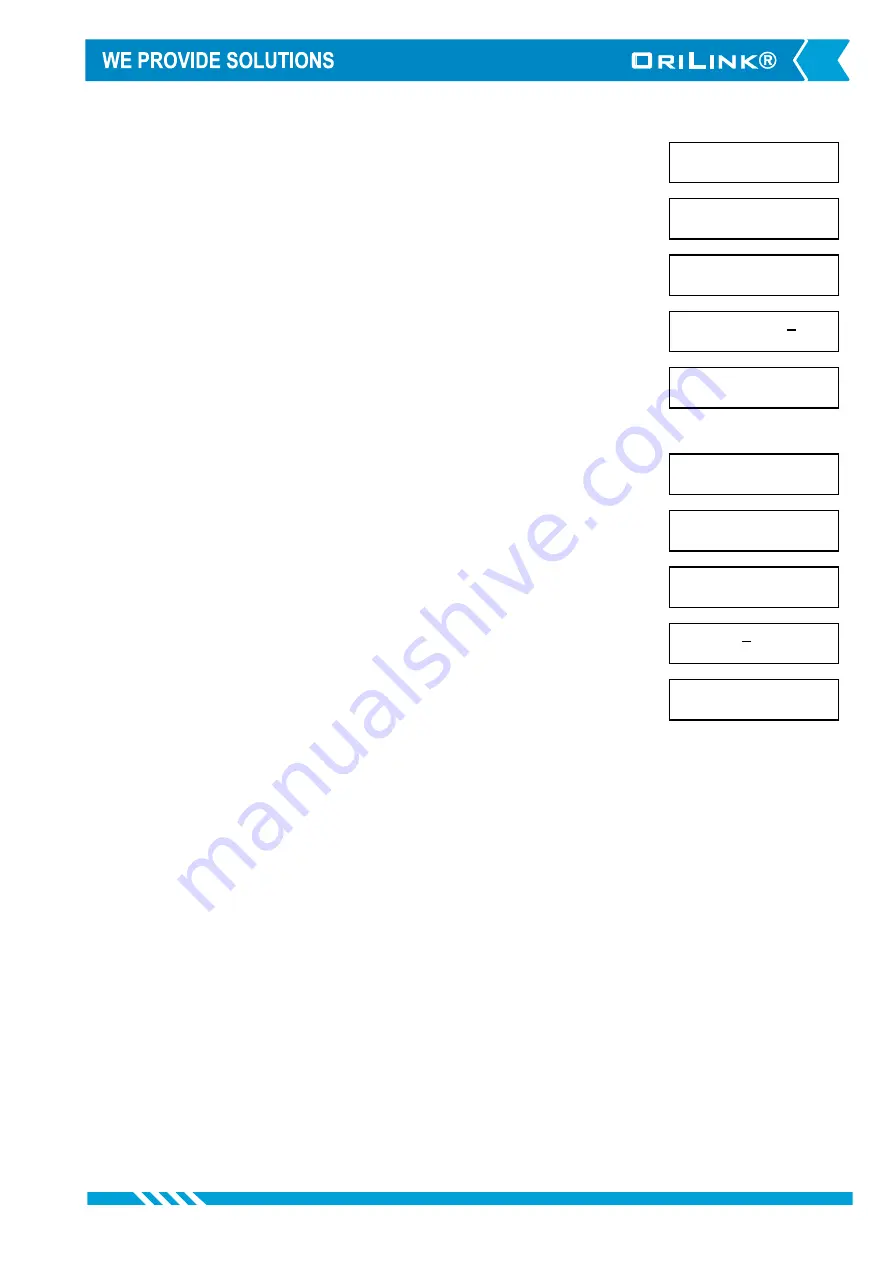
TCM:           ‡ 
TCM MainMenu 


PortX:         ‡ 
TCM MainMenu 


LED:           ‡ 
LED Address 4??? 


TankVol:4XXX_  ‡ 
LED Address 4??? 


TankVol:4XXX   ‡ 
LED Address 4??? 


TCM:           ‡ 
TCM MainMenu 


PortX:         ‡ 
TCM MainMenu 


LEDui:         ‡ 
Update interval? 


LEDui:1_       ‡ 
Update interval? 


LEDui:1        ‡ 
Update interval? 


5.6.  Displaying tank content on a LED display 

5.6.1.  Set LED address 

By specifying a LED address (4XXX) it is possible to show the content of 
the tank in real time on a remote or local LED display. Observe that the 
addressed LED will not be available for dispensing information. 

Enter menu 

[TCM//PortX] 

by scrolling with


 or 

.


At 

PortX:

 press 

ENTER

.


Scroll to 

LED:

 using 

 or 

.


Press 

ENTER

 to get the cursor. 

Type the 

LED address

 and press 

ENTER

 to acknowledge. When the cursor 

disappears it is finished. 

Press 

EXIT

 two times to leave Set-Up mode. 


5.6.2.  Set LED update interval 

The default update interval is 1 second but since tanks seldom changes with 
a speed that needs updating every second it good to increase the interval to 
free up network for more important things. This is especially good in large 
systems. 

The interval is set in seconds. A setting of 5 will update the LED every 5 
seconds 

Enter menu 

[TCM//PortX] 

by scrolling with


 or 

.


At 

PortX:

 press 

ENTER

.


Scroll to 

LEDui:

 using 

 or 

.


Press 

ENTER

 to get the cursor. 

Type the 

interval wanted

 and press 

ENTER

 to acknowledge. When the 

cursor disappears it is finished. 

Press 

EXIT

 two times to leave Set-Up mode. 


Summary of Contents for OriLink 23408

Page 1: ...lish Manual for TCM module 23408 Rev R10 180409 OriLink Monitoring System Tank Control Module 23408 Covers TCM with PCB versions 203 02 62 C chip version 1 00 00 or later and 203 02 91 A chip version...

Page 2: ...reorder volume level 10 5 5 1 Set the tank stop volume level 10 5 5 2 Set tank bottom area 11 5 5 3 To configure a TCM port for a tank that does not have a constant area 11 5 6 DISPLAYING TANK CONTENT...

Page 3: ...to 24V and are intended for a connection to another TCM MPDM or other modules that already have 24VDC This is to prevent connecting 24VDC from two power supplies The other three connectors are used to...

Page 4: ...e is operational and working properly A steady light or completely off indicates a problem DIL switches for termination and BIAS are located at I J Shows the position of the replaceable communication...

Page 5: ...mediately enter set up mode from a KP and type 0 and then ENTER to get to the Main menu of the TCM see below NOTE Only one new module can be installed at a time If you press the RESET button on severa...

Page 6: ...nkNo is only for informational purpose Use correct TankNo or set all to 0 Enter menu TCM PortX by scrolling with or At PortX press ENTER Press ENTER to get the cursor Check the number of the tank that...

Page 7: ...ng the offset Offset adjusting is used to obtain 0 volume when the tank is empty If the sensor 23 417 is used a normal value is 0 080 The sign is typed on the keypad by first pressing down arrow yello...

Page 8: ...ng to 20 mA If a pressure sensor is used the value should be in bar For sensor part number 23 417 the value should be as default 0 400 Enter menu TCM PortX by scrolling with or At PortX press ENTER Sc...

Page 9: ...art number The fluid part number set in the TCM makes it possible to show the fluid part number in the info box for the graphic representation of the analogue sensor It should be set to the same value...

Page 10: ...k reorder volume level The tank reorder volume set in the TCM is used to create a true graphic representation of the analogue sensor status and start auto warning if that is enabled It should be set t...

Page 11: ...ed in the TCM Enter menu TCM PortX by scrolling with or At PortX press ENTER Scroll to SFS using or Press ENTER to get the cursor Type the sensor full scale value and press ENTER to acknowledge When t...

Page 12: ...g or Press ENTER to get the cursor Type the LED address and press ENTER to acknowledge When the cursor disappears it is finished Press EXIT two times to leave Set Up mode 5 6 2 Set LED update interval...

Page 13: ...and redundance The system must be told what hardware there is and how to use it properly This is done through the Tank Type Tank type is set by a string of 0 and 1 were the first position sets if it i...

Page 14: ...14 21 6 Menu tree...

Page 15: ...et 0X03 Where X is the port number Change Calibration 0X04 Where X is the port number Change Density of fluid 0X05 Where X is the port number Change Max volume of tank 0X06 Where X is the port number...

Page 16: ...24VDC with 10 bit A D converters Other RISC based microprocessor EEPROM 64 KB Connector E for 3 pos key switch Connector C for 24 VDC 6 3A power supply SetupLock jumper H not used Fuses T6 3A D and F...

Page 17: ...e point is open and the sensor works properly the following connection should be made The TCM port should be set to control the appropriate PC tank in relation to the physical tank Correct TankType TC...

Page 18: ...the tank module if the liquid is classed as flammable For this purpose the EX barrier 23178 and a special EX approved cable 23164 can be used The EX barrier the solenoid valve that controls the air t...

Page 19: ...for tanks with a height of 1 5 meters Max height depends on density of fluid The measuring resolution for a TCM with a 23 417 sensor is 4 mm for water and about 4 5 mm for mineral oil Connect the red...

Page 20: ...ld be set using with WinDB Manager MASK TankType 1 12 EX barrier 23 188 for analogue sensors An EX barrier is needed between the level sensor and the tank module if the liquid is classed as flammable...

Page 21: ...In a small system or at limited space it is possible to mount an additional module PCB in a TCM In this example a MPDM board is added To do this the TCM PCB has to be moved and turned one quarter of...

Reviews: