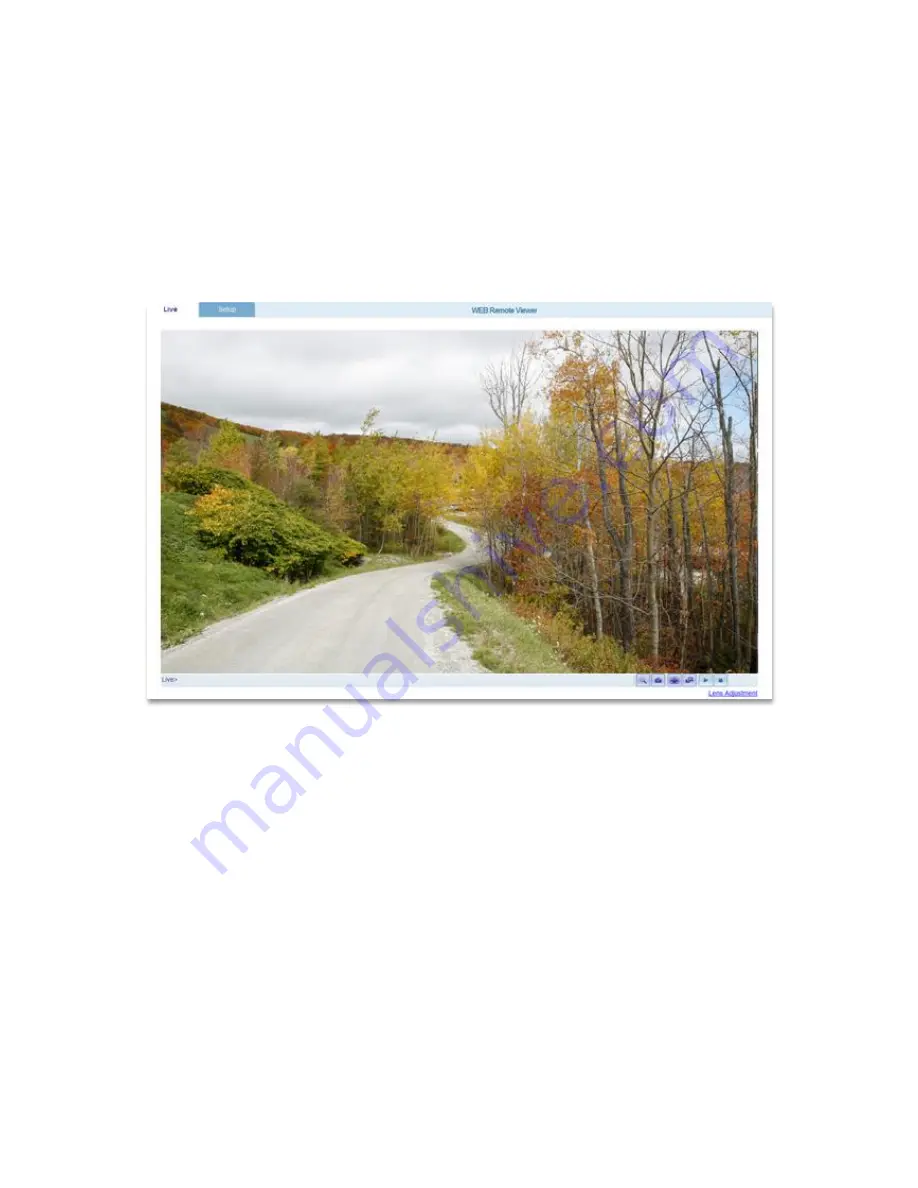
2. Accessing the Camera
Follow the instructions in the IP Camera Installation Guide to install the camera. This IP Camera can be
accessed on most standard operating systems and web browsers. For the best performance, Windows 7
and Internet Explorer 9 (32bit) is recommended.
2.1 Access from a Browser
1. Open a web browser (Internet Explorer 9 32 bit recommended).
2. Enter the IP address or host name of the IP Camera in the Location/Address field of the browser and
press Enter.
3. A dialog box will pop up to Log-In. The default user name is
ADMIN
and the default password is
1234
.
4. The IP Camera’s Live View will now be displayed on the web browser.
Note: The layout of the live view page for the IP Camera may have been customized to meet specific requirements.
Consequently, some of the examples and functions featured here may differ from a user’s experience.
2.2 Accessing the IP Camera from the Internet
Once installed, the IP Camera is accessible on the Local Area Network (LAN). Configure the
router/firewall to allow incoming data traffic to access the IP Camera from the Internet. For security
reasons, this is usually done through a specific port. Please refer to the router/firewall documentation for
further information and instructions.
2.3 Adjusting the Image
To adjust the position of the lens:


