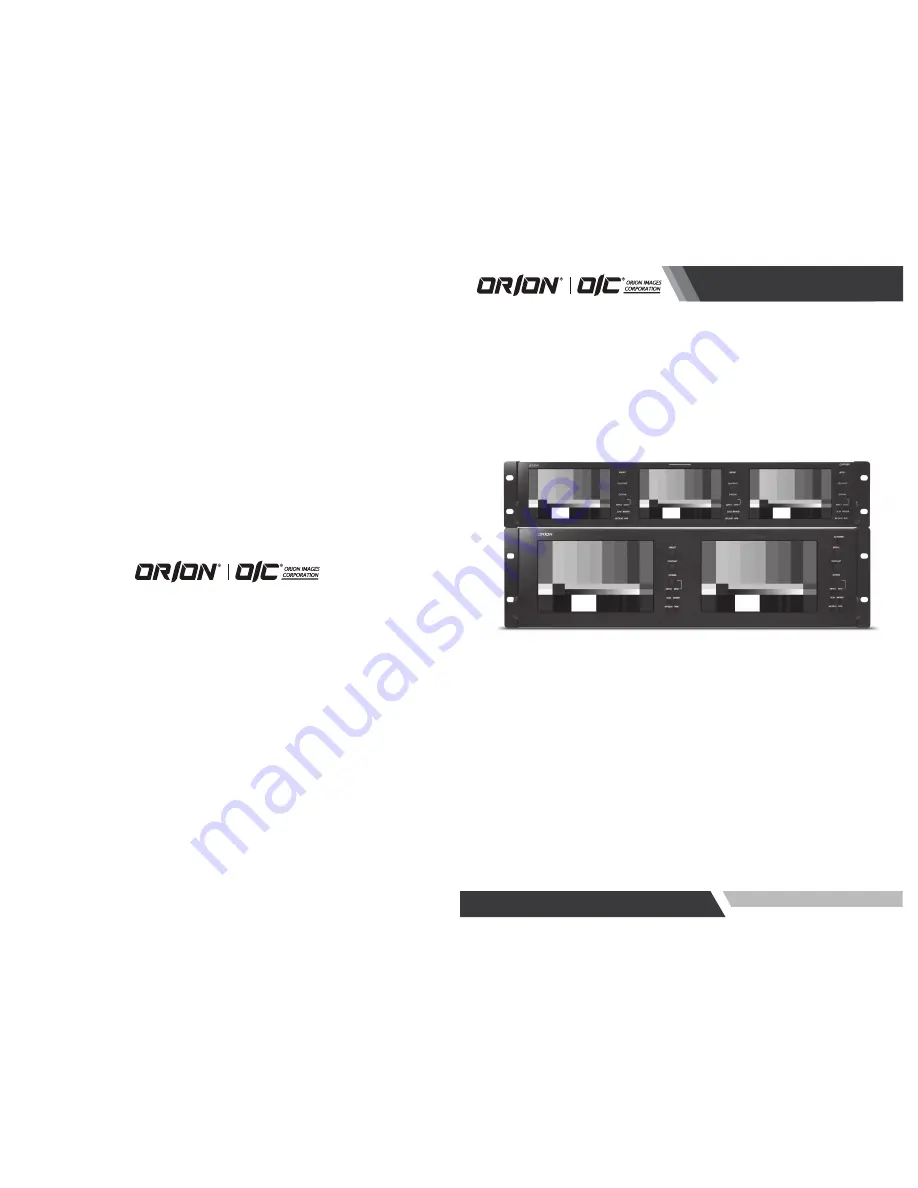
Orion OIC-5003 Installation & User Manual Download Page 1

Installation & User’s Guide

HIGH PERFORMANCE BROADCAST RACK MOUNT MONITOR 

OIC-7002 / OIC-5003

http://www.orionimages.com

All contents of this document may change without prior notice, and actual product appearance may differ from that depicted herein

ver. 1-1-6182012

Summary of Contents for OIC-5003

Page 1: ...PERFORMANCE BROADCAST RACK MOUNT MONITOR OIC 7002 OIC 5003 http www orionimages com All contents of this document may change without prior notice and actual product appearance may differ from that de...

Page 2: ...service center Keep away the monitor from the direct sunlight and a heating appliance Never push objects of any kind into this product as they may result in a risk of fire or electric shock Connect t...

Page 3: ...cause some trouble Before carrying the monitor turn it off and unplug the signal cables and the power code from the wall outlet Take the power plug out from the wall outlet Do not pull the cable It ma...

Page 4: ...r OIC 7002 14 5 2 Dimension Units mm for OIC 5003 15 6 2 Year Limited Warranty 16 7 Troubleshooting 17 7 Troubleshooting When the following troubles are occurred follow the trouble shooting before con...

Page 5: ...st defects in materials and workmanship ORION Images Corporation is not liable for improper installation that results in damage to mounts adapters display equipment or personal injury Contact ORION Im...

Page 6: ...for video signal input and output Connect the AC power cord s connector to the AC power connector on the AC DC adaptor Connect the 4 pin female XLR connector of adaptor to the back of monitor Insert...

Page 7: ...ice Card Optional 2 2 2 GPI Connection Turn off the power button Connect a D SUB15 connector to GPI connector Turn on the power button 2 2 3 Service Card Connection Turn off the power button Insert th...

Page 8: ...min 100 400 min 250 Contrast Ratio 500 1 1000 1 INPUT SMPTE 424M 1xBNC 1xBNC SMPTE 292 SMPTE 259M OUTPUT SMPTE 424M 1xBNC Loop through 1xBNC Loop through SMPTE 292 SMPTE 259M Supported Video format S...

Page 9: ...u will be displayed on the screen Rotate Chroma knob clockwise move down Rotate Chroma knob counterclockwise move up Press Chroma knob select value or enter into sub menu 2 3 7 SCAN Switch the scan mo...

Page 10: ...127 default 0 MODE EXIT Return to Level 1 SCAN NORMAL OVERSCAN ZOOM default NORMAL ASPECT AUTO 4 3 16 9 default AUTO MONO COLOR RGB MONO RED GREEN BLUE default RGB HV DELAY ON OFF default OFF MARKER...

Reviews: