background image

MENU

TILT     

27

T

ouch the selection displayed on screen 

to perform   the corresponding  operation

For more information regarding the NAV.

Operation, please  refer   to  the user 

manual of navigating electronic map.

For safety

Please confirm  your place is not    under

 the bridge, on the tunnel or near   the 

building  which can inf ect the signal 

received.

, please avoid operate the system

while driving 

GPS system is operated in background

at any modes.

   NO TE

T

, w


he GPS system can navigate with 

voice

hen you do not drive on your 

preset line, the system will reset the 
line automatically to get the destination.

NAVIGATION OPERATION

NAVIGATION OPERATION

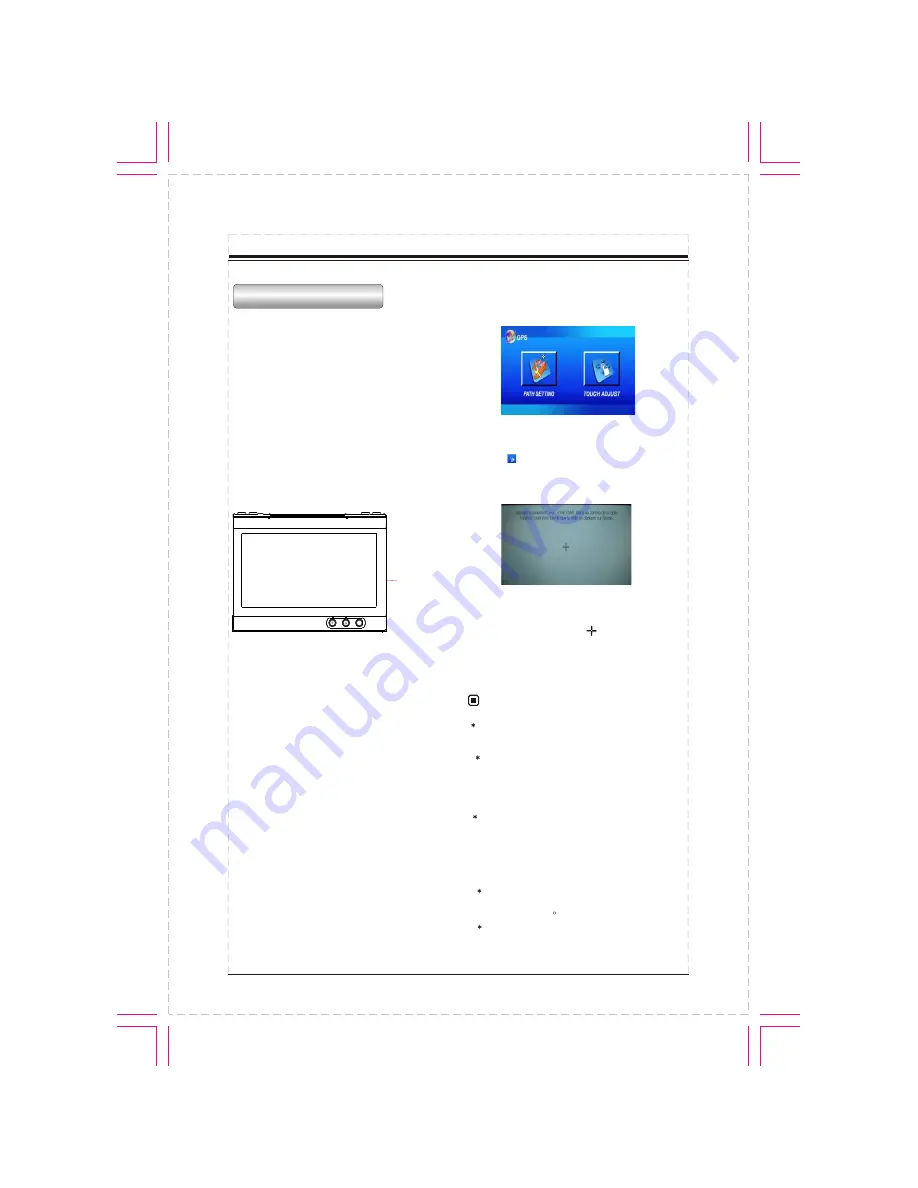
GPS SD card slot 

Press SRC button on the unit or on 
remote control repeatedly to access the 
navigation mode after insert SD card 
 with stored navigating map.
*

Long press SRC/NAV button or Touching 

NAV item on 

source selection screen 

also activate the function.

Press OPEN button on the unit to open 
the TFT screen, the SD card slot is on 
this position (shown as illustration).
It supports SD card with memorized 
navigation map only.
   

T

 ,plese 


o avoid   the touching   effect  function 

invalid

calibrate  the  touchable

screen before perform navigating operation

Calibration

Press      button on the touchable screen
and the screen display as following:
   

Please use something with needle
end touching on the      button  to finish 
the calibration.

Summary of Contents for AVM-57188BTG

Page 1: ...A MP3 PLAYER WITH FM MW RECEIVER INSTRUCTION MANUAL PLEASE READ THIS MANUAL BEFORE USING THE EQUIPMENT BUILT IN NAVIGATION SYSTEM PTY REL DN UP VOL TA AF OPEN IR SRC MUTE BAND POWER AV IN MIC DISP NAV...

Page 2: ...nce CONTENTS Note Due to continuous product improvement specifications and design are subject to change without prior notice PRECAUTIONS FRONT PANEL REMOTE CONTROL RADIO OPERATION DVD VCD CD OPERATION...

Page 3: ...n fire 6 After completing the installation and beginning to play the unit including replacing the battery please press RESET button on the front panel with pointed object such as ballpoint pen to set...

Page 4: ...the temperature inside the vehicle is between 60 C and 10 C before turning on your unit To enjoy optimum sound and images while playing handle the discs as follows Handle the disc by its edge to keep...

Page 5: ...MENU TILT FRONT PANEL FRONT PANEL 3 20 23 21 24 22 25 PTY REL DN UP VOL TA AF OPEN IR SRC MUTE BAND POWER AV IN MIC DISP NAV 3 6 15 16 17 14 13 1 2 4 5 7 8 9 10 11 12 18 19 26...

Page 6: ...button to shut off the sound output Press it again to resume the sound level 11 AV IN Connect the AV cable supplied to the external AV device then press the SRC button to switch to AV1 mode 12 SD slo...

Page 7: ...o turn on off TAfunction 2 AF to turn on off AF function 3 PTY to switch program type 4 Page2 to switch to radio operation page 5 SEEK SEEK to seek a station automatically to seek a station manually l...

Page 8: ...ching the left middle position twice to display the TITLE MENU selection screen touching the right middle position twice to display the ROOT MENU selection screen touching the right top position to di...

Page 9: ...the button to adjust 5 SYSTEM To display the system setup screen Refer to SYSTEM SETUP OPERATION 6 EXIT To return to current source screen Key Beep Turn on off the sound guide function ON Activate th...

Page 10: ...ment becomes necessary Accurately touch the X mark provided in the screen for more than 2 seconds until the adjust succeed is displayed Clock Adjust Night Lum Touch Adjust X press it SW CONTROL The fu...

Page 11: ...p 2 If there is already a set item press the corresponding button on the SW control and the screen will display set in X 3 Each function can be selected into one or more than one button of the 8 butto...

Page 12: ...the battery be swallo wed immediately consult a doctor Use one CR2025 3V lithium battery Remove the battery if the remote con trol is not to be used for a month or longer Do not short circuit disassem...

Page 13: ...s playback 7 GOTO In DVD mode press the button and the cursor button to select TITLE CHAPTER REPEAT TIME DISP Then press ENTER button to set the value In VCD mode press GOTO button and cursor button t...

Page 14: ...onding preset station channel Press SEL to select one of the control item L front R front L rear R rear Sub woof Bass Middle Treble Angle Volume 18 CLEAR 19 Press to pause playing and press again to r...

Page 15: ...d level and press VOL button on the remote control to decrease the sound level Rotating VOL button on the head unit or touching the VOL VOL on the TFT panel also performs the same operation 4 Setting...

Page 16: ...pwards automatically as below press button on the remote control press button on the panel touch on SEEK button on the touch screen 2 1 Manual Tuning There are three ways to tune in a station downward...

Page 17: ...ation is heard only when it is being broadcast In other mode Traffic announcement can interrupt the source sound output when broadcast After broadcasted the unit will automatically return to the origi...

Page 18: ...mobile phone The Bluetooth setting is required for a mobile phone Read the Owner s Manual of the mobile phone After paired the unit can connect with the mobile phone automatically in valid range If th...

Page 19: ...o previous mode The hands free phone sounds output through the built in speakers When calling press button on the screen to switch the mode to receive a call by using mobile phone and press it again t...

Page 20: ...he TV mode menu 4 Search a channel 4 1 Automatic Searching There are three ways to search a channel downwards automatically as below press button on the remote control press button on the panel touch...

Page 21: ...ton to play the beginning of disc 19 DVD VCD CD OPERATION uring VCD CD playback when pressing RDM button RANDOM will appear on the display the unit plays any track at random and the number selection i...

Page 22: ...1 Changing the subtitle language Multi subtitle Subtitles OFF Subtitle 01 Subtitles 02 Audio 01 Audio 02 12 Changing the audio language C Selection options switch as follows This function is operated...

Page 23: ...ff 17 Selecting an acoustic output mode In VCD mode press the AUDIO button on the remote control repeatedly to select an audio mode in the following order MONO LEFT MONO RIGHT STEREO MIX MONO 18 Chang...

Page 24: ...ecorded in standard 4 3 format always displays in the 4 3 aspect ratio The display format of DVD titles may vary please refer to the information that acco mpanies your specific DVD title If the DVD ti...

Page 25: ...DISC MENU PARENTAL DEFAULT ENG ENG ENG PREFERENCE PAGE ENGLISH FRENCH SPANISH PORTUGUESE JAPANESE KOREAN RUSSIAN THAI PREFERRED SUBTITLE LANGUAGE AUDIO SUBTITLE DISC MENU PARENTAL DEFAULT ENG ENG ENG...

Page 26: ...when ON OFF interchange The initial password is 136900 4 PASSWORD SETUP PAGE 3 4 PARENTAL PARENTAL The parental control function works in conjunction with the different censorship classes assigned to...

Page 27: ...to different TV screen size Function supported by DVD discs There are many functions available on DVD discs and the functions vary per player and per manufacturer Regional code and signal system Pict...

Page 28: ...l or touch top right corner of screen to be functioned If you make a mistake press CLEAR button to clear Stop playing When playing MP3 files press button on the remote control STOP button on the botto...

Page 29: ...VIGATIONOPERATION NAVIGATIONOPERATION GPS SD card slot Press SRC button on the unit or on remote control repeatedly to access the navigation mode after insert SD card with stored navigating map Long p...

Page 30: ...r will be damaged if it overheats If installation angle exceeds 30 from horizontal the unit might not give its optimum performance The cords must not cover up the area shown in the figure below This i...

Page 31: ...side the mounting bracket until the tags on either sides of the bracket lock into the respe ctive holes on the sides of the main unit 4 Install the removable trim ring Detach the unit 1 Detach the rem...

Page 32: ...3 5 7 2 4 6 8 A B 1 3 5 7 2 4 6 8 A2 NOTHING A1 NOTHING A3 NOTHING A5 ANTENNA POWER A4 BATTERY A6 LAMP IN A8 GROUND A7 IGNITION KEY B1 SPEAKER REAR R B2 SPEAKER REAR R B3 SPEAKER FRONT R B4 SPEAKER FR...

Page 33: ...N ratio more than 70dB 1kHz dynamic range more than 70dB 1kHz distortion less than 0 2 video output 1 0Vp p 0 2V 75 audio output RCA 1 5Vrms 0 3V 10K FM TUNER frequency range 65 0 74 0 87 5 108 0MHz...

Page 34: ...eck connections With some discs 96kHz output is prohibited Switch the output setting to 48 Khz The unit is performing still F FWD or F REV playback There is no sound during still F FWD F REV playback...

Page 35: ...t with the audio language and subtitle language settings selected in SET UP MENU The DVD playing does not feature dialog or subtitles in the language selected in the SET UP MENU Switching to a selecte...

Reviews: