5
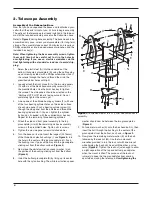
lock nut will make the base difficult to rotate in the
azimuthal (horizontal) direction.
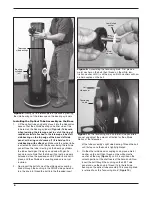
11. To attach the handle (N) to the front brace, first place a
washer (O) onto each of the two 32mm hex-head bolts
(P). Then insert the bolts through the holes in the front
panel (from the inside surface) and into the threaded
holes in the handle
. Tighten the bolts with a crescent
wrench.
12. In the hole near the top of the left side panel (D-Left)
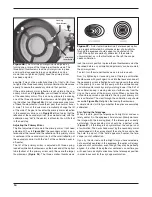
insert the shortest (17mm) of the three black plastic
bushings (Q). In the hole near the top of the right side
panel (D-Right) insert the middle-sized (25mm or 29mm)
of the three black plastic bushings (R). The latter bushing
(R) is longer than the width of the side panel by 1/4" or
so – that’s by design.
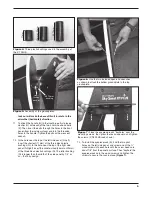
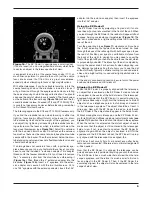
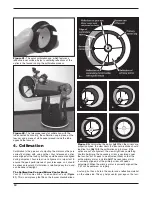
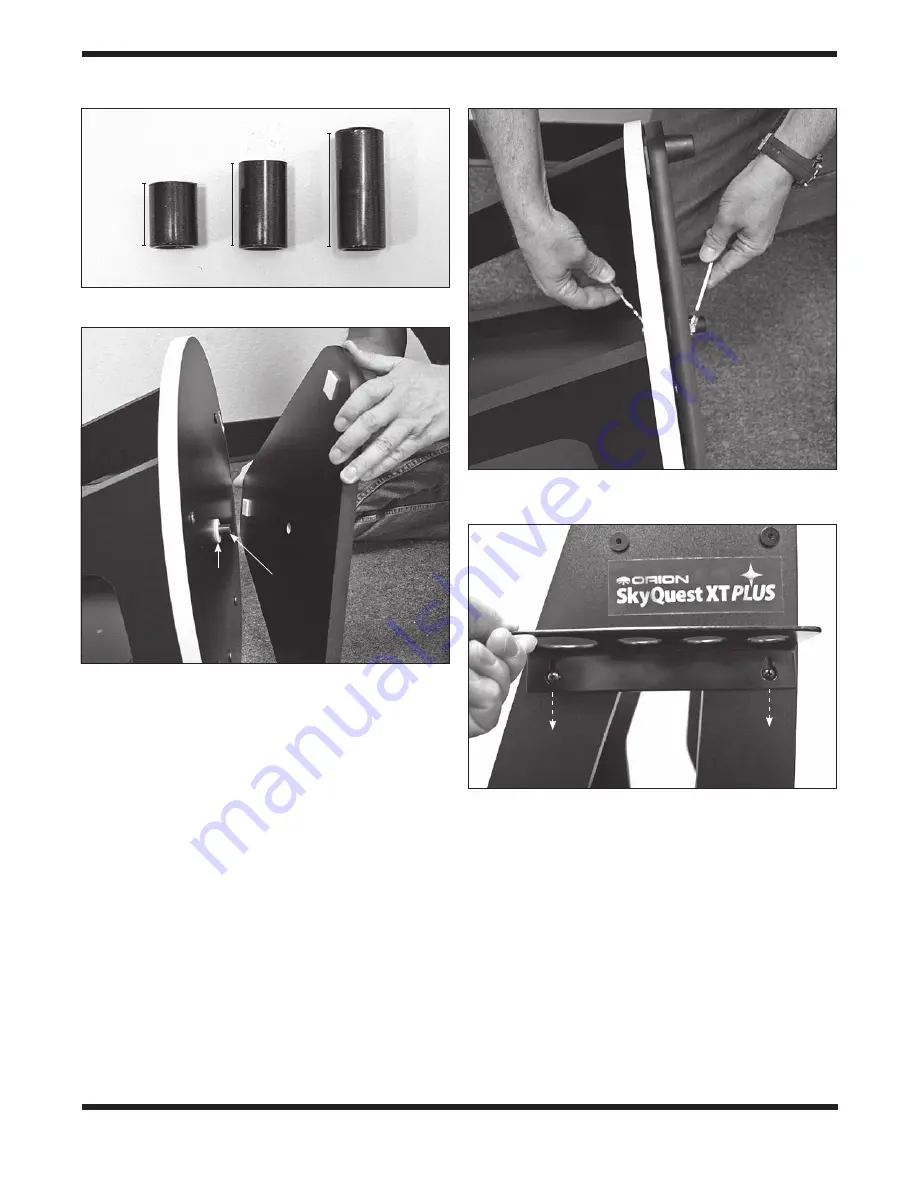
13. To install the eyepiece rack (S), find the two pilot
holes on the left side panel, and screw one of the ½"
wood screws into each hole until the screw heads are
about 1/8" from the panel’s surface. Then “keyhole” the
eyepiece rack onto the wood screws and tighten the
screws to secure the rack in place
(Figure 7).
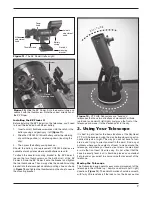
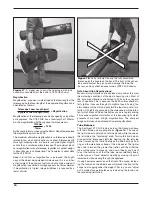
Figure 4.
Three plastic bushings used in the assembly of
the XT PLUS.
Figure 7.
Place the eyepiece rack’s “keyholes” over the
mounting screws, then press the rack downward and tighten
the screws. (XT8 PLUS rack shown)
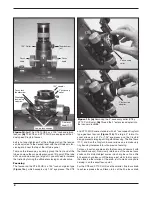
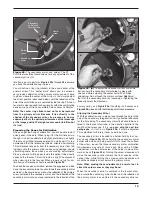
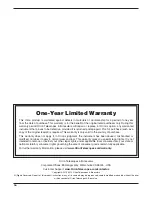
Figure 6.
Use the two included open-end wrenches
as shown to attach the bottom groundplate to the top
groundplate.
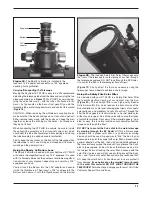
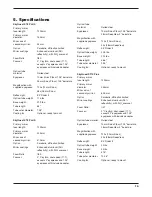
Figure 5.
Assembly of the groundplates.
17mm
25mm or 29mm
33.75mm
Low-
friction
washer
33.75mm
bushing


