


10
GB
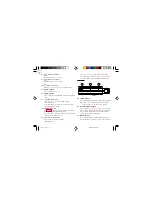
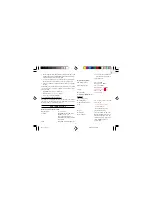
3. Adjust the projected image as below.
For continuous projection, you must connect
the power
adapter.
When the power adapter is connected to the unit, the
projector
will be activated. To maintain projection, slide the
[PROJECTION
ON
]
switch to the “On” position.
To deactivate the feature, slide the switch back to the “Off” position.
it is recommended that to increase the life-time of the projection LED
you keep
[ PROJECTION ON ]
in the “off” position during
daytime.
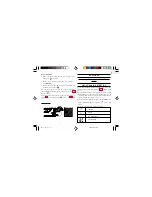
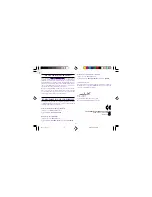
Section V — Others
BACKLIGHT
To turn on the EL backlight of the LCD Display
for 5 seconds press
[SNOOZE/LIGHT]
.
HOW TO RESET THE UNIT
Press
[RESET]
to reset the settings
if
the unit is malfunctioning
When
[RESET]
is pressed, all settings will return to the default
values and memory records will be erased.
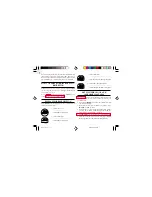
PRECAUTIONS
This unit is engineered to give you years of satisfactory service if
you handle it carefully. Here are a few precautions.
1. Do not immerse the unit in water. If you spill liquid over it, dry
it immediately with a soft, lint-free cloth.
2. Do not clean the unit with any liquid containing alcohol,
detergent, abrasive or corrosive materials. They may scratch the
plastic parts and corrode the electronic circuit.
3. Do not subject the unit to excessive force, shock, dust,
temperature or humidity, which may result in malfunction,
shorter electronic life span, damaged battery and distorted parts.
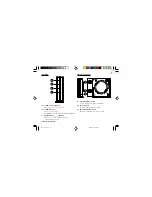
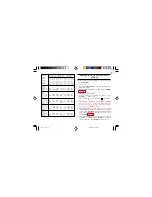
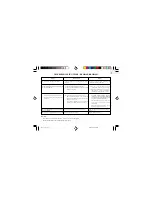
Projector Features
Feature
Effect
Instructions
Adjustable
Projection
Flips an image to
maintain an upright
position
Rotates the
projection 180
°
Tilt swivel projection
housing to alter the
direction of projection
FOCUS
Knob
Focuses
projection
Rotate Dial D2 to focus
projection
IMAGE
ROTATION
KNOB
Dial D3 rotates
projection
Rotation of projection
allows user to place
clock in
a convenient
location
180
°
ROTATION
BUTTON
Button D1
horizontally flips
the projection
180
°
RRM968PM_EN_R03
8/23/04, 10:40 AM
10