5
EN
NOTE
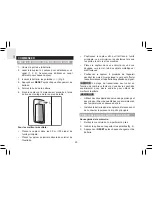
• When the main unit is connected to power, it will
search and start receiving temperature / humidity
data from the sensor automatically.
• To completely disconnect from power, the adapter
should be disconnected from the main unit.
• The main unit and adapter should not be exposed to
wet conditions. No objects filled with liquid, such as
vases, should be placed on the main unit and adapter.
• Batteries serve as a back-up power supply. To fully
utilize all features, install adapter.
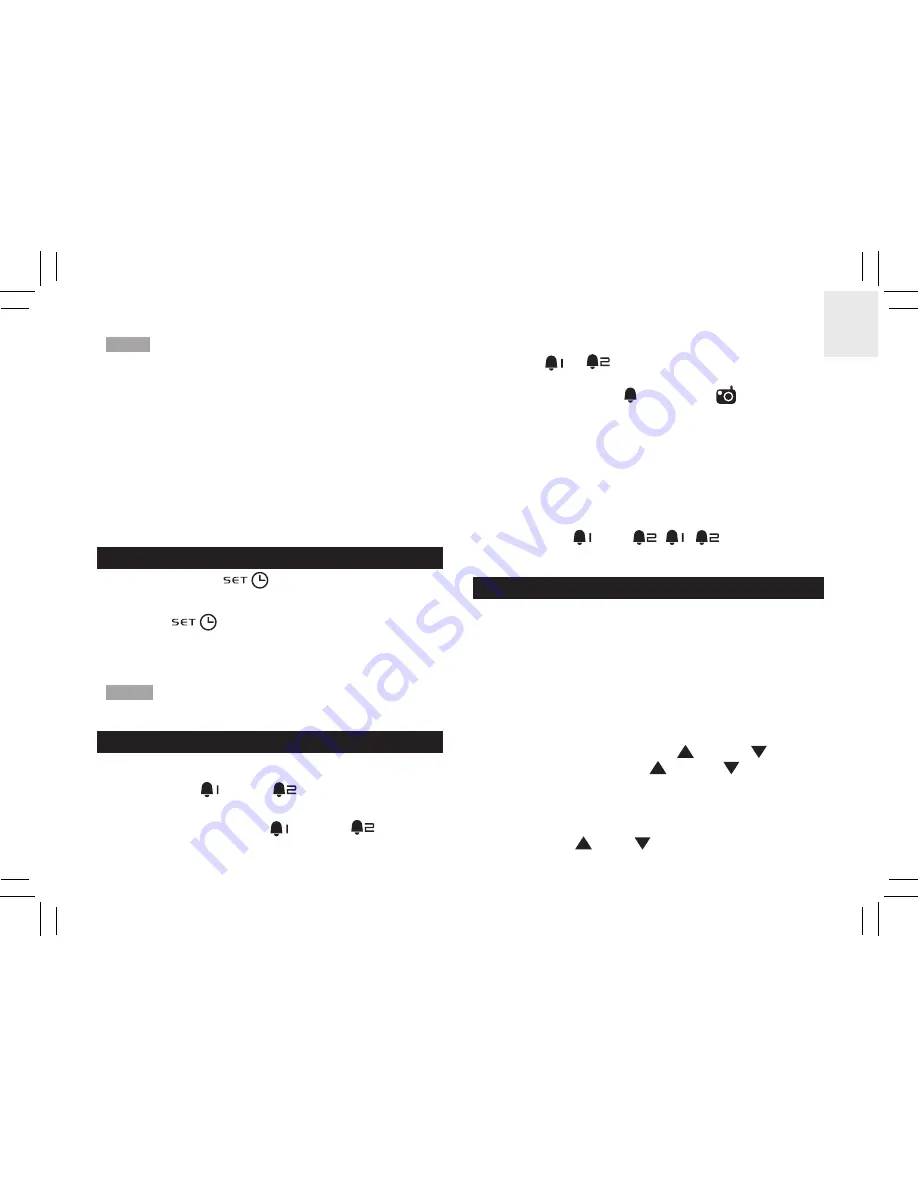
SET CLOCK
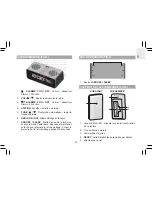
1. Press and hold
.
2. Press
+
or
-
to change the settings.
3. Press
to confirm and move to the next
setting. The setting options are as follows: time-
zone offset, 12/24 hr format, hour, minute, year,
month-day / day-month, day and month.
NOTE
You need manually adjust to Daylight Saving
Time (DST) or back to standard time.
ALARM
To set the alarm:
1. Press
SET
or
SET
to display desired set
alarm time.
2. Press and hold
SET
or
SET
to enter
respective setting.
3. Press
+ / -
to change the settings
4. Press
or
to confirm and move to the next
setting. The setting options are as follows: hour,
minute, beep alarm / radio alarm
.
To adjust station and volume:
• If radio alarm is selected, press
+ / -
to select the
radio station and
+ / -
to adjust the volume.
To silence the alarm:
• Press
SNOOZE / SLEEP
to silence it for 8 minutes
OR
• Press
SET
/
SET
,
/
,
to turn the
alarm off and activate it again after 24 hours.
RADIO
To activate / deactivate radio:
• Press
RADIO ON / OFF
to turn radio ON / OFF.
To set radio station:
1. For first time using, press
RADIO ON/OFF
to turn on
the radio, the main unit will search the frequency and
save to the preset station (1-8) automatically.
2. To manually set the station, select a preset station,
then press and hold
TUNE
/
TUNE
to auto
search or press
TUNE
/
TUNE
to manually
select frequency. The desired frequency will save to
the corresponding station.
To adjust volume:
• Press
VOL
/ VOL
when in Radio Mode.


