


15
14
played.
4.
Press
[
Y
]
\
[
Z
]
or rotate
[DIAL]
knob to adjust the display
contrast.
5.
Press
[OK]
to confirm.
y
Press softkey
[
]
to return to main interface.
■
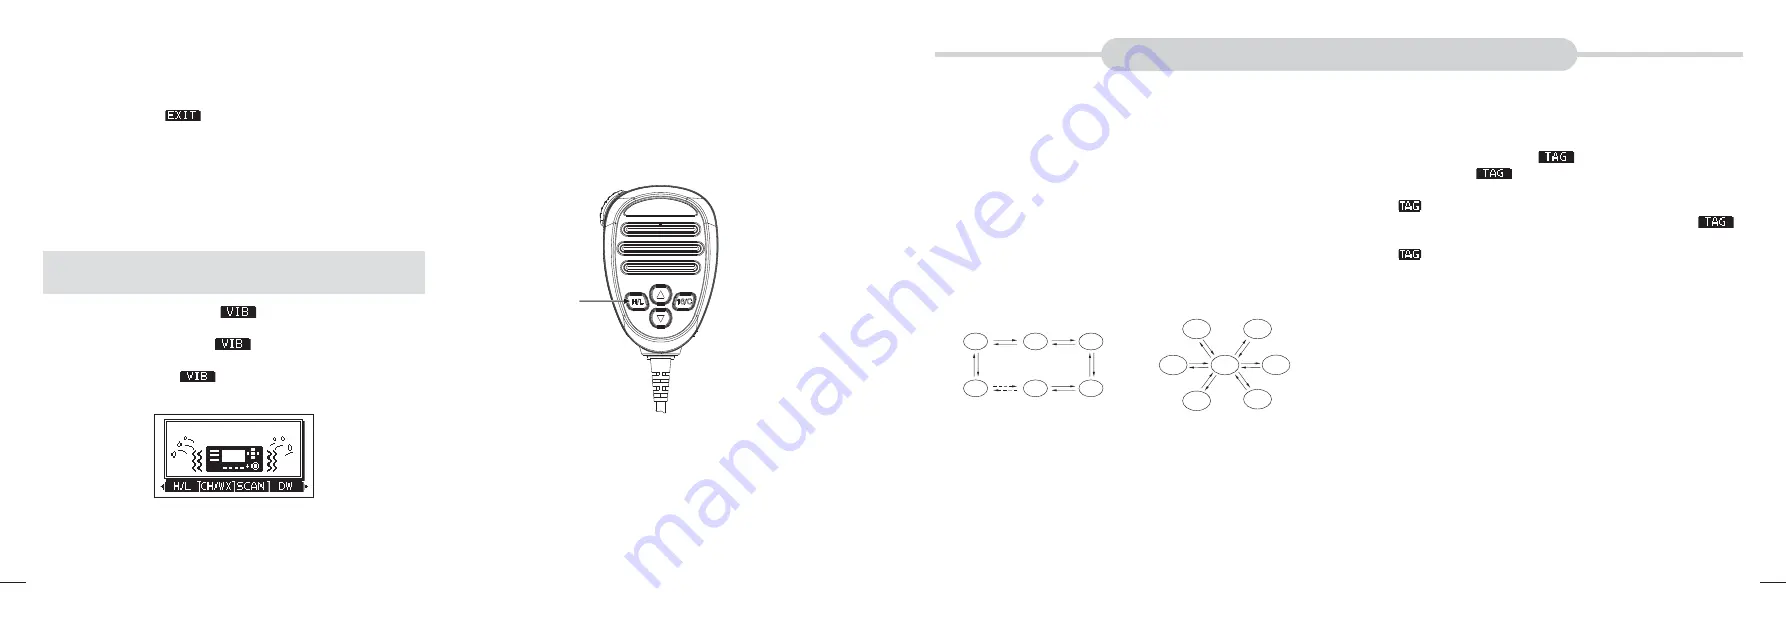
Vibration Water Draining Function
Vibration helps drain water away from the speaker housing
(water that might otherwise muffle the sound coming from the
speaker). The transceiver makes a vibrating noise when this
function is being used.
NOTE:
Do not use the vibration water draining function when
connecting an external speaker.
1.
Press
[
A
]
\
[
B
]
to display
[
]
.
y
“VIB WATER” interface is displayed.
2.
Press and hold softkey
[
]
,the transceiver emits a low
sound for draining.
3.
Release softkey
[
]
to turn vibration water draining
function OFF.
■
Microphone Lock Function
The microphone lock function electrically locks all keys except
for
[PTT]
on the supplied microphone. This prevents accidental
channel changes and function access.
1.
Press and hold
[DIAL]
knob for one second to power OFF.
2.
While pressing and holding
[H/L]
on the microphone, power
ON to toggle the microphone lock function ON or OFF.
[H/L]
SCAN OPERATION
■
Scan Types
This transceiver has normal scan and priority scan, can be set
in the menu item “Radio Settings”.
When the weather alert function is turned ON, the previously
selected (last used) weather channel is also scanned.
Set the TAG channels (scanned channels) before scanning.
Clear the TAG channels which inconveniently stop scanning.
Normal Scan:
Normal scan searches through all TAG channels
in sequence. Channel 16 is not checked unless
Channel 16 is set as a TAG channel.
Priority Scan:
Priority scan searches through all TAG channels
in sequence while monitoring Channel 16.
Priority Scan
Normal Scan
CH01
CH02
CH03
CH06
CH05
CH04
CH01
CH02
CH03
CH04
CH05
CH06
CH16
■
Setting TAG Channels
For more efficient scanning, you can add desired channels as
TAG channels or clear the TAG for unwanted channels.
Channels that are not tagged will be skipped during scanning.
D
Setting / Clearing a Single Tagged Channel
1.
Press
[
Y
]
\
[
Z
]
to select the channel you want to set as TAG
channel.
2.
Press
[
A
]
\
[
B
]
to display
[
]
.
3.
Press softkey
[
]
to set current channel as TAG chan-
nel.
y
“
” is displayed on screen.
4.
To cancel the TAG channel setting, press softkey
[
]
again.
y
“
” is disappeared on screen.
D
Setting / Clearing All Tagged Channels
1.
Press
[MENU]
key, the menu interface is displayed.
2.
Press
[
Y
]
\
[
Z
]
or rotate
[DIAL]
knob to select “Radio Set-
tings”, then press
[OK]
, the “RADIO SETTINGS” screen is
displayed.
3.
Press
[
Y
]
\
[
Z
]
or rotate
[DIAL]
knob to select “FAV Settings”,
then press
[OK]
, the “FAV SETTINGS” screen is displayed.
4.
Press
[
Y
]
\
[
Z
]
or rotate
[DIAL]
knob to select “Set All Chan-
nels” to set all channels as Tagged Channels.
5.
Select “Clear All Channels” to cancel all the TAG channel
setting.
6.
Select “Set Default” to restore to factory default channel set-
ting.


