www.cnoec.com.cn [email protected]
Resolution: Click it to choose different resolution.
Comparing: Click it to choose four pictures in same windows to compare with
each other.
“Brown”: Click it to choose the different pictures for comparing.
Measuring: Click it to go to the measuring window.
Area 1: Basic function
:
open or save the picture.
Open: Open a picture
Paste: If you have copied a picture in other software, you can paste it in the
measuring window.
Save: save the picture. If you have some mark in picture
,
the change will be
saved at the same time.
Save as: Save the picture as you required.
Exit: Exit from the measuring mode.
Area 2: Measure and calibration function
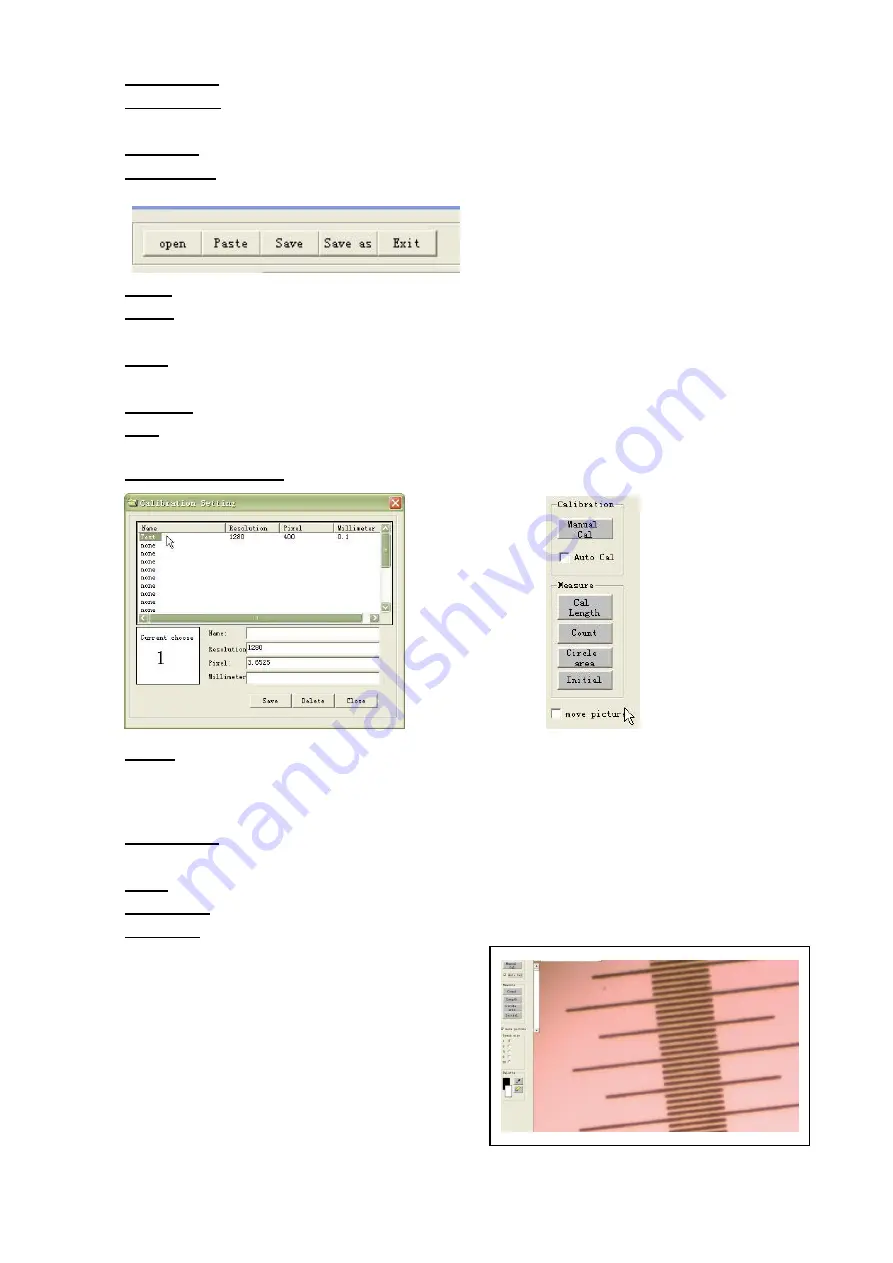
Manual calibration: You can input the calibration data by yourself.
Name: You will give this calibration reference a name, we advice you can give
the name with camera name and objective (such as: 1.3 mega pix--10 times),
because you will choose different calibration when you will measure the object in the
microscope.
Resolution: Enter the original resolution of your calibration picture. When
measuring, the resolution must be same as the calibration reference.
Pixel: 1 unit will be how much pixel
Millimeter: 1 unit will be how much millimeter
Auto Cal: Insert a standard micro-ruler into the microscope and adjust it to find
the ruler image in PC screen. Click
“Auto cal”
to be
“√” and click “Cal length”. Choose one
point on a line in the image----Draw a vertical
line of another line through the chosen point.
A window of calibration setting will jump out.
Choose a position in the
“Name”----Input the
calibration name and input the standard
distance between the two chosen lines in
“Millimeter”----Click “Save”----“OK”. The
auto calibration has been finished.
P.15


