


346
Click Yes button, system pops up the following dialogue box, you can see the certificate download is
complete. See Figure 5-52.
Figure 5-52
5.8.2.15.3 View and set HTTPS port
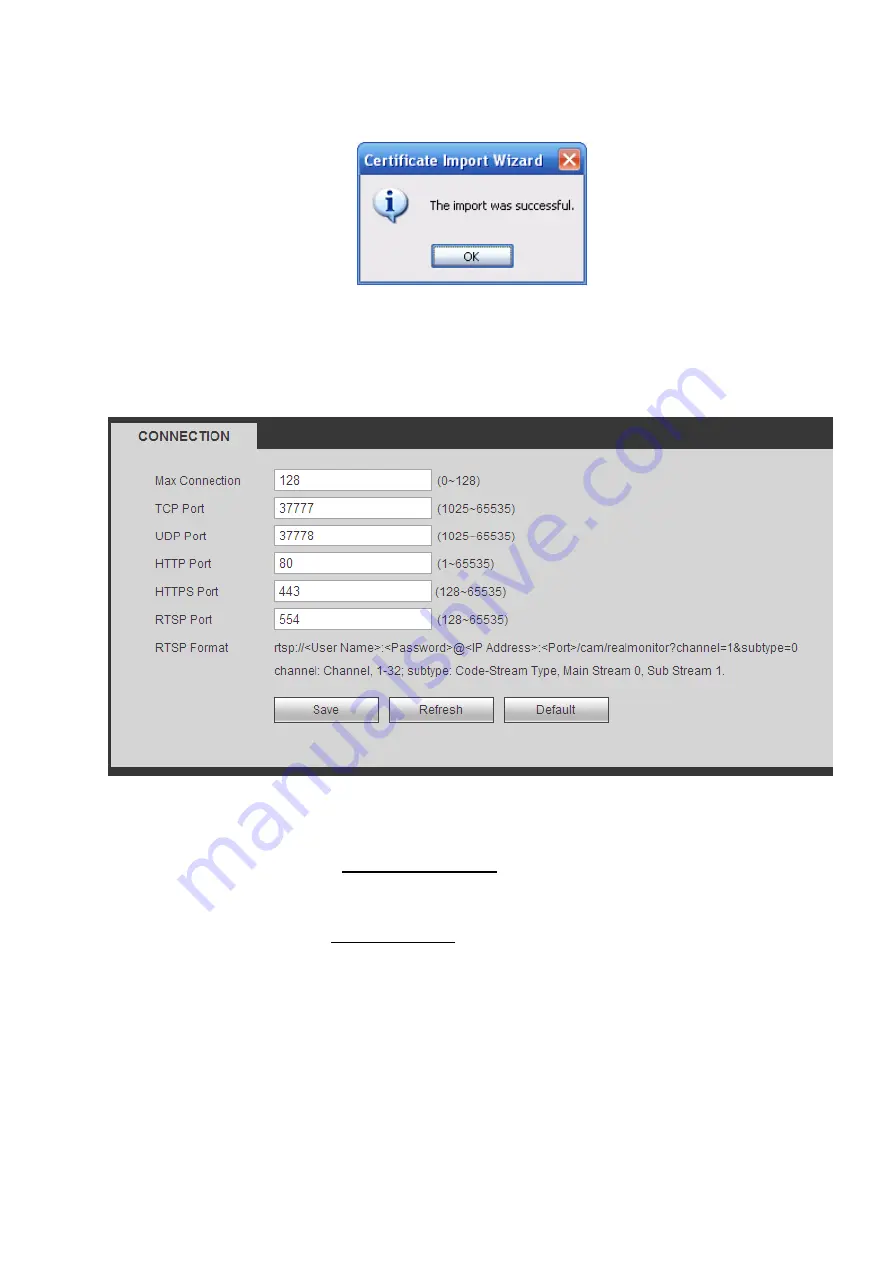
From Setup->Network->Connection, you can see the following interface. See Figure 5-53.
You can see HTTPS default value is 443.
Figure 5-53
5.8.2.15.4 Login
Open the browser and then input https://xx.xx.xx.xx:port.
xx.xx.xx.xx: is your device IP or domain mane.
Port is your HTTPS port. If you are using default HTTPS value 443, you do not need to add port
information here. You can input https://xx.xx.xx.xx to access.
Now you can see the login interface if your setup is right.
5.8.2.16 P2P
You can use your cell phone to scan the QR code and add it to the cell phone client.
Via the SN from scanning the QR code, you can access the device in the WAN. Please refer to the P2P
operation manual included in the resources CD.
The P2P interface is shown as in Figure 5-54.
Check the Enable box to enable P2P function and then click the Save button. Now you can view the
Summary of Contents for NV432P16-4K
Page 1: ...Network Video Recorder User s Manual V 2 7 0...
Page 42: ...109 VIEDEO OUT Video output port CVBS output...
Page 129: ...236 Figure 4 89 Figure 4 90...
Page 130: ...237 Figure 4 91 Figure 4 92...
Page 145: ...252 Figure 4 110 Figure 4 111...
Page 146: ...253 Figure 4 112 Figure 4 113...
Page 147: ...254 Figure 4 114 Figure 4 115...
Page 149: ...256 Figure 4 117 Figure 4 118...
Page 241: ...348 Figure 5 55 Figure 5 56...
Page 242: ...349 Figure 5 57 Figure 5 58 Figure 5 59...
Page 253: ...360 Figure 5 73 Figure 5 74...


