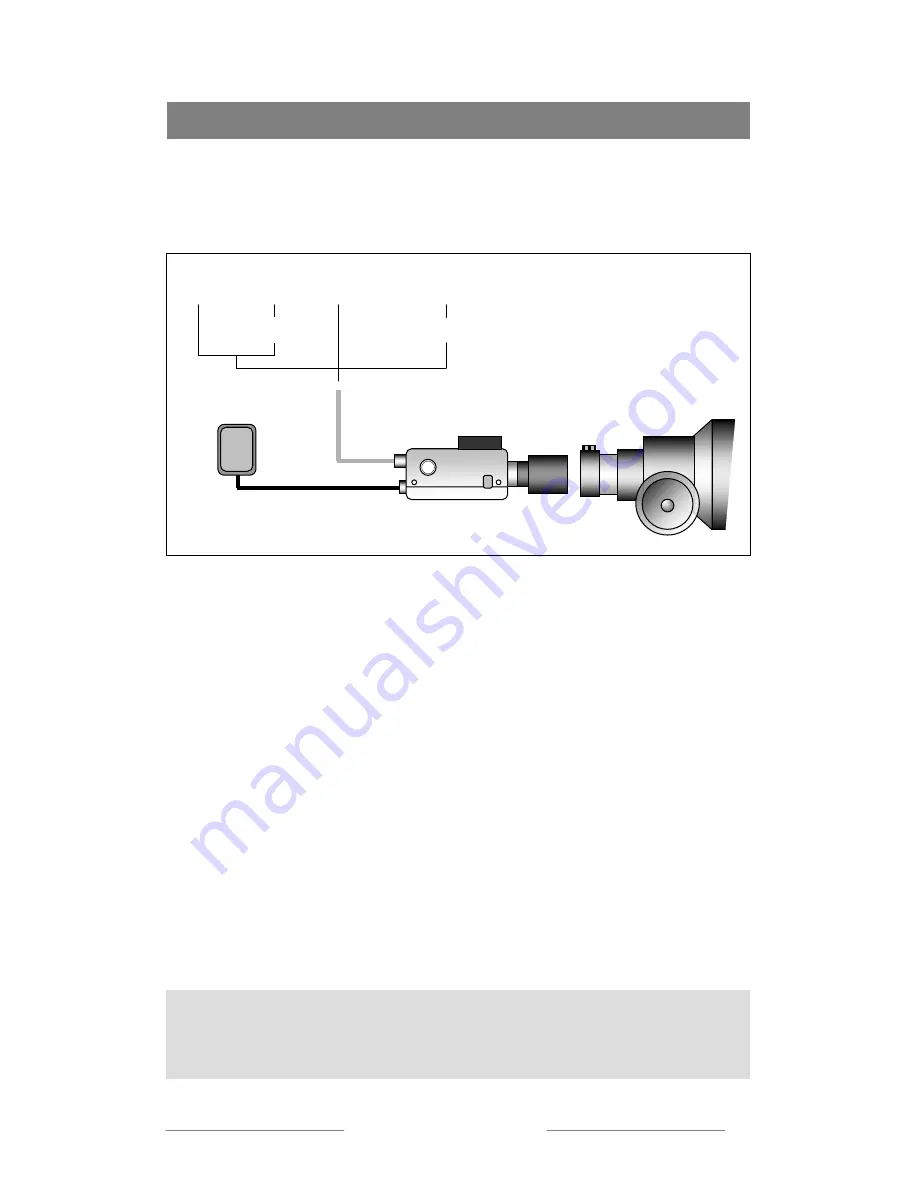
Connecting your Opticstar Camera to a Telescope
Please handle your new Opticstar astro-video camera at all times with great care as
you would handle an expensive eyepiece. The procedure for connecting an Opticstar
camera to any telescope is near identical.
AV-TFT TV
Video-In
Please follow the following steps below to attach your Opticstar camera to your
telescope.
•
ensure that your telescope can accept 1.1/4” eyepieces.
•
set up your telescope according to the manufacturer’s instructions.
yepiece if one is installed, you do not need an eye-piece in place.
•
locate the Opticstar adaptor.
•
remove your Opticstar camera with great care from its holder.
•
remove the camera cap and carefully screw the Opticstar adaptor in its place.
•
attach the camera to the telescope as if it was as an eyepiece and tighten up the
locking screw. Make sure the locking screw is securely tightened.
•
attach the Opticstar RF cable to the camera and to your Opticstar-TFT
monitor, TV (SCART cable). video or computer via a video grabber.
•
connect power leads, ensure that they are arranged in a tidy manner.
•
power-on all devices.
•
point you telescope to the sky and enjoy the views through your video camera.
•
remove the e
Opticstar
video camera
Opticstar
Opticstar
power adaptor
Adaptor
Video Grabber
Personal Computer
Opticstar RF cable
Modulator/SCART
Caution:
Ensure that any air vents on the camera body remain
unobstructed during operation. Failure to observe this will cause
overheating that may subsequently damage your camera.
© Opticstar Ltd 2003, 2004
4


