


- 3 -
procedure again.
Please wait 10seconds before you re-insert the battery to make sure both
transmitter and receiver reset properly.
Note for Radio Controlled Time:
The time and date displayed is based on the signal provided by the highly accurate government operated
atomic clock. The base station will continue to scan for the radio controlled time signal each day despite it
being manually set. If reception has been unsuccessful, then the radio controlled time icon will not appear
but reception will still be attempted continually. If reception has been successful, the received time and
date will overwrite the manually set time and date.
Note:
Please participate in the preservation of the environment by properly disposing of all used-up
batteries and accumulators at designated disposal points. Never dispose of batteries in a fire as this
may cause explosion, risk of fire or leakage of dangerous chemicals and fumes
3.2 Mounting
1) Base station
By using the foldable legs at the back of the unit, the base station can be placed onto any flat surface or
can be wall mounted at the desired location by the hanging holes at the back of the unit. It is important to
check that the radio signal can be received before permanently mounting
any of the units
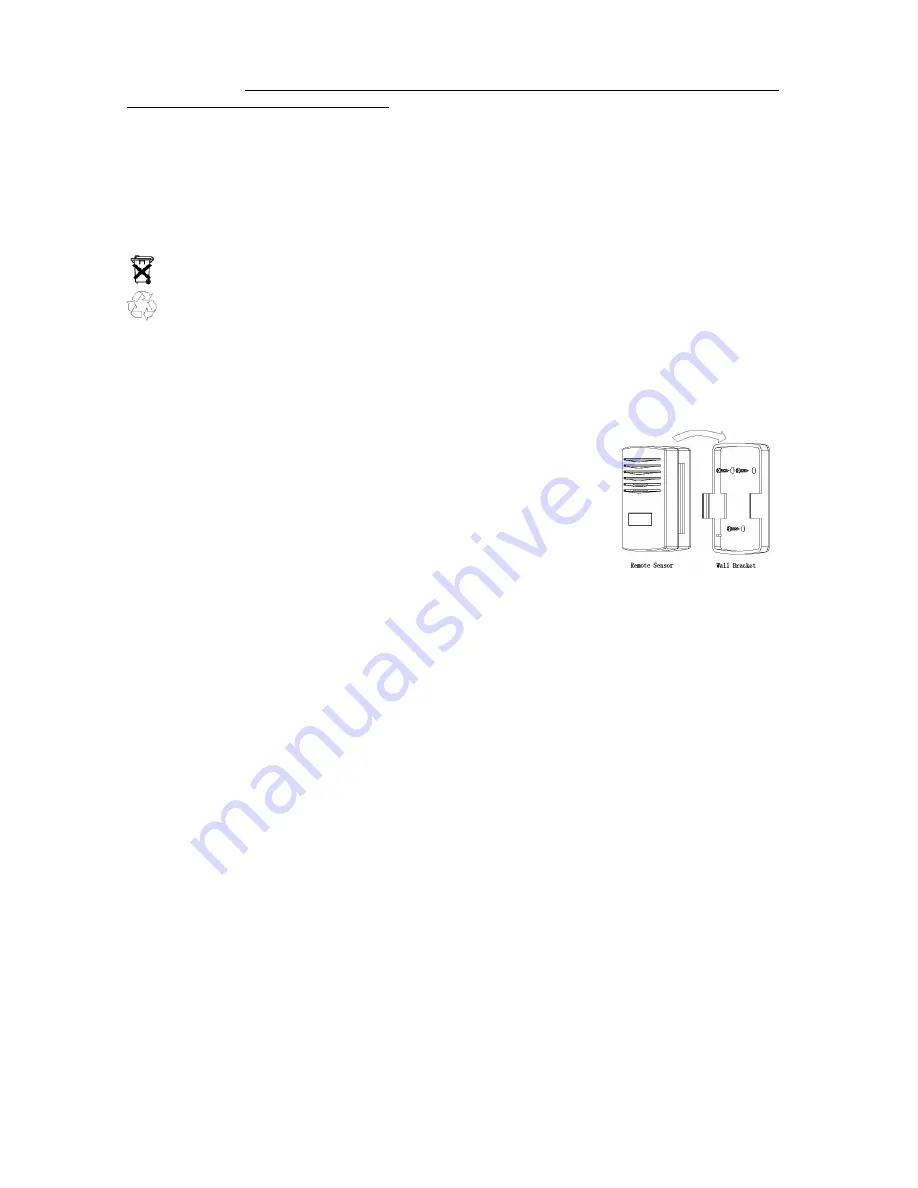
2) Remote sensor
To wall mount, use 3 screws to affix the wall bracket to the wall and plug in
the remote sensor to the bracket.
Note:
To achieve a true temperature reading, avoid mounting remote sensor
in direct sunlight. We recommend that you mount the remote sensor on an
outside North-facing wall; obstacles such as walls, concrete, and large metal
objects will reduce the range. The unit should be placed in a sheltered
position where it will not be subjected to direct rain or snow.


