background image


ONYX Flexible-arm PC Edition User’s Guide


29


Button/LED 

Description and Function 


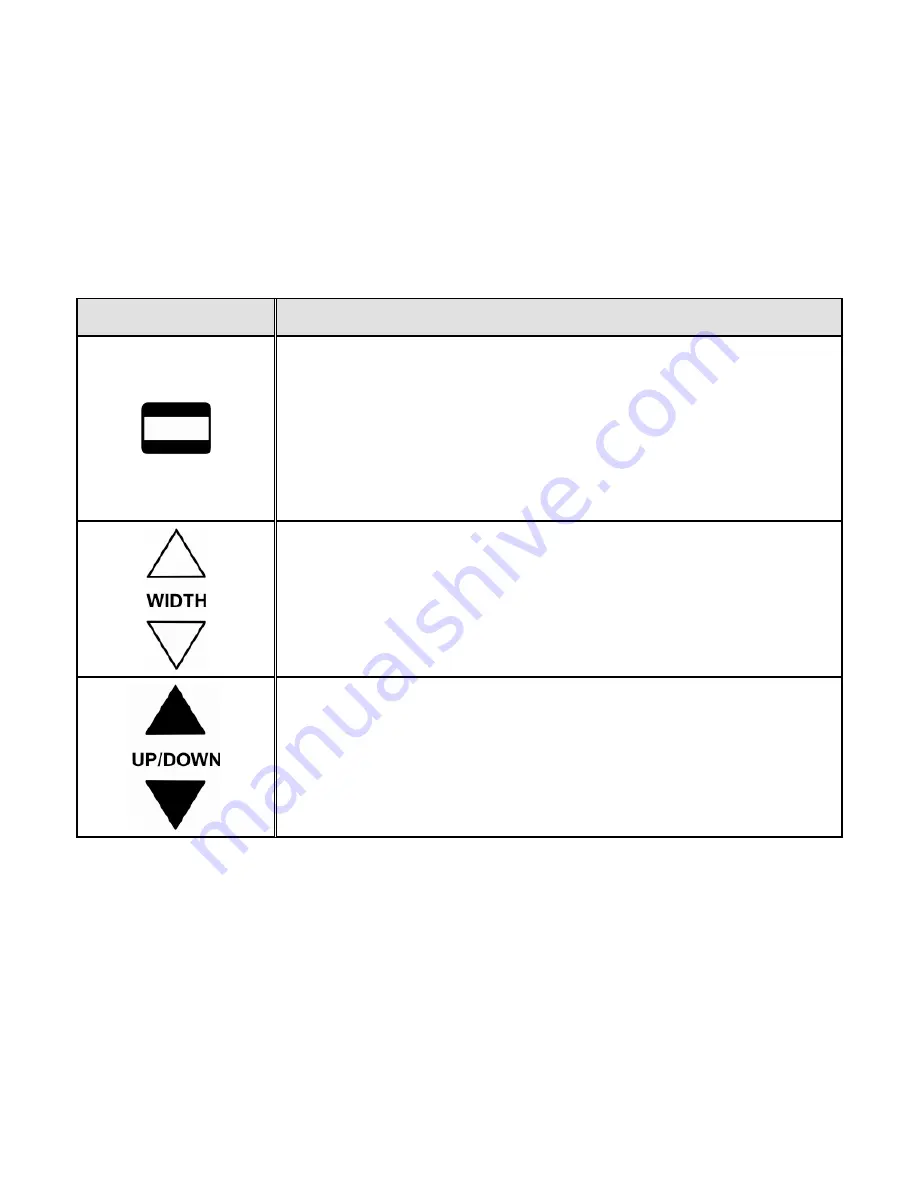
Mask (Black and White) 

Press the 

MASK

 button to cover the upper and lower parts of the 

screen so that you can concentrate on specific items or lines of 
text that appear on the screen. You can use the 

WIDTH

 and 

UP/DOWN

 buttons to adjust the visible area and position on the 

screen. Remove the button cover on the front of the remote 
control to access these buttons. 


Width (White) 

Use these buttons to move the bottom reading line or mask on 
the screen. This action closes and opens the distance between 
reading lines or the mask. Remove the button cover on the front 
of the remote control to access these buttons. 


Up and Down (Black) 

Use these buttons to move the reading lines or mask up and 
down the screen. Remove the button cover on the front of the 
remote control to access these buttons. 


Summary of Contents for Flexible-arm PC Edition

Page 1: ...440482 001 Revision A ONYX Flexible arm PC Edition User s Guide Freedom Scientific Inc April 2010...

Page 2: ...ocument is subject to change without notice No part of this publication may be reproduced or transmitted in any form or by any means electronic or mechanical for any purpose without the express writte...

Page 3: ...rference will not occur in a particular installation If this equipment does cause harmful interference to radio or television reception which can be determined by turning the equipment off and on the...

Page 4: ...on to a Table Edge 5 Camera Assembly 5 Video and Power Connections 8 Connecting Video Cables 9 Connecting Power Using a Wall Outlet 10 Connecting Power Using a Computer s USB Port 10 Installing and St...

Page 5: ...he Camera at a Distant Image 18 Flipping an Image 19 Freezing an Image 19 Auto Focus Toggle 20 Masking 20 Reading Lines 21 Saving Camera Settings 22 ONYX Remote Control Functions 23 Power Function LED...

Page 6: ...White 29 Width White 29 Up and Down Black 29 Pairing a Remote Control with a Camera 30 MAGic EyeMerge Hot Keys 33 Zoom and Focus 33 Screen View 34 Video Modes 36 Capture Image 37 View Image 37 Lines a...

Page 7: ...Document reading Distance reading Self viewing Auto Focus creates the clearest view without any need to make adjustments Adjust pre set video modes for high contrast text that is most comfortable for...

Page 8: ...e arm PC Edition Components What s in the Box ONYX vision camera Flexible camera arm Mounting clamp ONYX USB interconnect box Remote control with two AAA batteries Power cable and universal 110 240V A...

Page 9: ...could void the user s authority to operate the equipment Keep the unit away from wet areas rain and other sources of liquids or high humidity Do not submerge the unit Always operate the unit in a pla...

Page 10: ...exible arm PC Edition User s Guide Use only the power cable that came with your unit Other adapters may damage the unit When cleaning the unit use a clean soft cloth Do not spray or pour any liquid on...

Page 11: ...PC Edition to a Table Edge Note Before beginning assembly locate a sturdy and stable work surface such as a table edge with at least two inches of depth to mount the ONYX Flexible arm PC Edition Do t...

Page 12: ...a tongue and groove design Make sure that the top groove on the camera s connector fits snuggly over the top of the camera arm connector as shown in the following illustration Attaching the ONYX camer...

Page 13: ...ONYX Flexible arm PC Edition User s Guide 7 ONYX Flexible arm PC Edition camera assembly...

Page 14: ...8 ONYX Flexible arm PC Edition User s Guide Video and Power Connections ONYX Flexible arm PC Edition video and power connections...

Page 15: ...n the USB interconnect box RJ45 connector on USB interconnect box A click sound is made when the modular connector snaps into place 2 Insert the USB cable s Type B plug into the USB receptacle on the...

Page 16: ...e ONYX Flexible arm PC Edition derives power from the AC wall outlet Connecting Power Using a Computer s USB Port Note Use the supplied Power to USB Type A cable to draw power from your computer 1 Plu...

Page 17: ...ctX 9 0 To install MAGic EyeMerge do the following 1 Insert the MAGic CD into your CD ROM drive 2 When the MAGic Setup dialog box appears choose the MAGic Setup button Tip If your MAGic installation C...

Page 18: ...uter the following message may appear Choose Install this driver software anyway 4 To start the application choose the Windows Start button choose Programs open the MAGic EyeMerge XX submenu where XX...

Page 19: ...nning 2 Insert two AAA batteries into the remote control 3 Press the green POWER button located in the upper right corner of the remote control There is no need to aim the remote control at the camera...

Page 20: ...g configuration Desktop and self view configuration There are four primary camera positions Horizontal with lens up for looking at distant objects Horizontal with lens down for looking at nearby objec...

Page 21: ...distance viewing in which the magnification and brightness are adapted for that situation while also having a separate configuration for desktop viewing one that takes magnification viewing mode and...

Page 22: ...Hot Keys on page 33 or the MAGic EyeMerge help file for a list of hot keys Turning On and Off the ONYX Flexible arm PC Edition 1 Connect all cables as previously described in the Video and Power Conne...

Page 23: ...d off to expose the MASK and READING LINES buttons Additional Features Masking and Reading Lines are functions to help you focus and maintain your place while reading To access these additional featur...

Page 24: ...e control to cycle through different viewing modes Normal full color Black on White enhanced positive Inverted Color White on Black enhanced negative Aiming the Camera at a Distant Image If you are cu...

Page 25: ...n the object you are viewing is upside down For example if you receive a heavy package it may be easier to flip the image around instead of turning over the package Press the light blue FLIP button lo...

Page 26: ...ect moved closer to or farther away from the camera lens will be out of focus 2 Press the orange FOCUS LOCK button again to return to the camera s standard Auto Focus live view Masking Masking blocks...

Page 27: ...Lines Reading Lines are used to help you maintain your place while reading text To use Reading Lines do the following Note To access the READING LINES controls remove the button cover located at the b...

Page 28: ...again Saving Camera Settings To save camera settings turn ONYX off using the green POWER button located in the upper right corner of the remote control Note Camera settings are unique to the camera s...

Page 29: ...e FCC Rules Operation is subject to the following two conditions 1 this device may not cause harmful interference and 2 this device must accept any interference received including interference that ma...

Page 30: ...n on the remote control It is located in the upper left corner of the remote control Power Green Press the POWER button to turn the power on for the video source and camera To turn the power off press...

Page 31: ...ing the black MINUS button and move the camera to place the crosshairs on a different object Press the FIND button again and the camera zooms in to the previous magnification level The crosshairs then...

Page 32: ...remote control to cycle through the following color modes Normal color Reverse color Enhanced Positive black on white Enhanced Negative white on black Brightness Yellow Press the top BRIGHTNESS button...

Page 33: ...zoom away from the object on the screen These buttons are located in the center of the remote control Freeze Frame Red Press the FREEZE FRAME button once to freeze the current image that appears on t...

Page 34: ...ite or work with an object because the camera will not automatically focus on your hand During normal operation it is recommended that you leave Auto Focus on Press the button again to restore Auto Fo...

Page 35: ...and position on the screen Remove the button cover on the front of the remote control to access these buttons Width White Use these buttons to move the bottom reading line or mask on the screen This...

Page 36: ...n unfolded paper clip is required for this procedure Because the following tasks must be performed within a specified time limit review and make sure that you understand this procedure before attempti...

Page 37: ...ter pressing the camera s PAIRING button 3 Open the battery cover on the back of the ONYX remote control Insert and press the unfolded paper clip into the recessed PAIRING button the hole above and to...

Page 38: ...NG button 4 Press the remote control s green POWER button and verify that the camera turns on The red LED on the bottom of the camera will turn on This indicates that the camera and remote control are...

Page 39: ...you change the default modifier key substitute the modifier key that you are using when issuing a command Refer to the MAGic EyeMerge help for more information about the modifier key Zoom and Focus D...

Page 40: ...ull Screen Camera view F12 HOME Full Screen Computer view F12 END Split Screen view F12 PAGE UP Split Screen orientation toggle Split Screen view between horizontal and vertical orientation use this k...

Page 41: ...12 F5 Decrease Split Screen viewing area F12 F6 Camera flip switch between Normal Mirror Upside Down or Mirror Upside Down views F12 Q add SHIFT to reverse order Move EyeMerge console to foreground F1...

Page 42: ...mode switch between Normal color mode Negative inverted color mode Black on White positive mode or White on Black negative mode F12 E add SHIFT to reverse order Normal full color mode F12 SHIFT A Neg...

Page 43: ...ifier Key Hot Key Save current screen image F12 CTRL S Capture image F12 TAB Delete image F12 DELETE View Image View Image Description Modifier Key Hot Key Jump to live image F12 0 zero Next image F12...

Page 44: ...s Guide View Image Description Modifier Key Hot Key Jump to image 3 F12 3 Jump to image 4 F12 4 Jump to image 5 F12 5 Jump to image 6 F12 6 Jump to image 7 F12 7 Jump to image 8 F12 8 Jump to image 9...

Page 45: ...elect reading lines or screen masking F12 Y Screen marker orientation toggle between horizontal or vertical screen marker orientation F12 O Move reading lines or screen mask down or to the right F12 N...

Page 46: ...istance between reading lines or decrease amount of image viewable in the masked area F12 F9 Select reading line color F12 R add SHIFT to reverse order Camera Control Camera Control Description Modifi...

Page 47: ...icture Adjustment Description Modifier Key Hot Key Increase brightness F12 B Decrease brightness F12 SHIFT B Increase hue F12 H Decrease hue F12 SHIFT H Increase saturation F12 U Decrease saturation F...

Page 48: ...ns and technical issues concerning Freedom Scientific products Note This device has no user serviceable components Any unauthorized attempt to service or replace internal components will void the prod...

Page 49: ...n and that the red Power LED for the camera is on It is located on the bottom of the camera Check that all power cables are correctly connected Reduce the magnification level using the black MINUS but...

Page 50: ...re that the switch is on If you are trying to power ONYX using two USB ports it is possible your computer does not output enough power through the USB ports Try connecting power to the wall outlet Ens...

Page 51: ...en that makes it difficult to see Use the yellow BRIGHTNESS buttons or to reduce the brightness Press the blue VIDEO MODE button to switch to a different video mode The image on the screen is too dark...

Page 52: ...he object to within 15 inches of the camera with the lens down or at least 30 inches away from the camera with the lens up Make sure that the lens is clean Check that there are no objects in the foreg...

Page 53: ...mera settings are saved and stored per position For example if you have Reading Lines turned on for distant viewing and then change to desktop viewing or self viewing the Reading Lines will not appear...

Page 54: ...utlet Ensure that the television is on and set to AUX or VIDEO channel Ensure that the television cable is securely connected to the ONYX video box Ensure that the television connector cable is secure...

Reviews: