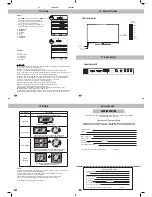
17
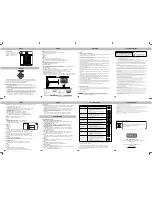
19
18
20
14. Picture
LED Cristal Series
PC
30/09/2013
11052286
Remote Sensor
Stand by
Power LED
Onida House ll, Mahal Industrial Estate, Nr Paper Box .Off. mahakali Caves Road,
Andheri (E),Mumbai - 400 093.
Customer’s Warranty Card
THIS WARRANTY STANDS NULL AND VOID IF THE SERVICE CENTRE COPY OF
WARRANTY CARD IS NO DISPATCHED WTHIN 10 DAY OF DATE OF PURCHASE
Service Station Copy
Customer Name
Address
Name of the Town
Dealer’s Name
Model No.
Chassis No.
Date of purchase
Date of Expiry of Warranty
I accept the terms & conditions of the warranty Signature
Customer Name
Address
Name of the Town
Dealer’s Name
Model No.
Chassis No.
Date of purchase
Date of Expiry of Warranty
I accept the terms & conditions of the warranty Signature
SERVICE CENTRE
Key
Controls
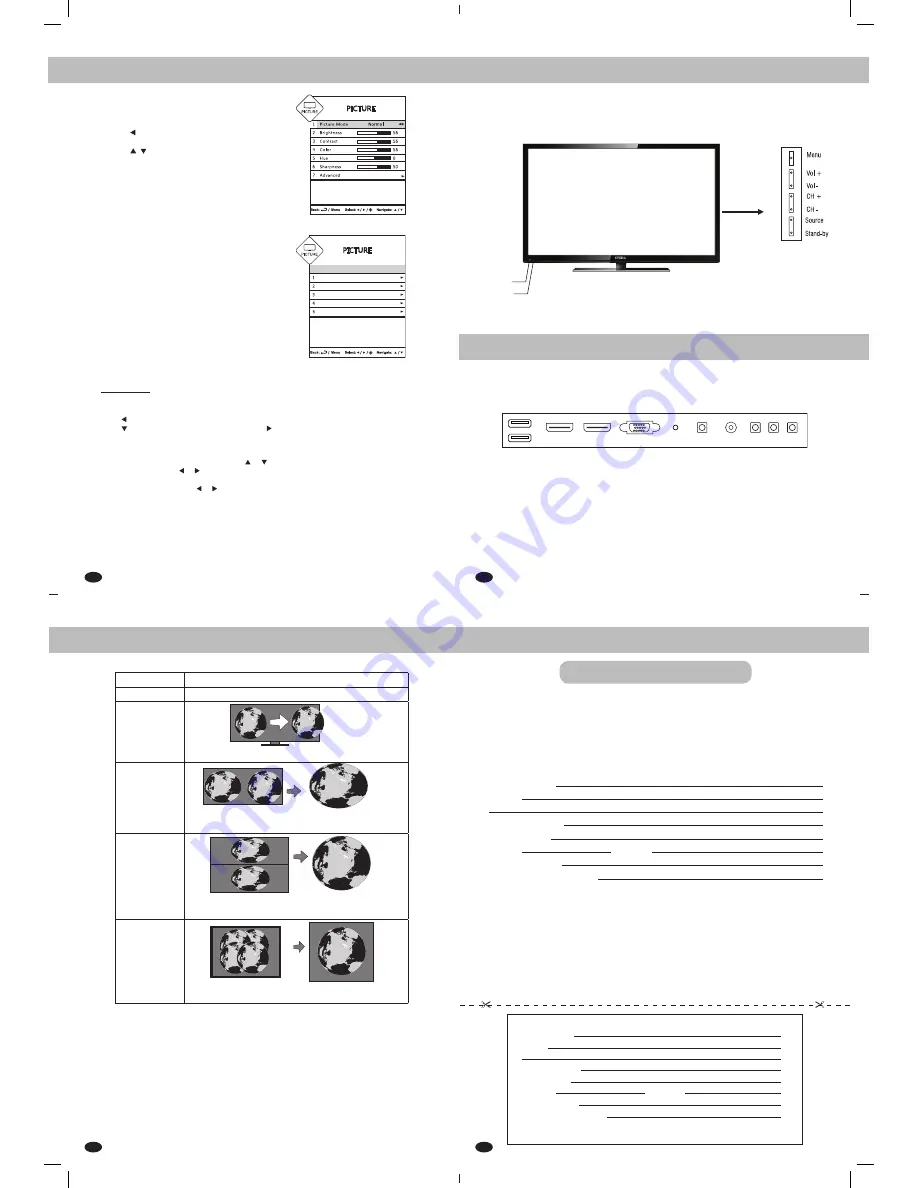
Picture
• Press
MENU
key on remote control or
MENU
key on
Control Panel of LED TV to display TV Menu.
• Press
key on your remote control or
Vol-
on
Control panel to select Picture Menu.
• Press
/
key on remote control or
CH+/-
on
Control panel to select from following options
1. Picture Mode
2. Brightness
3. Contrast
4. Color
5. Hue
6. Sharpness
7. Advanced
3D Effect
1. Off
2. Frame Packing
3. Top Bottom
4. Side By Side
5. 2D to 3D
Cristal Series LED
Service Centre
PC VGA IN
HDMI 2
2 USB
1
HDMI 1
PC
AUDIO IN
CMPT-IN
ANTENNA
AV OUT
AV 2 IN AV 1 IN
15. Picture
Warning:
1. If you watch the 3D content too closely or for a long period of time it may cause drowsiness,
headache. Take frequent breaks while watching 3D.
2. Children under the age of 5, Pregent lady, elder and those suffering from serious
physical conditions advised to avoid watching 3D.
3. When watching 3D contents you should be able to see full picture at your eye
level and maintain minimum distance of atleast twice the TV screen width.
Note: 3D Effect is not available in non 3D models.
16. Cabinet Pictures
17. Quick Set-Up
To select 3D:
3D can be selected either directly by ‘MY View’ key followed by OK key provided on the Remote
control or press “MENU” key on the remote
Press key on the remote to select ‘Picture’ menu
Press key to select ADVANCED and then press to select 3D Effect and press OK key
NOTE: Do not forget to wear proper 3D Glasses. 3D Effect is not enable when input source is not
connected. P.SIZE key on remote control does not work while viewing 3D.
3D SET UP : After entering 3D SET UP, use or keys to select one of the following settings.
1) 3D Effect : Press the or Keys followed by to OK select one of the following 3D Effects:
2) 3D to 2D : Select this mode if you want to view the 3D content in 2D mode.
3) Picture Correction : Press or Keys to select Left/Right or
Right/Left to adjust the image for the left and right eye to better visibility.
Note:
The last 3 setting of 3D Setup are not enable when 3D Effect is OFF.
“Frame packing” effect is unable is only in HDMI source.
“Side By Side” and “Top-Bottom” effects are enable only in USB videos & HDMI source.
3D effect is disable in Photos and Songs of USB source.
For viewing 3D content use HDMI or USB source only. In other sources like, AV,CMPT, RF & VGA
the 3D content display will not be good but for normal TV signals 2D to 3D conversion possible.
3D Effect
Description
Off
Display contents in original format
2D to 3D
Side by Side
Top & Bottom
Frame
Packing
Select this mode when two frame are
separated by some space.
Change a 2D content to 3D
If the source content is in Side by Side mode,
then select this mode to view proper image,
If the source content is in Top & Bottom mode,
then select this mode to view proper image,
Noise Reduction
Advanced
High
Off
On
Cool
Fleshtone
Dynamic Contrast
Color Temp
3D Effect


