background image

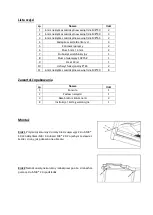
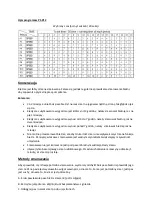
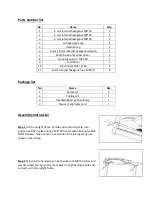
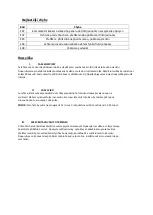
Parts number list 

No.  

Name 

Qty. 

6 mm internal hexagonal M8*50 

6 mm internal hexagonal M8*40 

6 mm internal hexagonal M8*65  

U shaped pipe cap  

Handrail cap  

 5 mm / 6 mm internal hexagonal wrench  

Multi-functional screw driver   

Opening wrench  13# 15#  

Si-oil 30 ml  

10 

Functional holder  8*65  

11 

6 mm internal hexagonal nut  M8*20  


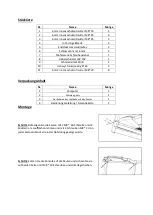
Package list  

No  

Name 

Qty. 

Computer  

Tooling set   

Treadmill base   with columns 

Manual / Warranty card   


Assembly instruction 


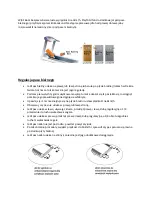
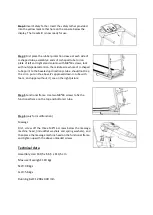
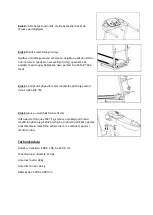
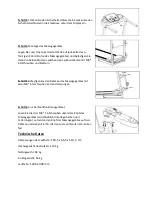
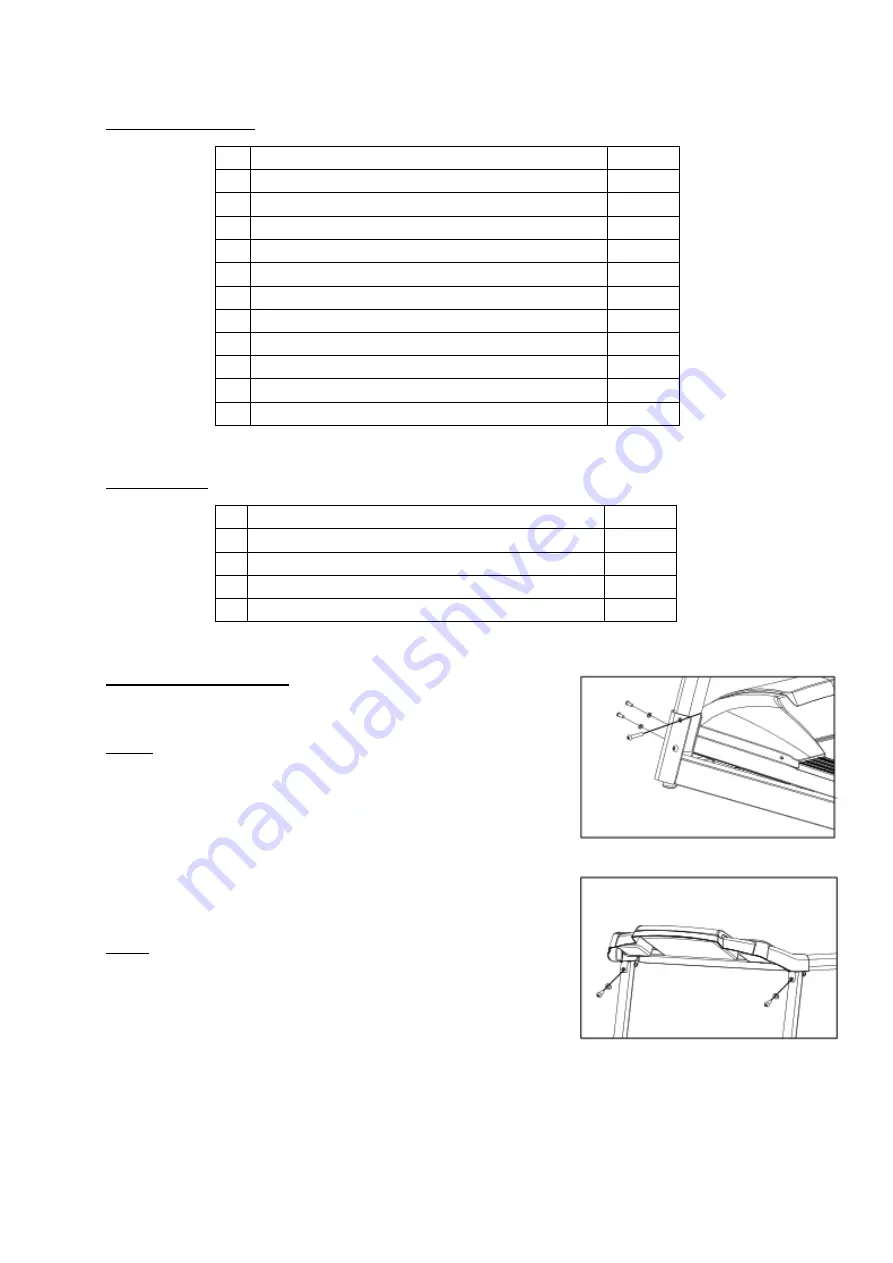
Step 1 

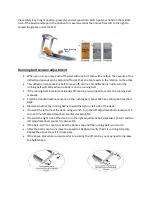
Lift the upright frame, handle and control console, into 

position and fix in place using 2 M8*40 screws with 2 M8 nuts and 4 
M8*20 screws. One of each on each side of the joining section as 
shown in the image. 


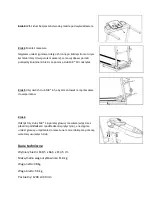
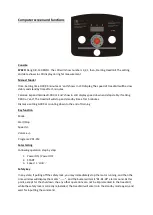
Step 2

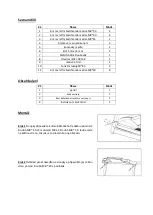
 Screw in the hand grips on both sides with M8*20 screw and 

washer separately by making them pass through handgrip hole and 
connect with the upright frame.  


Summary of Contents for ABI17-19-098

Page 1: ...BE4540...

Page 2: ...stej nawierzchni i zapewni swobodn przestrze minimum 0 6 m od innych przedmiot w aby zwi kszy poziom bezpiecze stwa 8 Nale y korzysta z odpowiedniego stroju sportowego i but w Nale y unika zbyt lu nyc...

Page 3: ...eraj cy 13 15 1 9 Smar 30 ml 1 10 Uchwyt funkcjonalny 8 65 2 11 6 mm nakr tka sze ciok tna wewn trzna M8 20 8 Zawarto opakowania Lp Nazwa Ilo 1 Konsola 1 2 Zestaw narz dzi 1 3 Baza bie ni z kolumnami...

Page 4: ...8 40 i nakr tek Krok 5 U yj dw ch rub M8 65 aby zamontowa ram masa era do wspornik w Krok 6 Odkr trzy ruby M8 16 poni ej g owicy masa era w cznie z p askimi podk adkami i podk adkami spr ystymi a nast...

Page 5: ...a treningu 3 Dystans ustawienie 0 999 lub odliczanie do ko ca trwania treningu Funkcje przycisk w Mode tryb Start Stop Speed G o no Programy P01 P12 Szybkie uruchamianie Wci nij nast puj ce przyciski...

Page 6: ...miesi c Nie mo na przesmarowa bie nie ale zbyt du a ilo smaru nie wp ywa korzystnie na funkcje bie ni Pami taj w a ciwe smarowanie jest wa nym czynnikiem zwi kszaj cym ywotno urz dzenia Smarowanie ni...

Page 7: ...ekko si rozci gn pomimo jego prawid owego naci gni cia w fabryce Upewnij si i nic nie znajduje si na p ycie bie ni i ustaw pr dko na 6km h Obserwuj czy pas nie ucieka w praw lub lew stron Je li pas uc...

Page 8: ...b lu nale y natychmiast przerwa trening II FAZA WICZE Jest to faza kt ra wymaga najwi kszego wysi ku Przy regularnym treningu mi nie n g zyskuj na elastyczno ci Zachowaj r wne tempo w czasie wicze In...

Page 9: ...se a protective cover to protect carpet or floor 8 Wear adeguate sports clothes and sports shoes Avoid too loose clothes 9 Don t use it outdoors 10 Check this device for damage or wearing before each...

Page 10: ...l hexagonal nut M8 20 8 Package list No Name Qty 1 Computer 1 2 Tooling set 1 3 Treadmill base with columns 1 4 Manual Warranty card 1 Assembly instruction Step 1 Lift the upright frame handle and con...

Page 11: ...p direction U tube should not trap the L iron put on the above it s approved down U tube with foam and upper without it see on the right picture Step 5 Functional frame Use two M8 65 screws to fix the...

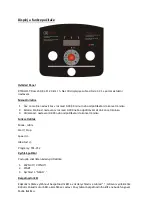
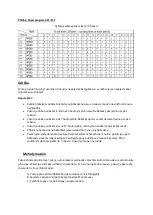
Page 12: ...standby time after 5 minutes Distance setting 0 999 or counting down to the end of training Key function Mode Start Stop Speed Volume Programs P01 P12 Fats starting Following operation step by step 1...

Page 13: ...the more lubricant the better Remember proper lubricating is the important factor to increase the treadmill s service time Lubricating methods For the methods to examine whether it is needed lubrican...

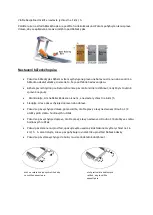
Page 14: ...e you will need to centre the running belt manually Start the treadmill without anyone on the running belt press FAST key until speed reached 6kph Observe whether the running belt is toward the right...

Page 15: ...E It is a phase during which you should put in your effort After regular workout your leg muscles should get more flexible Keep steady tempo throughout your exercising The workout intensity should be...

Page 16: ...em zv en stupn bezpe nosti Koberec nebo podlahu chra te podlo kou 8 Pou vejte vhodn oble en a boty Vyh bejte se voln mu oble en 9 Za zen nen ur eno k venkovn mu pou it 10 Za zen zkontrolujte z hledisk...

Page 17: ...ivo 30 ml 1 10 Funk n rukoje 8 65 2 11 6 mm vnit n estihrann matice M8 20 8 Obsah balen P N zev Mno 1 panel 1 2 Sada n stroj 1 3 R m b eck ho trena ru se sloupci 1 4 Instrukce z ru n list 1 Mont Krok...

Page 18: ...b M8 40 a matic Krok 5 K podp r m p ipevn te r m mas n ho p stroje pomoc dvou roub M8 65 Krok 6 pouze u multifunk n ch za zen Od roubujte t i rouby M8 16 kter se nach zej pod hlavici mas n ho p stroje...

Page 19: ...999 nebo odpo t v n a do konce tr ninku 3 Vzd lenost nastaven 0 999 nebo odpo t v n do konce tr ninku Funkce tla tek Mode re im Start Stop Speed Hlasitost Programy P01 P12 Rychl Spu t n Postupn stisk...

Page 20: ...m li byste trena r mazat ka d m s c P li mnoho maziva na b eck m p su nem dobr vliv na jeho funkce Pamatujte spr vn maz n zvy uje ivotnost za zen Maz n nen nutn pokud jsou pod b eck m p sem stopy mas...

Page 21: ...e zda na b eck desce nic nen a nastavte rychlost na 6 km h Sledujte zda se p s vychyluje doprava nebo doleva Pokud se p s vychyluje doleva pomoc kl e oto te prav a lev nastavovac roub o 1 4 oto ky pro...

Page 22: ...t ovat V p pad objeven se bolesti okam it p eru te tr nink II F ZE CVIK Je to f ze kter vy aduje nejv t sil D ky pravideln ho tr ninku z sk vaj svaly nohou na pru nosti B hem cvik udr ujte rovnom rn t...

Page 23: ...Oberfl che gestellt werden Aus Sicherheitsgr nden sollte der Abstand zu anderen Gegenst nden mindestens 0 6 m betragen 8 Es sollten entsprechende Sportkleidung und schuhe verwendet werden Zu lockere...

Page 24: ...ny 8 65 2 11 6 mm Innensechskantmutter M8 20 8 Verpackungsinhalt Nr Name Menge 1 Computer 1 2 Werkzeug Satz 1 3 Der Rahmen der Laufbahn mit den S ulen 1 4 Bedienungsanleitung Garantiekarte 1 Montage S...

Page 25: ...rauben und Muttern Schritt 5 Befestigen Sie den Rahmen des Massageger tes mit zwei M8 65 Schrauben an den Halterungen Schritt 6 nur bei Multifunktionsger ten L sen Sie die drei M8 16 Schrauben unter d...

Page 26: ...iningszeit 3 Distanz Einstellung 0 999 oder Countdown bis zum Ende der Trainingszeit Tastenfunktionen Mode Modus START STOP Speed Lautst rke Programme P01 P12 Schnellstart Dr cken Sie die folgenden Ta...

Page 27: ...nicht berschmieren aber zu viel Fett beeintr chtigt die Funktion des Laufbands Denken Sie daran Die richtige Schmierung ist ein wichtiger Faktor der die Lebensdauer des Ger ts verl ngert Eine Schmieru...

Page 28: ...in der Fabrik richtig eingestellt wurde Vergewissern Sie sich dass sich nichts auf der Laufbahnplatte befindet und stellen Sie eine Geschwindigkeit von 6 km h ein Beobachten Sie ob das Band nach rech...

Page 29: ...Strecken auf II ETAPPE DER BUNGEN Diese Etappe erfordert die h chste Anstrengung Bei regelm igem Training erreichen Sie eine Verbesserung der Beinmuskelelastizit t Halten Sie ein gleichm iges Tempo de...

Page 30: ...enia i zu ycie takich element w jak linki paski elementy gumowe peda y uchwyty z g bki k ka o yska itp 6 Gwarancja traci wa no w przypadku Up ywu terminu wa no ci samodzielnych napraw nieprzestrzegani...

Page 31: ...and maintenance damages and consumption of such elements as cables straps rubber parts pedals sponge grips wheels bearings etc 6 The guarantee expires in the event of expiry of the validity term self...

Page 32: ...st kter podl haj zk ze jako jsou kabely p sy pry ov prvky ped ly dr ky na houby kola lo iska atd 6 Z ruka zanik pokud vypr jej platnost bylo do produktu neodborn zasa eno nebyla dodr ena pravidla dn...

Page 33: ...cht nach Ablauf der Haltbarkeit bei freiwilligen Reparaturen Nichteinhaltung der Regeln f r den ordnungsgem en Betrieb 12 Duplikate der Garantiekarte werden nicht ausgestellt 13 Das zu reparierende Pr...

Page 34: ...IMPORTER ABISAL Sp Z O O ul wi tej El biety 6 41 905 Bytom SERWIS ul Pyskowicka 14 41 807 Zabrze abisal abisal pl www abisal pl...

Reviews: