301 Fulling Mill Road, Suite G ©Copyright 2004 by OnQ Technologies,
Middletown, PA 17057
Inc All Rights Reserved.
(800) 321-2343
www.onqhome.com
(
)
4
Innovations in Home Living.
VII. Advanced Setup
A. LAN IP Setup
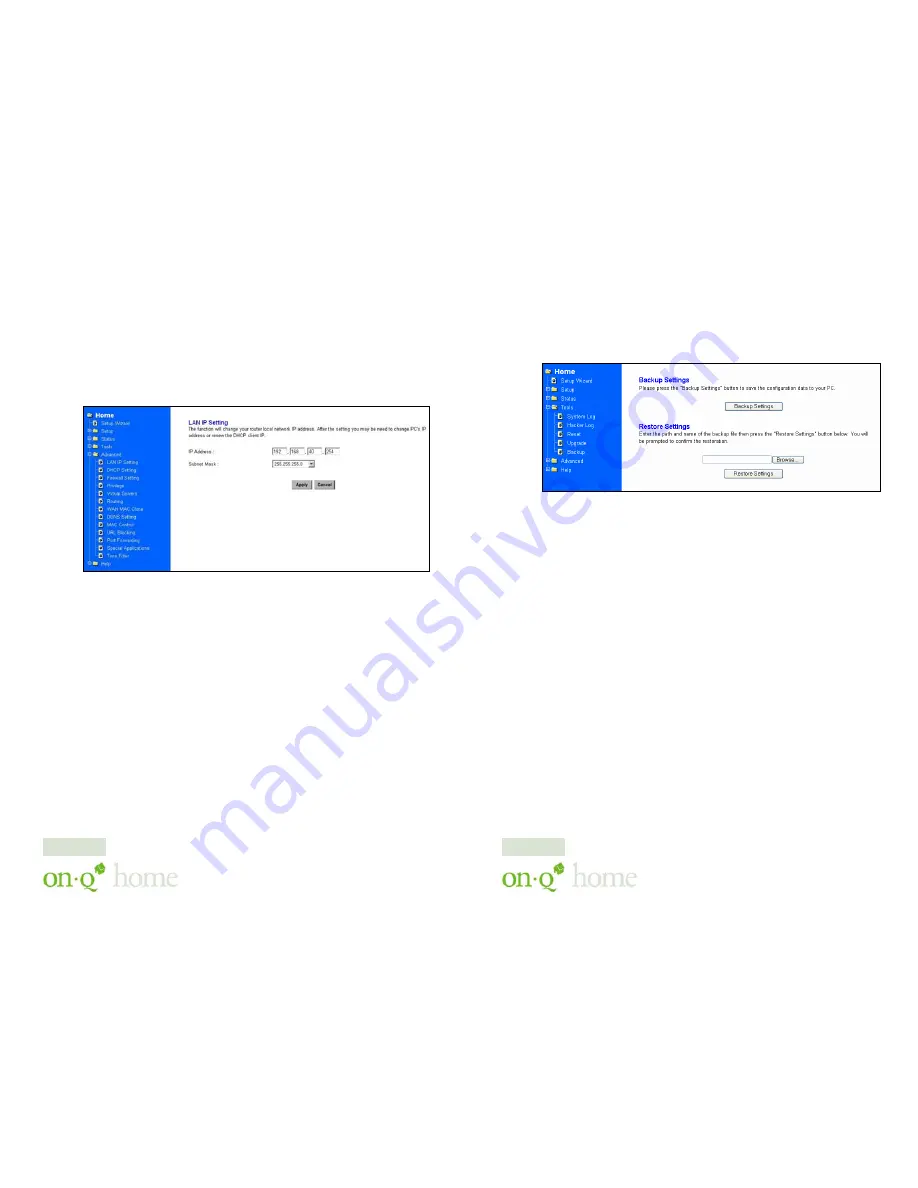
Select the Advanced Folder on the left side of the screen, and the LAN IP
Setting file under that Folder. This screen (see
Figure 22
), shows the LAN
IP and Subnet Mask values of the router that are seen by the users on their
internal network. The default value is 192.168.40.254 for the LAN IP
and 255.255.255.0 for Subnet Mask.
NOTE: If you change your IP Address, the PC will no longer be able to
communicate, and will need to be rebooted or an IPCONFIG
release/renew will need to be done to use the new address.
B. DHCP
Setup
Select the Advanced Folder on the left side of the screen, and the DHCP
Setting file under that Folder. A DHCP (Dynamic Host Configuration
Protocol) Server automatically assigns IP address to each computer on
your network. Unless you already have one, it is highly recommended that
your router be set up as a DHCP server. This screen (see
Figure 23
),
shows the DHCP Setting screen. Simply fill out the values of each entry
and click the “
Apply
” button.
Do you want to enable DHCP Server on this router?
Click the “Enable” option to enable the DHCP server. Note that you
can’t have two DHCP servers on the network at the same time. Set the
Figure 22
Page 19
301 Fulling Mill Road, Suite G ©Copyright 2004 by OnQ Technologies,
Middletown, PA 17057
Inc All Rights Reserved.
(800) 321-2343
www.onqhome.com
(
)
4
Innovations in Home Living.
C. Saving Configuration
Select the Tools Folder on the left side of the screen, and the Backup
file under that Folder. This screen (see
Figure 21
), allows you to save
the current configuration file to your PC or restore the configuration
from your PC.
Figure 21
Page 18


