6
U-UVF248A
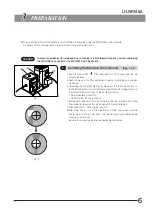
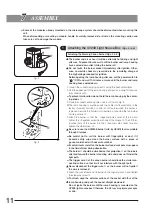
Fig. 1
PREPARATION
1
Centering the Mercury/Xenon Burner
(Figs. 1 & 2)
1. Set the main switch “ ” (ON). Between 5 to 10 minutes until the arc
image stabilizes.
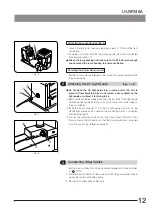
2. Remove the cap @ of the centering scope by turning the cap counter-
clockwise.
3. Observing the UV-cut centering scope, adjust the following controls so
that the brightest and most well focused part of the arc image comes on
the center of the cross lines in the centering scope.
· Burner centering knobs ²
· Collector lens focusing knob ³
4. Set the DUV observation mode and perform the final adjustment to make
the image observed on the UV observation monitor brightest.
5. Attach the cap @ in the original position.
}After long hours of use, the electrodes will be consumed and the
centering position be deviated. The centering should therefore be
adjusted periodically.
Be sure to re-adjust centering after replacing the burner.
Fig. 2
}The motorized control of the MX61A and U-UVF248A is executed using the MX2-BSW control software.
For details on the software, refer to the instruction manual provided with it.
CAUTION
To prevent accidental UV irradiation due to mistake, it is prohibited to control a system combining
the MX-OPU61A controller or the MX-HS61A with the MX61A.
@
²
³
Summary of Contents for U-UVF248A
Page 17: ...MEMO ...
Page 18: ...MEMO ...
Page 19: ......
Page 20: ...Manufactured by Distributed by AX7680 03 Printed in Japan on December 25 2012 M 000 03 ...


