Olympus OEV262H Instructions For Use Manual Download Page 10

_

_

_

_

g

OEV262H

Imp

o

rta

nt 
In

for
m

at

io

n —

 P
lea
s

e

 Re

ad
 B
e

fo

re

 Us
e

Important Information — Please Read Before Use

10

may drop and cause injury to the operator or damage 
this monitor.

• Do not install this monitor on mobile workstations 

other than those listed in this instruction manual.
Otherwise, the mobile workstation may tip, injury to 
the operator or damage of this monitor/equipment on 
the mobile workstation may result.

• This monitor should only be used with a specified 

monitor stand. For information on suitable stands, 
refer to “Specifications.” Installation of the monitor 
on any other stand may result in instability, possibly 
leading to injury.

• Do not install the monitor in a place exposed to direct 

sunlight, high temperature (more than 60 °C).
Otherwise, it may damage the cabinet or internal parts, 
result in fire.

• The cables should not be sharply bent, pulled, twisted 

or crushed.

• Do not clean this monitor with a disinfectant that is not 

specified with this instruction manual.
Otherwise the character and symbol of the label may 
erase and misconnection or misoperation may occur.

• Always use the monitor cables listed in this instruction 

manual. Using non-listed monitor cables may result in 
monitor noise at a level that may affect the observation 
and treatment or loss of observation image.

• Attach this monitor to the wall by a professional 

company only. Otherwise, this monitor may fall due to 
improper attachment, and injury may result.

• Remove the wall-hanging bracket that is not used. 

Otherwise, injury may result.

• This monitor is intended for use in an electromagnetic 

environment specified in ? EMC information? on page 
48.

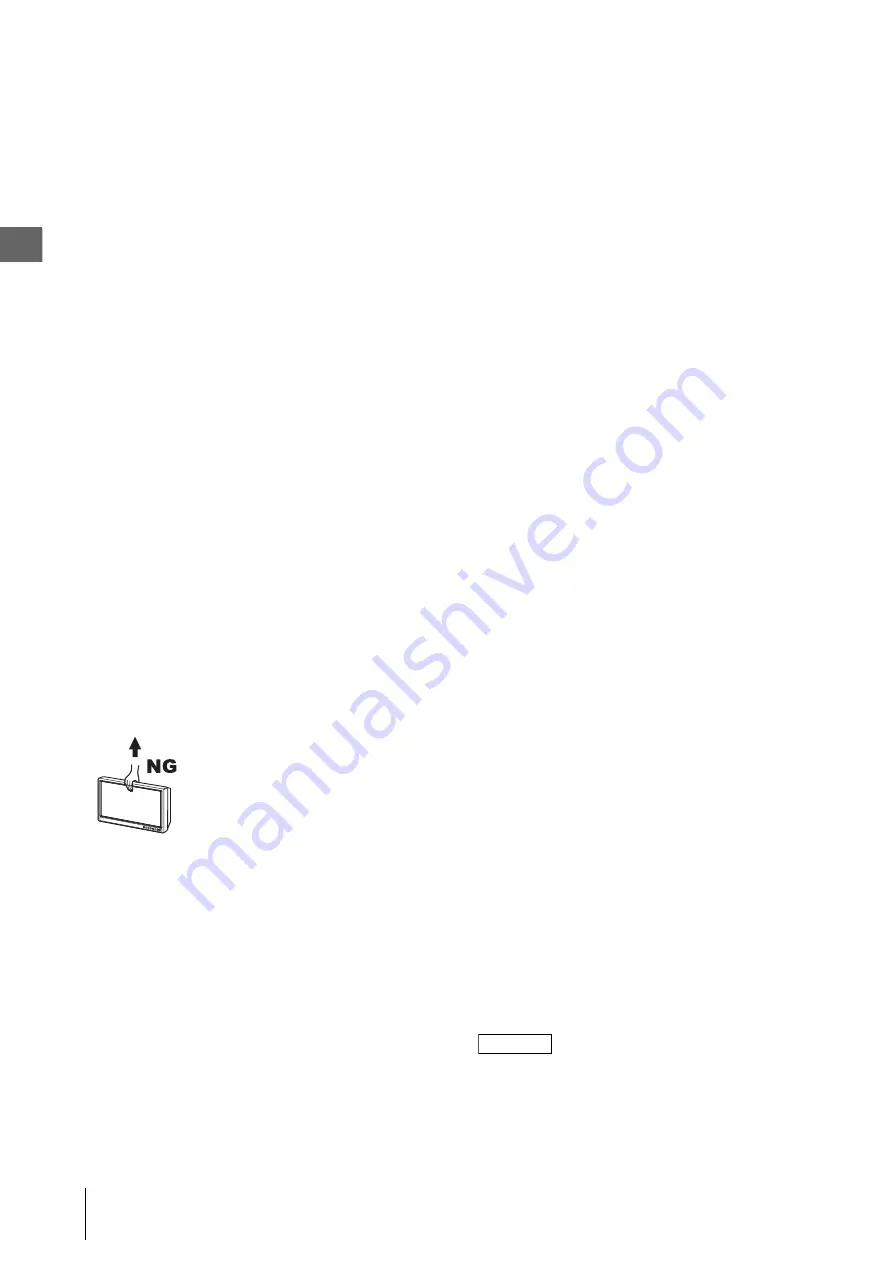
• Do not try to lift the monitor by grabbing the panel.

• Do not expose the LCD panel to heavy pressure or 

pressure from pointed objects. Take care especially 
during transportation. Exposing the LCD panel to 
heavy pressure may result in blurring or other damage.

• Do not move the monitor by grasping the switches on 

the front panel. This method will cause damage to 
switches on the front panel and break them.

• Do not clean terminals and AC inlets. Contact with 

cleaning liquid may result in deformation or corrosion 
leading to contact failure or equipment breakdown.

• Do not autoclave or gas sterilize the monitor. These 

methods will damage it.

• Do not wipe the external surface with hard or abrasive 

wiping material. The screen and the panels will be 
scratched.

• When disposing of this monitor or any of its 

components, follow all applicable national and local 
laws and guidelines.

• When using an AC cord of the mobile workstation by 

connecting multiple AC cords, avoid positioning the 
connected portion of the AC cord in the moving part 
of the LCD arm of the mobile workstation. It may 
cause disconnection of the AC cord when the monitor 
is moved.

• When using an optional AC adapter, do not place it in 

an unstable position. It will cause failure and damage 
it.

• When the mobile workstation moves, protect the 

monitor from the scope hanger.

• When installing/removing this monitor to monitor 

mount/stand, to avoid damage to the connectors on the 
back, placing on a desk with the bottom screen of the 
monitor.

• Unplug the power cord if the monitor is not used for a 

long time. Otherwise, it may result in fire.

• Remove the dust on the plug of the power cord 

regularly. Otherwise, it may result in fire and electric 
shock.

• Be sure to turn the monitor OFF and unplug the power 

cord before proceeding to maintain the monitor. If the 
power cord is left plugged in, an electric shock may 
result.

• Exposing the LCD screen to intense light sources will 

impair its characteristics and lower image quality.

• In an environment exposed to drastic temperature 

fluctuations, condensation may build up on inside the 
LCD screen. This may lower the quality of the screen 
and may damage it.

• The apparatus shall not be exposed to dripping or 

splashing. No objects filled with liquids, such as 
vases, shall be placed on the apparatus.

• Consult with qualified personnel for mounting arm, 

wall or ceiling mount installation.

• The unit is not disconnected from the AC power 

source (mains) as long as it is connected to the wall 
outlet, even if the unit itself has been turned off.

• When you dispose of the unit or accessories, you must 

obey the laws in the relative area or country and the 
regulations in the relative hospital.

• When using this equipment in domestic environments 

and connected to the public mains network, 
electromagnetic interference with other devices may 
occur. If electromagnetic interference occurs, 
mitigation measures may be necessary, such as 
reorienting or relocating this equipment, or shielding 
the location.

NOTE

• The response speed and brightness of liquid crystal 

varies with ambient temperatures.

• Some video images may appear blurred on the screen.

Summary of Contents for OEV262H

Page 1: ...estricts this device to sale by or on the order of a physician Table of Contents Labels and Symbols Important Information Please Read Before Use Features 1 Location and Function of Parts and Controls...

Page 2: ...OEV262H 2...

Page 3: ...nstalling the monitor 19 Installation on a mobile workstation 19 3 2 Connecting the AC Power Cord 19 When the mobile workstation WM NP2 WM DP2 WM NP1 WM WP1 and WM DP1 is used 20 To use the AC IN sock...

Page 4: ...42 EEC concerning medical devices Classification Class 1 WEEE Directive In accordance with European Directive 2002 96 EC on Waste Electrical and Electronic Equipment this symbol indicates that the pro...

Page 5: ...n mounting an LCD panel on a monitor mount or stand These standards were defined by the Video Electronics Standards Association VESA a US based organization concerned with computer display devices Mob...

Page 6: ...me an image may remain on the screen and be superimposed as a ghosting image The screen and the cabinet become warm during operation This is not a malfunction On Cleaning Before cleaning Be sure to di...

Page 7: ...tmosphere Flammable anesthetics are present in the atmosphere Flammable liquids are near Otherwise explosion or fire may result because this monitor is not explosion proof Strictly observe the followi...

Page 8: ...ear heating equipment or expose it to excessive heat Always grasp and pull the plug when unplugging the power cord Do not pull on the cord itself Do not use this monitor beyond the rated outlets and w...

Page 9: ...o the safety regulations of each country if applicable 2 Use the Power Cord 3 core mains lead Appliance Connector Plug conforming to the proper ratings Voltage Ampere If you have questions on the use...

Page 10: ...he external surface with hard or abrasive wiping material The screen and the panels will be scratched When disposing of this monitor or any of its components follow all applicable national and local l...

Page 11: ...tes uses and can radiate radio frequency energy and if not installed and used in accordance with the instruction manual may cause harmful interference to radio communications Operation of this equipme...

Page 12: ...f signal Input connectors COMPOSITE input connector 1 Y C input connector 1 HD15 input connector RGB COMPONENT compatible 1 SDI input connector 3G HD SD compatible 2 DVI input connector DVI D ANALOG R...

Page 13: ...vertical direction between surgeon perspective and endoscope Power saving function You can reduce the power consumption by lowering the backlight brightness such as when using the monitor in a dark ro...

Page 14: ...ton Turns on or off the assigned function You can adjust the assigned function by pressing the b B buttons The following functions are assigned in the default setting CUSTOM 1 Contrast CUSTOM 2 Bright...

Page 15: ...el 15 h Input select buttons Press the button to monitor the signal input to each connector PORT A Press to monitor the signal assigned to PORT A PORT B Press to monitor the signal assigned to PORT B...

Page 16: ...d but is not applied to the screen when the DVI or analog PC signal is input Input signal Item Composite YC See page 44 HD15 DVI SDI See page 44 Video Y C B W Video See page 44 PC See page 45 RGB vide...

Page 17: ...pecified by this operating instructions to the OUT connector the monitor may affect the operation of the connected equipment e HD15 input output connector D sub 15 pin female The Plug Play function co...

Page 18: ...f AUX in and Clone out When AUX in terminal is selected to displayed signal the monitor cut the signal of Clone out But it is not a failure i DVI input output connector DVI I 1 IN connector 2 IN conne...

Page 19: ...les on the LCD monitor mount see upper figure 2 Fix the monitor onto the LCD monitor mount using the six screws provided with the monitor CAUTION Use a 100 100 mm screw hole to fix this monitor to the...

Page 20: ...hing them down 2 Confirm that the monitor is OFF 3 Connect the power cord provided with the mobile workstation to the AC power inlet of the monitor and the power socket of the mobile workstation AC IN...

Page 21: ...monitor 1 Plug the AC power cord into the AC IN socket on the rear panel Then attach the plug holder for the supplied AC power cord supplied to the AC power cord 2 Slide the plug holder for the suppl...

Page 22: ...tom of this unit until it locks CAUTION To use the AC IN socket Attach the plug holder for the supplied AC power cord to the AC power cord To use the AC adapter Insert the DC IN connector into the DC...

Page 23: ...OEV262H 3 Installation and Connection 3 3 3 About the Connecting Cables 23 3 3 About the Connecting Cables For details about the connecting cables refer to Connection cable for OEV262H on page 41...

Page 24: ...on page 19 The power indicator lights in green when you set the power switch on the bottom of the monitor to ON If the power fails to turn on When the power fails to turn on turn this monitor off Then...

Page 25: ...factory setting To change the setting of other items set Control Lock in the Control Lock menu to Off by referring the following steps 4 to 6 4 Press the v V button to select System Configuration The...

Page 26: ...ange etc You can also change the menu language displayed in the on screen menu To change the menu language refer to 5 1 Selecting the Menu Language on page 25 1 Press the DISPLAY button The operation...

Page 27: ...ack To clear the menu Press the MENU button The menu disappears automatically if a button is not pressed for one minute About the memory of the settings The settings are automatically stored in the mo...

Page 28: ...from among Endoscope 1 8 2 0 2 2 2 4 2 6 DICOM Phase Adjusts color tones The higher the setting the more greenish the picture The lower the setting the more purplish the picture Chroma Adjusts color i...

Page 29: ...On or Off When a low color resolution signal is input a crisp image can be displayed NTSC Setup Selects the NTSC setup level from among 0 7 5 Submenu Setting HD Scan Size Sets the scan size for the H...

Page 30: ...e clone out SDI signal Select from among Off On Sets the color adjustment out for the clone out SDI signal Select from among Through On Mode 1 Mode 2 Sets the black picture out for the clone out SDI s...

Page 31: ...ing output to standby mode Sets the sleep mode to on or off When you set to On the monitor enters into power saving mode by turning off the backlight if there is no input signal from the selected conn...

Page 32: ...Set to Not Skip or Skip for the PIP1 PIP2 POP1 or POP2 pattern Initial Setup Default Preset Language Page 1 2 End Preset A Preset B Preset C Preset D Preset E Preset F Preset G Port A Input Select Po...

Page 33: ...Adjustment Out Through Through Through Through Through Through Through Through Through Through Black Picture Out On On On On On On On On On On Port A Input Select SDI1 Not skip Not skip Not skip Not...

Page 34: ...ff Off Off Off Off Remote 1Pin No Setting No Setting No Setting No Setting No Setting No Setting No Setting No Setting Port A Y C Port A Y C 2Pin No Setting No Setting No Setting No Setting No Setting...

Page 35: ...ser16 User16 User16 User16 User16 User17 User17 User17 User17 User17 User17 User17 User17 User17 User17 User17 User18 User18 User18 User18 User18 User18 User18 User18 User18 User18 User18 User19 User1...

Page 36: ...the power cord as described in the instructions page 19 The mobile workstation has not been powered up Power up the mobile workstation No image The video system center has not been powered up Power u...

Page 37: ...us With the monitor include a description of the malfunction or damage and the name and telephone number of the individual at your location who is most familiar with the problem Black bars appear at t...

Page 38: ...are listed below New products released after the introduction of this monitor may also be compatible for use in combination with it For further details contact Olympus WARNING If combinations of equi...

Page 39: ...eyboard High definition LCD monitor OEV262H Combination of connection cables see page 41 Video system center CV 290 CV 260SL CV 190 CV 180 CV 165 CV 170 CV 150 Light source CLV 290 CLV 290SL CLV 260SL...

Page 40: ...2H SDI cable MAJ 1464 1912 1951 DVI cable MAJ 1945 Combination of connection cables see page 41 Camera head Videoscope Wireless transmitter UWIT SDI cable MAJ 1464 1912 1951 Video recorder IMH 20 IMH...

Page 41: ...pic ultrasound center SDI cable DVI cable Monitor cable MAJ 1464 22m MAJ 1912 2 5m MAJ 1951 8 5m MAJ 1945 3m MAJ 1462 7m MAJ 1584 15m MAJ 1586 2m MAJ 1160 4m MAJ 1228 1 5m MAJ 1229 7m MAJ 1587 2m MAJ...

Page 42: ...onent input BNC type 3 RGB 0 7 Vp p 3 dB Sync On Green 0 3 Vp p sync negative Component 0 7 Vp p 3 dB 75 chrominance standard color bar signal Externalsynchronized input BNC type 1 0 3 Vp p to 4 0 Vp...

Page 43: ...ional accessories Monitor stand SU 560 AC adapter AC 110MD Medical Specifications Protection against electric shock Class I Protection against harmful ingress of water Ordinary Degree of safety in the...

Page 44: ...is displayed on OSD 4 Function that is displayed on OSD 5 GND 6 Function that is displayed on OSD 7 Function that is displayed on OSD 8 Function that is displayed on OSD Pin number Signal 1 NC 2 TX 3...

Page 45: ...0 Positive Positive 1600 1200 60 Hz 162 000 75 000 60 000 Positive Positive Resolution Dot clock MHz fH kHz fV Hz Sync polarity Horizontal Vertical 640 480 60 Hz 23 625 29 531 59 780 Positive Negative...

Page 46: ...Horizontal frequency 31 5 kHz to 77 0 kHz Dot clock 25 175 MHz to 162 000 MHz Picture size phase automatic discrimination by the DE Data Enable signal 1280 768 75 Hz 102 875 60 091 74 926 Negative Pos...

Page 47: ...8 100 Rear VESA Mount Instruction Front 626 8 24 3 4 7 5 8 8 1 8 191 9 203 3 Unit mm inches Length of M4 screws 4 Monitor cabinet Attached object 7 9 32 to 9 3 8 M4 screw Unit mm inches 79 6 3 1 4 Sid...

Page 48: ...r the user of the OEV262H should assure that it is used in such an environment Emissions test Compliance Electromagnetic environment guidance RF emissions CISPR 11 Group 1 The OEV262H uses RF energy o...

Page 49: ...mmercial original condition feeding the facilities or hospital environment Surge IEC 61000 4 5 0 5 1 kV differential mode 0 5 1 2 kV common mode Same as left Mains power quality should be that of a ty...

Page 50: ...his model should be observed to verify normal operation If abnormal performance is observed additional measures may be necessary such as re orienting or relocating this model b Over the frequency rang...

Page 51: ...nimum distance between portable and mobile RF communications equipment transmitters and the OEV262H as recommended below according to the maximum output power of the communications equipment Rated max...

Page 52: ...recommends having Olympus endoscopic equipment endoscopes reprocessors light sources etc inspected by an Olympus certified service technician at least once a year to maintain the proper function of th...

Page 53: ...OEV262H...

Page 54: ...OEV262H...

Page 55: ...reproduced or distributed without the express written permission of OLYMPUS MEDICAL SYSTEMS CORP OLYMPUS is a registered trademark of OLYMPUS CORPORATION The product names logos and company names in...

Page 56: ...4 446 574 13 1 Printed in Taiwan RA0072 01...

Reviews: