29
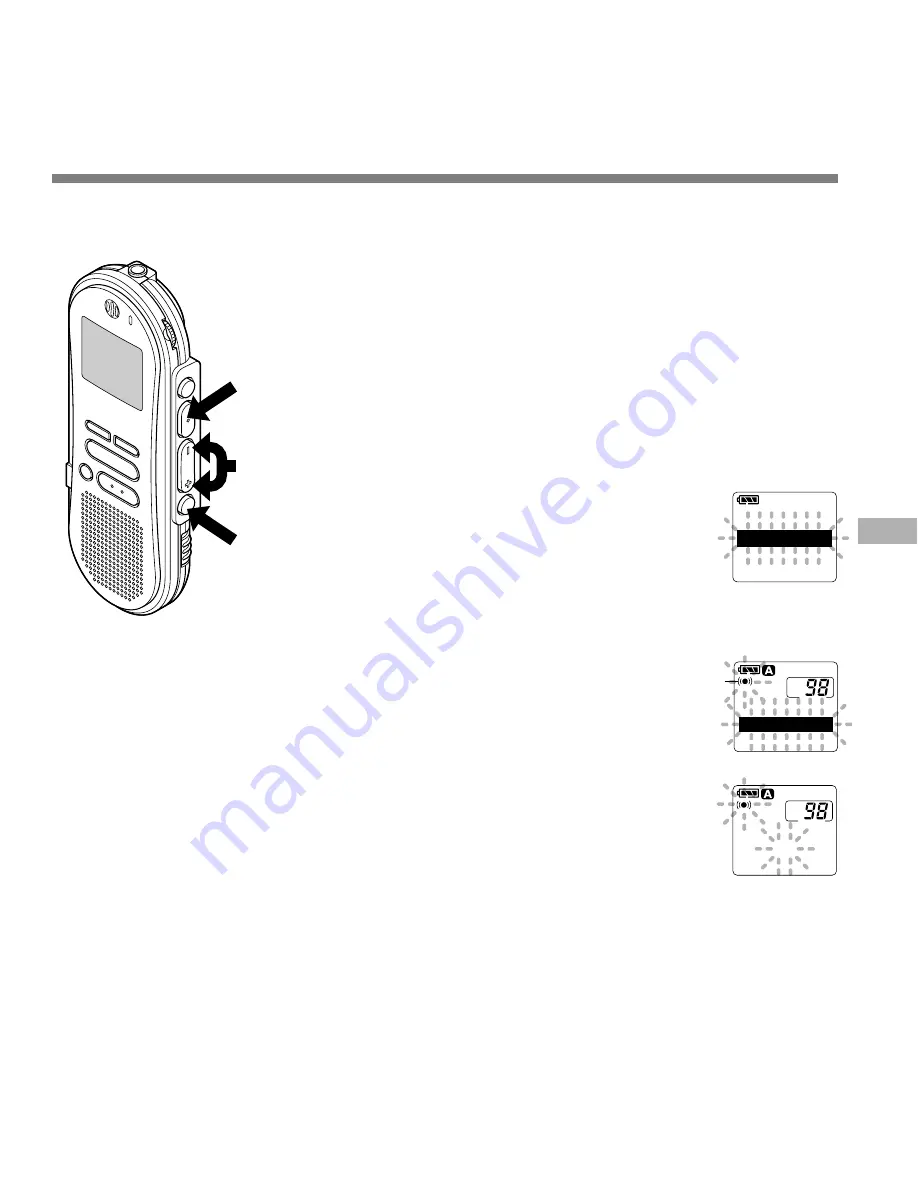
Alarm Playback Function (ALARM)
The alarm playback function can be set to play a selected file at a pre-set time.
1
Press the
FOLDER/MENU
button
to choose a folder.
2
Press the
FF/+
or
REW/–
button
to choose the file to be played
when the alarm sounds.
3
Press and hold the
FOLDER/MENU
button for 1 second or longer.
The menu opens (
☞
P.37).
4
Press the
FF/+
or
REW/–
button
until “ALARM” flashes on the
display.
5
Press the
REC/SET
button.
The alarm playback setup process
begins.
6
Press the
FF/+
or
REW/–
button
to choose between ON and OFF.
ON: Enables alarm playback.
OFF: Disables alarm playback.
a
Alarm indicator
7
Press the
REC/SET
button to
complete the setup screen.
When you choose ON, the hour indicator
flashes.
When you choose OFF, the alarm
indicator disappears and finishes with
Step 12.
8
Press the
FF/+
or
REW/–
button
to set the hour.
Alarm Playback Function (ALARM)
5,7
1,3
2,4,6,8
C O N T R A S T
A L A R M
A L L P L A Y
a
O F F
A L A R M
O N
A L A R M
A M 1 2 : 5 8