15
Using Photo Sharing
1
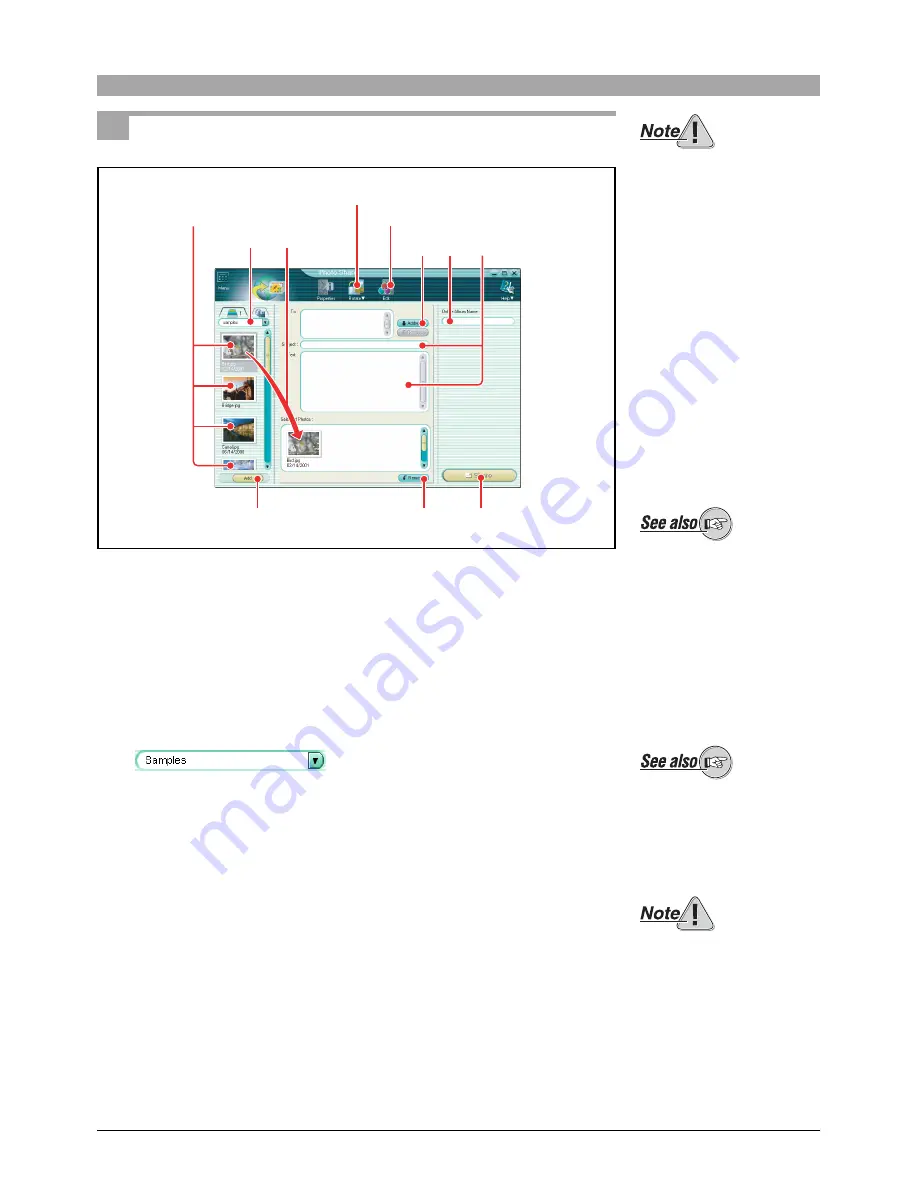
To open the Photo Share window, do one of the following.
• In the main menu, click the [Photo Share] button.
• In the album window, click the [Create] tool button and select [Photo
Share].
The Photo Share window appears.
2
Select the album or folder containing the images you want to share.
A thumbnail display appears in the image display area.
3
To select images, do one of the following.
• Select an image in the image display area, and click the [Add] button.
• Drag an image from the image display area to the selected photos area.
To use this function, your
computer must already be set
up with an Internet
connection. For more details,
refer to the operating
instructions provided with
your computer or Internet
service provider.
To use this function, your
computer must already be set
up to send and receive e-
mails. (You will need an
Internet service provider,
network software, etc.) For
more details, refer to the
operating instructions
provided with your computer
or Internet service provider.
Thumbnails
2 3
Rotate button
Edit button
Remove button
6 5 7
8
3
For details on the album
window, see also “Browsing
Images” in the CAMEDIA
Master/Pro (4.2SE or later)
operating instructions.
If you accessed the Photo
Share window from the album
window, the images in the
selected album or folder
appear in the image display
area.
For details on source
selection, see also “Album
display and folder tree
display” in the CAMEDIA
Master/Pro (4.2SE or later)
operating instructions.
Only images in a format
supported by CAMEDIA
Master/Pro (4.2SE or later)
can be displayed in the
thumbnail display. Sound files
(“sound link” function) and
movie files are not displayed.
Summary of Contents for CAMEDIA Master 4.3/Pro
Page 22: ...VT900401 OLYMPUS CORPORATION...


