


Before using your camera, read this
manual carefully to ensure correct
use.
We recommend that you take test
shots to get accustomed to your
camera before taking important
photographs.
Serial number / Numéro de série / Número de serie
Digital camera
CD-ROM
VT2208-02
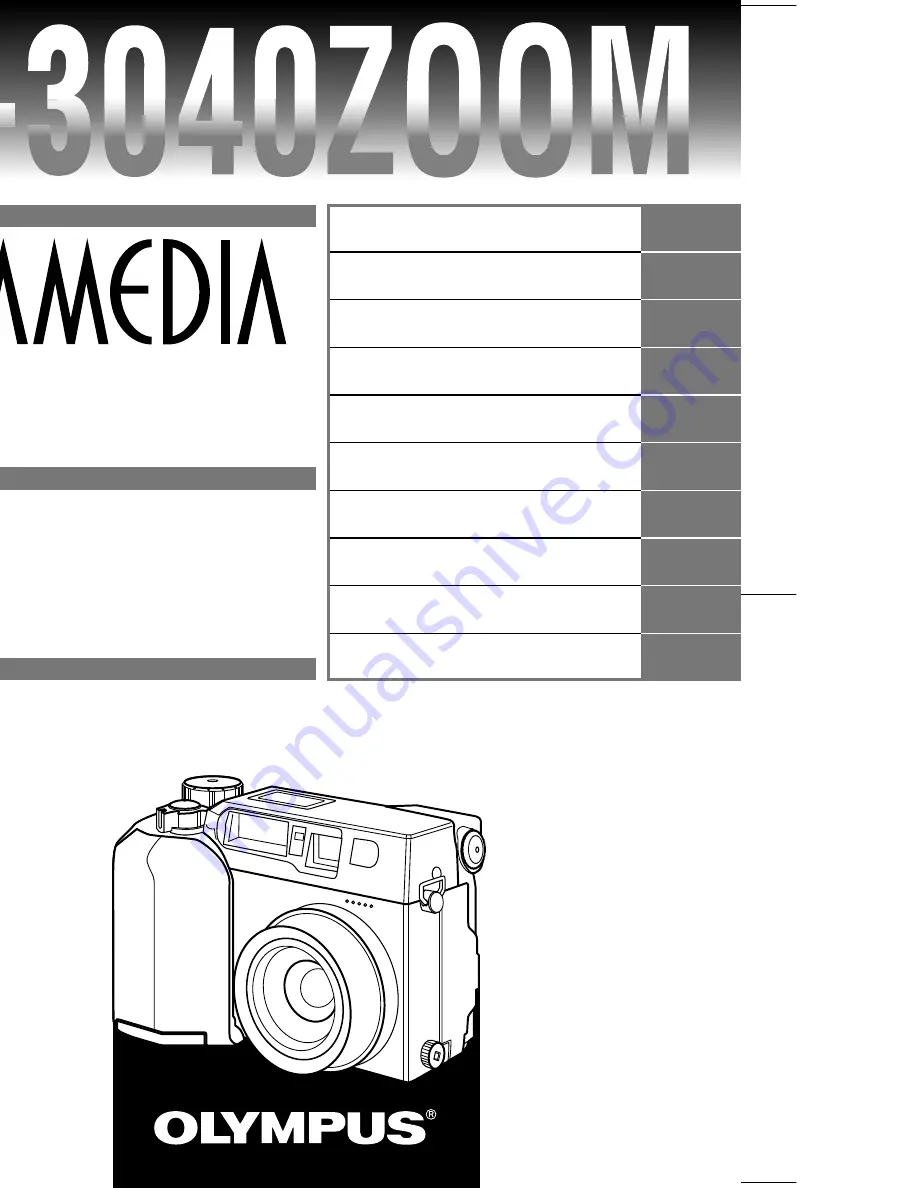
INSTRUCTIONS
DIGITAL CAMERA
OLYMPUS OPTICAL CO., LTD.
San-Ei Building, 22-2, Nishi Shinjuku 1-chome, Shinjuku-ku, Tokyo, Japan.
(Customer support) Tel. 0426-42-7499 Tokyo
http://www.olympus.co.jp
OLYMPUS AMERICA INC.
Two Corporate Center Drive, Melville, NY 11747-3157, U.S.A. Tel. 631-844-5000
(Customer support) Tel. 1-888-553-4448
http://www.olympus.com
OLYMPUS OPTICAL CO. (EUROPA) GMBH.
(Premises/Goods delivery) Wendenstraße 14-18 D-20097 Hamburg, Germany. Tel. 040-237730
(Letters) Postfach 10 49 08, 20034 Hamburg, Germany.
http://www.olympus-europa.com
6.
Displaying, editing and
erasing your pictures
9.
Downloading Images to a
Computer
Printed in Japan
1AG6P1P0887– –A
1.Getting Started
2.Shooting and Playback Basics
3.Focusing
4.Custom Photography
5.Using Flash
7.Print settings
8.Mode setup
10.Miscellaneous
P.27
P.51
P.75
P.87
P.125
P.139
P.159
P.171
P.195
P.207
Summary of Contents for CAMEDIA C-3040 Zoom
Page 26: ...26 ...
Page 50: ...1 50 ...
Page 170: ...170 ...
Page 207: ...10OLYMPUS DI G I T AL CAMERA Chapter Miscellaneous ...
Page 227: ...227 ...
Page 228: ......


