7
ENGLISH
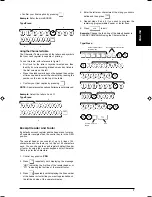
• Confirm your final caption by pressing
.
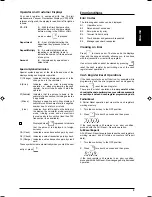
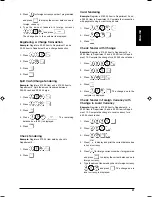
Example:
Enter the word BOOKS.
Type/Press:
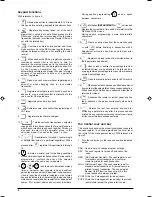
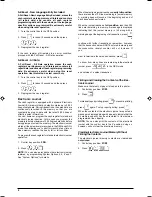
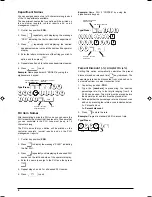
Using the Character Table
The Character Table provides all the letters and symbols
that your cash register is capable of printing.
To use this table, with reference to figure 7:
•
First look for the letter or symbol wanted and then
identify its corresponding alphanumeric key listed in
the first column on the left.
•
Press the alphanumeric key on the keypad the number
of times needed to select the character by reading the
number on the row on the top of the table.
•
Confirm your final caption by pressing
.
NOTE:
Special accented national letters are not displayed.
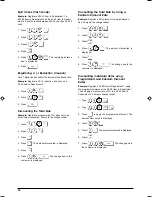
Example:
Select the letters L and Ü.
Type/Press:
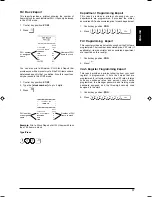
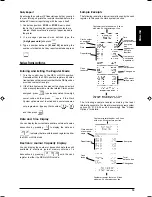
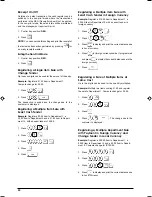
Receipt Header and Footer
By default your cash register prints a header and footer on
all customer receipts when the control key is in the REG
position.
The receipt header can consist of up to 6 lines of 24
characters each, the footer up to 4 lines of 24 characters
each. You can change the cash register's default header
or footer by using the numeric keypad and/or Character
Table to enter the characters.
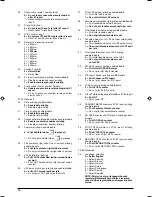
1. Control key position:
PRG
.
2. Press
repeatedly until displaying the message
"HD1" indicating the first line of the receipt header, or
"FT1" indicating the first line of the receipt footer.
3. Press
repeatedly until displaying the line number
of the header or footer line you want to personalize, on
the left-hand side of the operator display.
4. Enter the letters or characters of the string you wish to
define and then press
.
5. Repeat steps 3 and 4 if you wish to program the
remaining programmable header or footer lines.
6. Press
to exit.
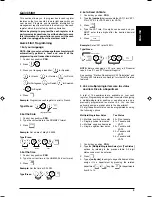
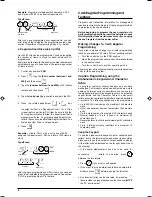
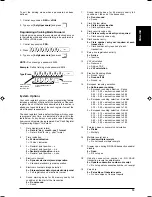
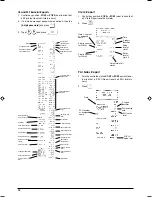
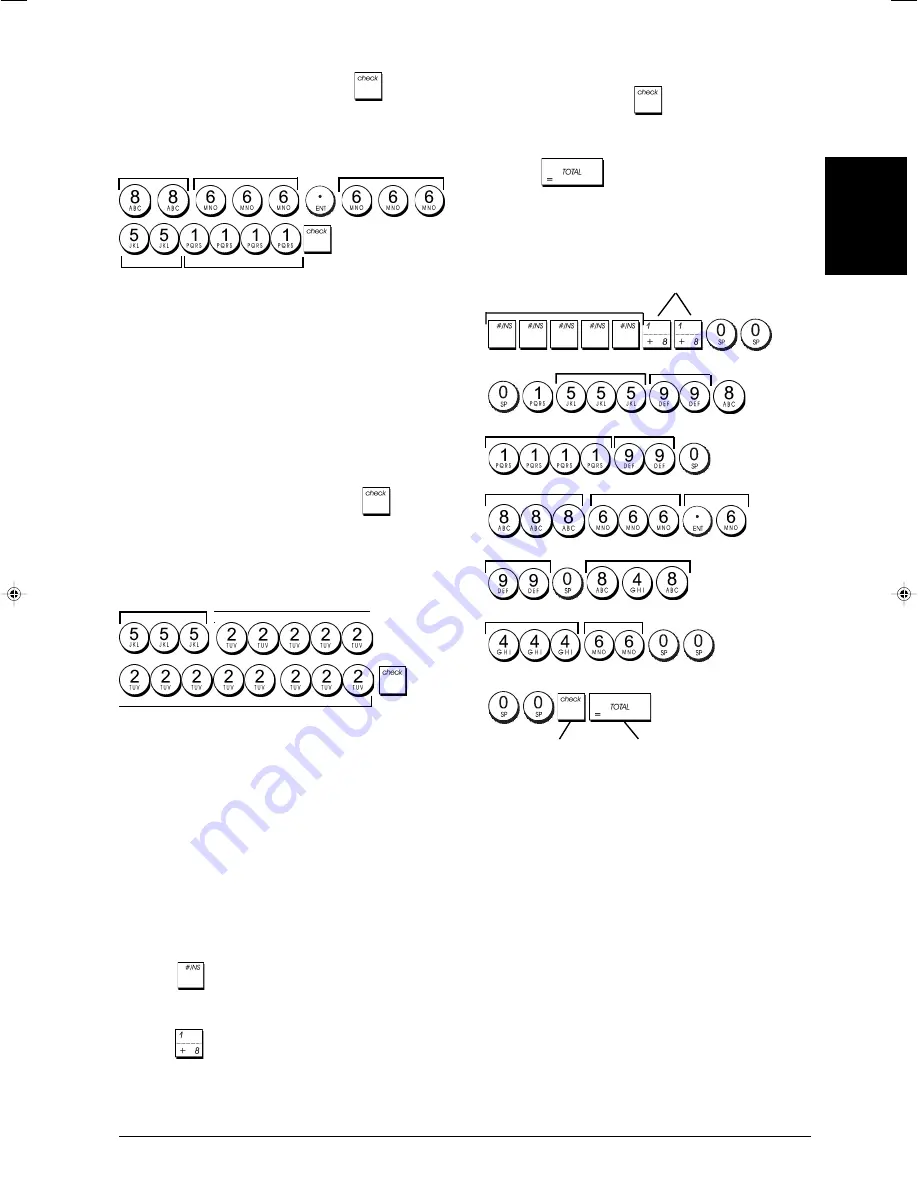
Example:
Change the third line of the default header to
PLEASE COME AGAIN using the Character Table.
Type/Press:
B
O
O
K
S
L
Ü
Ü
Switch to Recipt header
definition mode
Confirm entered
header
Exit
Receipt header line selection
P
L
E
A
S
E
C
O
M
E
I
N
A
G
A


