50
Software
Depending on the amount of data this process can take a moment. You can switch back to a 2D view at any
time.
Toolbar menu: Push the
button to open the toolbar menu (see section 7.4.3 “Toolbar menu” on page 50).
Default views: Push one of the default view buttons to change the current perspective of the graphical 3D
representation using predefined rotations.
Graphical 3D representation: This is the area where your 3D scan is shown. If you like to rotate the graphic
you simply have to swipe left, right, up or down. For scaling and moving you have to use 2 fingers on the
screen.
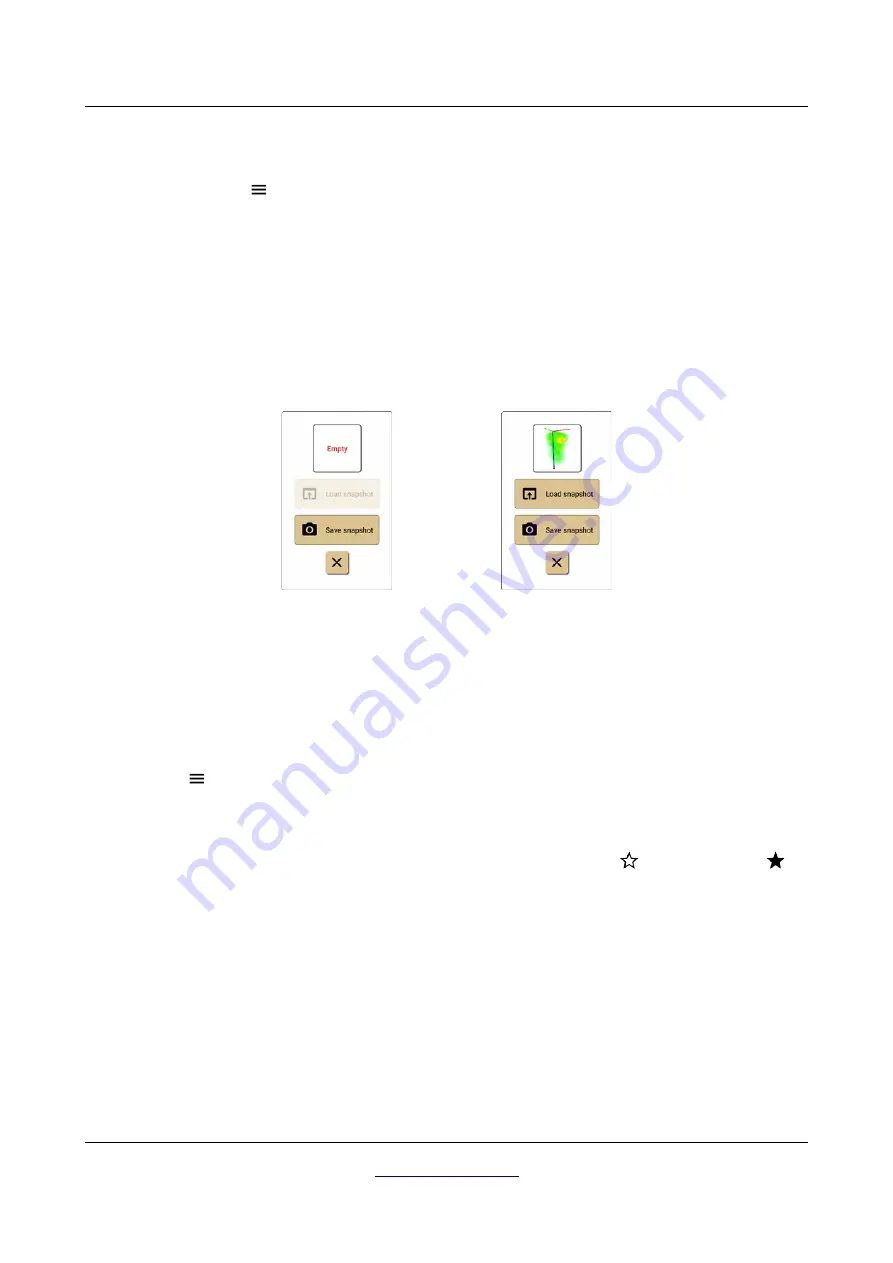
Snapshots: You can save your current 3D view (scale and rotation) as snapshot. Therefor adjust your
graphical representation according to your needs and push either
Snapshot 1
or
Snapshot 2
. After that a
dialog, as shown in figure 7.23, will appear.
If there was no previous snapshot saved before, you can just save this one now. Otherwise you can reopen the
previously saved one into the graphical 3D representation or overwrite it with the current status.
Clipping planes: Move the upper or lower clipping plane button to remove scan data from the top or the
bottom layers of your display. This helps to get rid of unwanted disturbances close to the surface or subfloor.
7.4.3 Toolbar menu
If you push the
button, that is located in the toolbar of the 2D and 3D view screen, the toolbar menu opens
up. Each toolbar menu consists of the following items:
•
Favorite
Push this button to switch the current scan file from a
non-favorite scan
(
) to a
favorite scan (
)
.
Doing so, you can filter out all favorites later on while browsing your scan files. Pushing this button
several times simply toggles between both states.
•
3D / 2D filter ...
This option can be used to change the applied filter configuration. This is only recommended for
professional users. Changing the settings can result in wrong data display. Detailed information
about filters is available in section 7.4.4 “Applying filters” on page 51.
•
Notes ...
Use this option to change the project title and add additional remarks to your measurement. See
section 7.4.5 “Changing project title and notes” on page 53 for further details!
OKM GmbH
Figure 7.23: Save and load snapshots


