


Resetting the printer:
This will revert the printer back to factory settings. Even if this is a new printer it is recommended that you
reset it.
1. First make sure the printer is turned off, but still plugged in.
2.
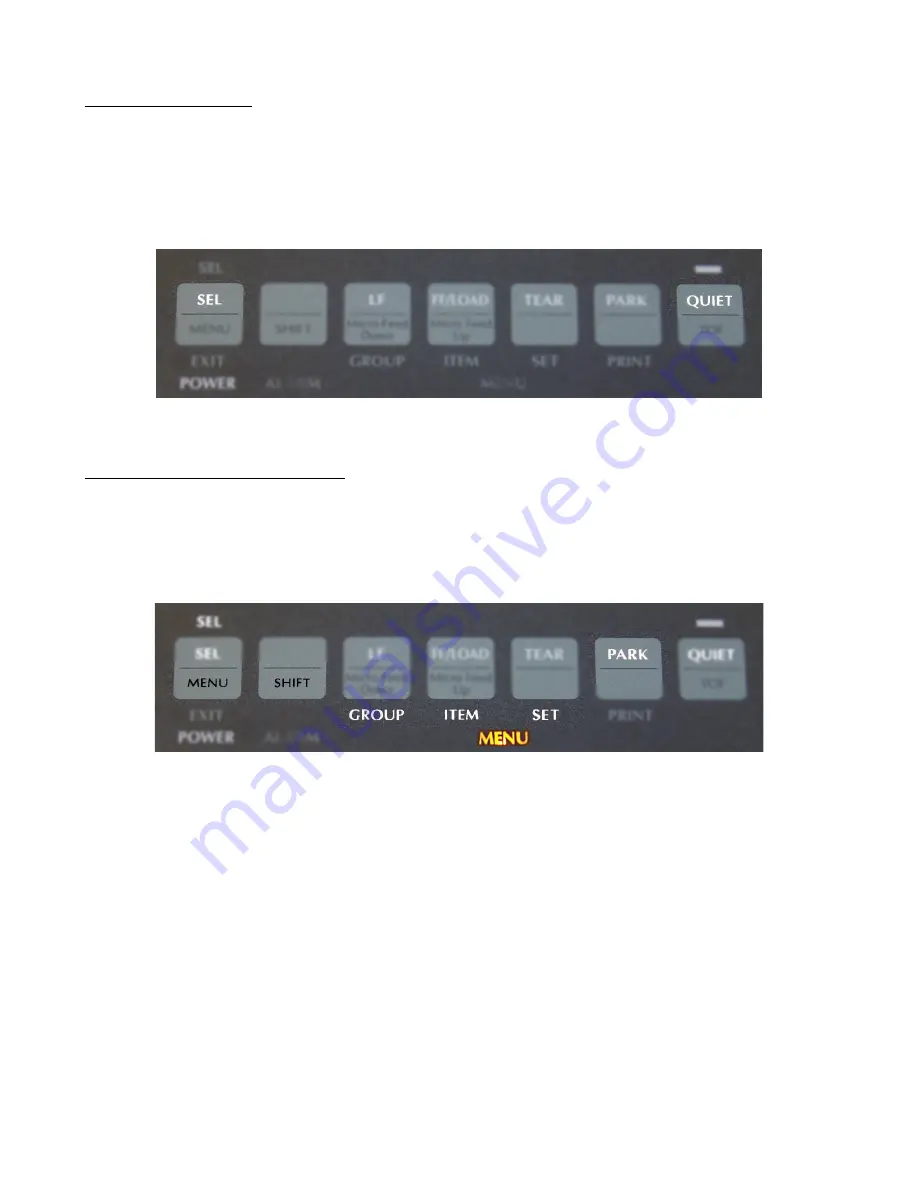
Hold down the “
SEL
” button and the “
Quiet
” button at the same time (see diagram below). While
holding both buttons down, turn the printer on.
The printer is now reset.
Adjusting the Firmware Settings:
This will program the printer to work with AutoDealer Plus. If for some reason you get lost or accidentally
press the wrong button, you can always go back and reset the printer back to factory settings as described in the
section above.
1.
First, place a plain white piece of paper into the printer. Next hold down the “
Shift
” button, then press
the “
Menu
” button, and then release them both. The menu light at the bottom will now be lit up.
2.
Press the “
Group
” button. A line will print that will look like this:
Printer Control
Emulation Mode
IBM PPR
(Note: Each time the button is pressed it will print a line.
Wait at least 2 seconds for it to finish printing before you hit the next button)
3.
Press the “
Group
” button six more times until it prints the line:
Set-Up
Graphics
Uni-Directional
4.
Now press the “
Item
” button two times, until it prints the line:
Set-Up
Paper Out Override
No
5.
Press the “
Set
” button and it will print the same line as above but it will now say “
Yes
” in the right
column.


