OKIPAGE 12i User’s Guide
11
➦
1
Setting Up Your Printer
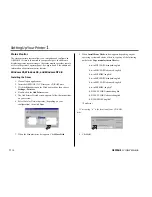
10. When the driver you selected appears, click Next.
11. Continue with the installation following the Add Printer Wizard
instructions on your screen.
Installing the Status Monitor
To install the on-screen status monitor:
1. Close all open applications.
2. Insert the OKIPAGE 12i CD into your CD-ROM drive.
3. Click the Start button on the Windows taskbar, then click Run.
4. Enter d:\install (assuming “d” is the location of your CD ROM
drive). Click OK.
A message appears reminding you that this program installs only
the printer software. (To install the driver, see instructions in the
previous section).
Click Yes to continue the installation.
5. Welcome window appears. Click Next.
6. License Agreement appears. Click Yes.
7. Destination window appears. Click Next.
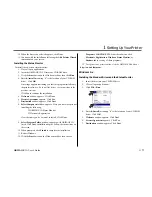
8. Select Component window appears. Here you have the option of
installing the following:
✓
OKIPAGE 12i Status Monitor
✓
Electronic Registration
Clear the items you do not want to install. Click Next.
9. Select Program Folder windows appears, with OKIPAGE 12i
listed. Click Next. Installation begins. Follow the instructions on
the screen.
10. When prompted, click Finish to complete the installation.
11. Restart Windows.
12. Click the Start button on the Windows taskbar, then choose
Programs
ÕOKIPAGE 12i. From the submenu, click
Electronic Registration, Windows Status Monitor, or
Readme.txt to see any of these programs.
➯
To register your printer online, visit the OKIDATA Web Site at
http://www.okidata.com.
Windows 3.x
Installing the Standard Driver and the Status Monitor
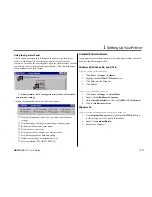
1. Insert the disc into your CD-ROM drive.
2. Close all open applications.
3. Click File
ÕRun.
4. Enter d:\install (assuming “d” is the location of your CD-ROM
drive). Click OK.
5. Welcome window appears. Click Next.
6. License Agreement appears. Click Yes.
7. Destination window appears. Click Next.
Summary of Contents for OKIPAGE 12i Series
Page 1: ...OKIPAGE 12i Digital LED Printer User s Guide ...
Page 10: ......


