


Calibrating the Auto Media Detection Sensor
The auto media adjustment procedure is a two step process. There is a rough and fine adjustment
that needs to be made. Both of these steps should be performed when doing the calibration.
Tools Needed
Pre-Measured Transparency Pack P/N 42527801
Reasons that a calibration should be done
1.
When replacing the Paper Thickness Sensor, Registration Roller and PU PCB.
2.
If the sensor is suspected of being out of calibration.
3.
Printer exhibits a "Non Paper Sense" error or "Paper Too Thick" error.
•
Media not fusing properly when the media setting is left at Auto, but fuses fine if a specific
media setting is selected.
Rough Adjustment
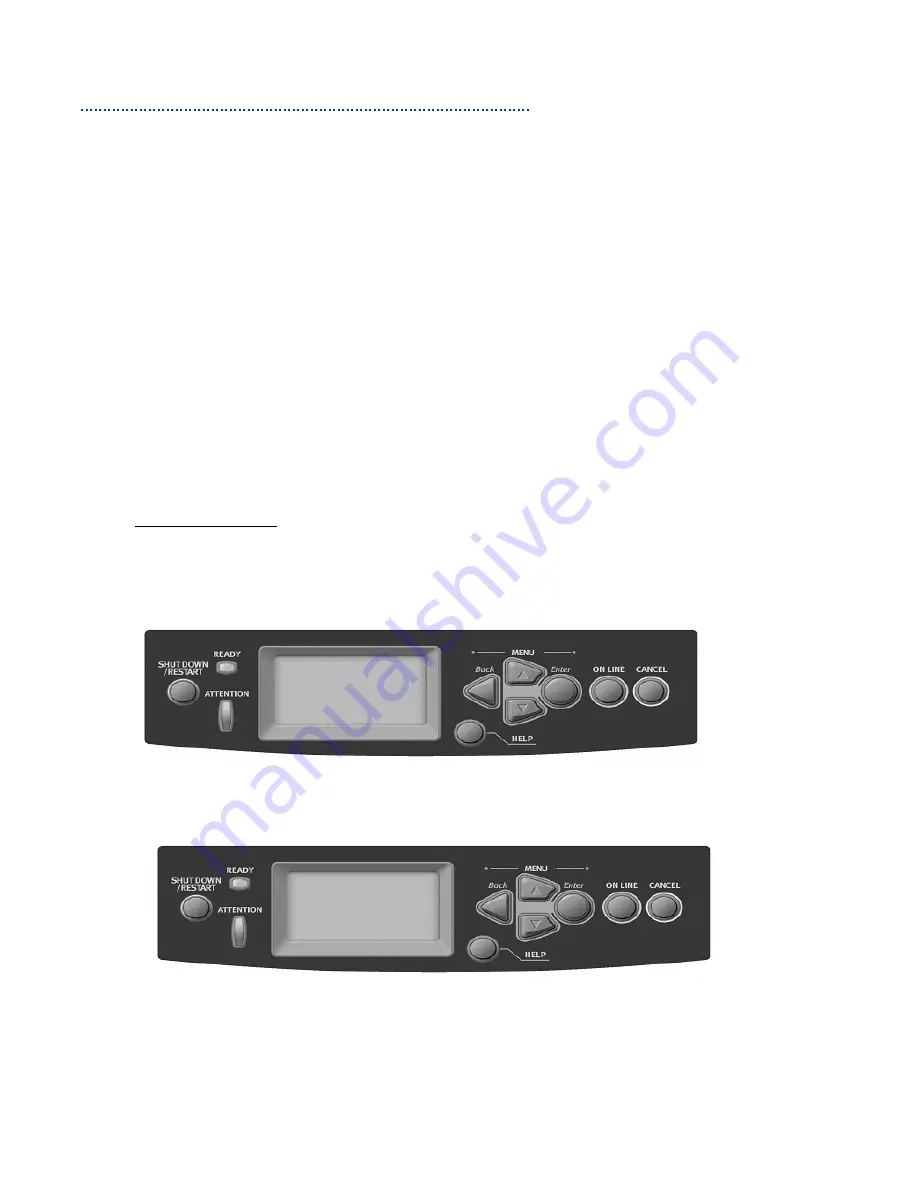
Enter Service Mode by holding down the menu up / menu down and help buttons
at the same time
while powering up the machine. (This may take up to 60 seconds.)
The System Maintenance Menu will appear. Down arrow to
“Diagnostics”
and press
“Enter”
.
From Diagnostic Mode Down arrow to
“Switch Scan”
and press
“Enter”.
Up
arrow until
“REG L/R_DENS_WEIGHT”
appears and select
“Enter”.
Four Hexadecimal number sets will be displayed. The Rough Adjustment is the 4th number.
Example: 09E, 27D, 000,
12C
)
Adjust the 4th number as close to the desired 12C as possible (acceptable range: 10E ~ 13E) by
rotating the adjustment screw (See illustration below).
Press the Back button three times to exit diagnostic mode, and restart the printer.
“
REG L/R_DENS_WEIGHT”
09E, 27D, 000,
12C
Switch Scan
“REG L/R_DENS_WEIGHT”