Connecting to the PC after preparing this machine
- 61 -
For macOS
1
Check that this machine and the PC are connected, and that the power supply is on.
2
Insert the included DVD to the PC.
3
Double-click on the [OKI] icon on the desktop.
4
Double-click on [Drivers] - [PS] - [Installer for OSX].
5
Finish the installation by following the on-screen instructions.
6
Select [System Preferences] from the Apple menu.
7
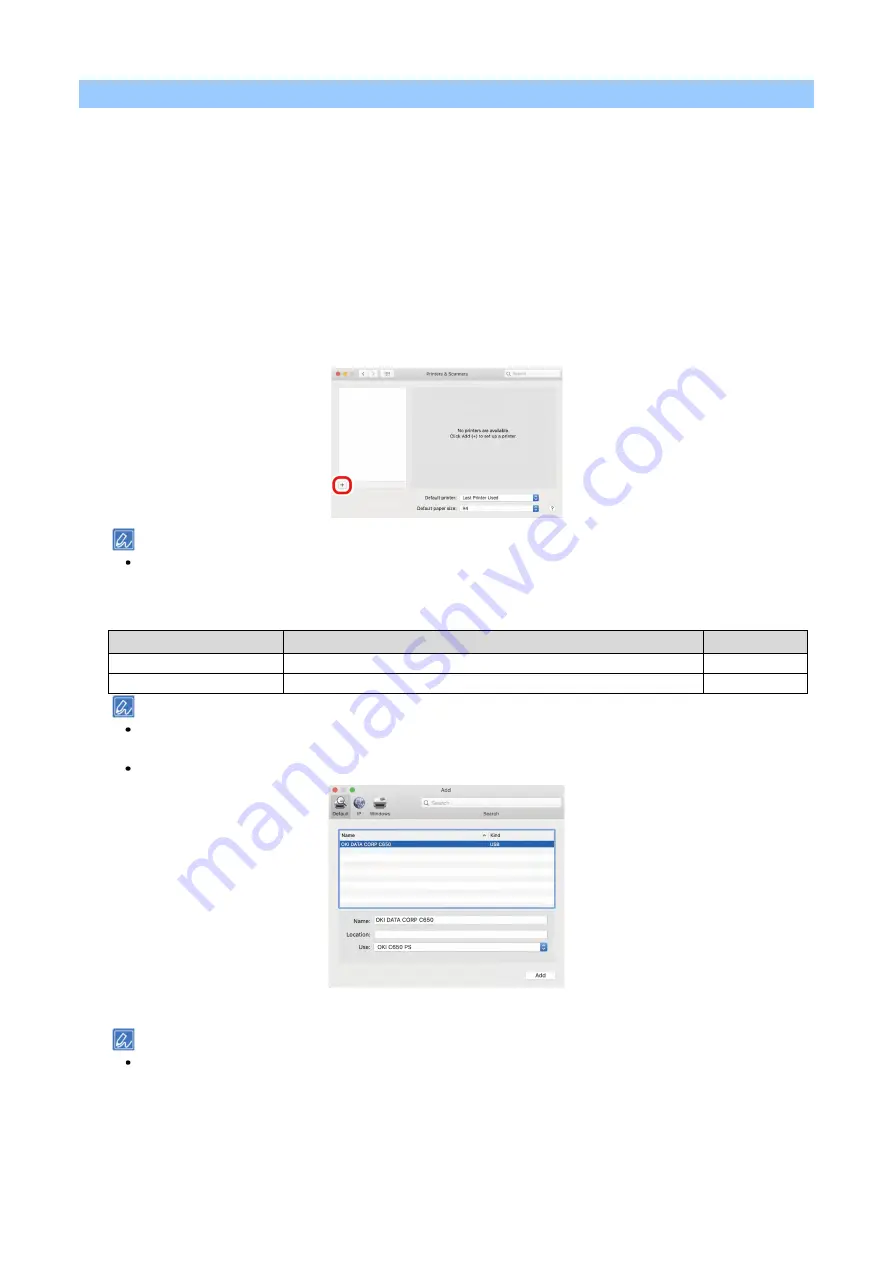
Click [Printers and Scanners].
8
Click [+], and select [Add Printer or Scanner] when the menu appears.
If you cannot click [+], click the key mark.
9
Click [Default].
10
Select this machine, and select [OKI C650 PS] from [Drivers].
Connection Method
Listed name
Type
Network
OKI-C650 (Last 6 digits of the MAC address)
Bonjour
USB
OKI DATA CORP C650
USB
The MAC address can be checked by pressing the scroll buttons on the operator panel to print the network
information from [Print Information] - [Network].
To change the name, input a new name to be used in [Name].
11
Click [Add].
If the option confirmation screen appears, click [OK].
Summary of Contents for C650/ES6450
Page 1: ...C650 ES6450 Basic Operation Guide...
Page 100: ...Printing 100 Printing Printing from a PC 101 Screens and functions of the printer driver 103...
Page 113: ...Management of this machine 113 Management of this machine Admin password 114...
Page 166: ...Appendix 166 Appendix Specifications 167 Dimensions 171 Menu tree 173...
Page 171: ...Appendix 171 Dimensions Plan view Side view...
Page 172: ...Appendix 172 With options installed...
Page 180: ...EE8001 1659Z002 Rev2...


