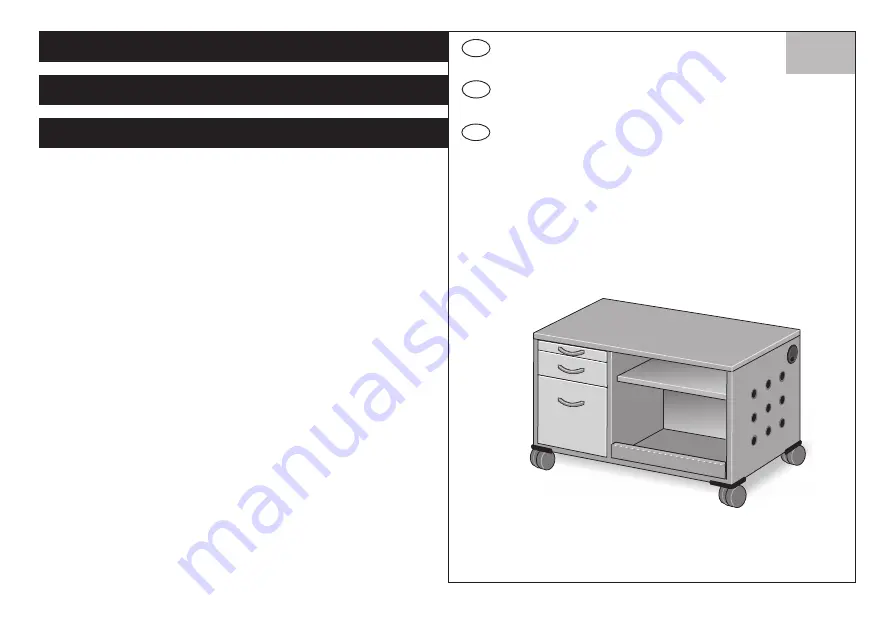
Combi
Container
Flex
line
Stand/Version/Versie: 05/2016
NL
GB
D
041
ASSEMBLY INSTRUKTIONS
MONTAGEINFORMATIONEN
MONTAGE-INFORMATIE
Page 1: ...CombiContainer Flexline Stand Version Versie 05 2016 NL GB D 041 ASSEMBLY INSTRUKTIONS MONTAGEINFORMATIONEN MONTAGE INFORMATIE ...
Page 2: ...he central locking system and the drawer stop work properly the assembly instructions show all alternatives or optional versions The details of your version are to be found in the delivery documents Fig 1 1 Remove the transport cover lid SK from the castors Fig 1 2 1 3 Voor het begin van de montage de trans portverpakking verwijderen en de levering op volledigheid juistheid en kwaliteit con troler...
Page 3: ...vermijden van struikelgevaar naar binnen worden gedraaid Afb 3 2 Sicherheitshinweise Safety instructions Veiligheidsaanwijzingen 3 CombiContainer Flexline 128 mm S2 M4 x 12 4 128 mm S1 M4 x 25 4 1 4 2 Demontage Montage der Griffe Removing assembling drawer handles Demontage montage van de grepen M4 x 25 M4 x 12 Beschlagselemente Fittings Beslagelementen Werkzeug Tools Gereedschap S1 S2 Demontage M...
Page 4: ...m Remove the cover AD of the cable conduit KF and insert the cable opening the cutouts AS in the cover AD as necessary Fig 5 2 Folding cable rest under the cable conduit KF Remove the retainer AR of the cable rest KA and fold the cable rest KA downward install cable and lock again Fig 5 3 Kabeldoorvoer KD Afb 5 1 Kabeldoorvoer 24 x 10 cm Afdekking AD van de kabeldoorvoer KF afnemen en kabel doorst...
Page 5: ... with the strain relief under the cable aperture KD on the sidewall Fig 6 1 Fix the pre connected cable to the base plate Fig 6 2 Hook the upper segment of the conduit into the mounting plate BP and press the cable through the openings in the segment Screw the strain reliefs into position Fig 6 3 Bevestigingsplaat BP met de trekontlasting onder de kabeldoorvoer KD aan de zijwand monteren Afb 6 1 V...
Page 6: ...ull divider robustly upward and click into new position Fig 8 1 Longitudinal DIN A5 and DIN A6 compart ment dividers metal Push the moveable parts C of the compart ment divider from initial position Image 1 downwards at an angle Image 2 so that the locking pin no longer protrudes above the outer edge Position the compartment dividers as desired and press downwards The pins are thus pressed back in...
Page 7: ...rail Fig 9 1 Assembly Place the drawer down onto the fully extended guide rails D c 10 cm more than the original position push the drawer in with the guide rails until it clicks into position E Fig 9 2 Stalen schuifladen 2 3 4 6 HE Uitbouw Ontgrendelingsbeugel B aan de onderkant van de geleiderail naar boven drukken en de schuiflade licht optillen Onder deze lichte neiging de schuiflade naar voor ...
Page 8: ...bb 11 3 Height adjustment Adjust the height by turning the screw adjuster Fig 11 1 Height alignment Turn the container on its side and fit the extra cap on the turning part of the screw adjuster The groove C of the thread must properly engage with counter piece B Fig 11 2 SAFETYNOTE No more than 3 caps must be connected to one another Fig 11 3 Hoogtejustering Hoogtejustering door verdraaien van de...
Page 9: ...tion Only to be used in con junction with foot elements Place supports in the desired position on the container and secure using an anti slip lining AR Fig 12 1 Adjust height using foot elements See also Section 4 of the assembly instructions Height correction using foot elements Fig 12 2 Opgelet alleen in verbinding met voetelementen inzetbaar Containersteunen aan de gewenste positie op de contai...
Page 10: ...ube D wieder eindrehen Abb 13 2 Correction in direction A Loosen screw A correct as required and then tighten screw A again Fig 13 1 Correction in direction B Unscrew and remove screw D loosen both screws B correct as required and then tighten screws B again Screw in screw D again Fig 13 2 Correctie in richting A Schroef A lossen correctie uitvoeren en schroef A weer vast aandraaien Afb 13 1 Corre...
Page 11: ...n nagewist Bij hardnekkige verontreinigingen kunnen de reinigingsmiddelen ook in een hogere concentratie gebruikt worden echter nooit onver dund In deze gevallen moet in ieder geval met zuiver water na en aansluitend drooggewist worden Openporige meubeloppervlakken mogen altijd alleen vochtig niet nat behandeld worden Aanwijzingen Als reinigingsmiddeltoevoegsel zijn in de handel gebruikelijke alle...
Page 12: ...int please use the form on this side Zouden desondanks reden voor een reclamatie voorhanden zijn gebruikt U alstublieft het voorgedrukt formulier Service contacts Servicekontakte Servicecontacten Complaint report Beanstandungsmeldung Reclamatiemelding OKA Büromöbel GmbH Co KG Eibauer Str 1 5 D 02727 Ebersbach Neugersdorf fon 49 0 3586 711 0 fax 49 0 3586 711 170 E Mail info oka de www oka de Vorga...