EN-1
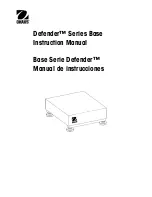
Defender Series Base
INTRODUCTION
This manual covers installation, and maintenance instructions for the Ohaus Defender Series Base. Please read this manual
completely before installation and operation.
TM
SAFETY PRECAUTIONS
For safe and dependable operation of this product, please comply with the following precautions:
•
Operate the base only under ambient conditions specified in these instructions
•
Ensure that the load cell cable does not pose an obstruction or tripping hazard
•
Do not operate the base in hazardous environments or unstable locations
•
Do not drop loads on the base
•
Do not lift the base by the top frame; always lift from the bottom frame when moving the base
•
Service should only be performed by authorized personnel
INSTALLATION
Unpacking
Unpack and inspect the product to make sure that all components have been included. The package includes the following:
•
Defender
TM
Series Base
•
Weighing Pan
•
Warranty Card
•
Instruction Manual
•
Column Assembly
Assembly
Weighing Pan
Place the weighing pan on the top frame of the base.
Wiring Connections
Connect the load cell cable to an indicator using the wiring codes in Table 1 below. Refer to the indicator manual for information
about load cell connections, setup and calibration.
Note
: When purchased as a Defender Series Scale, the base is already pre-wired to the Indicator.
TABLE 1. LOAD CELL CONNECTIONS.
FUNCTION
4.WIRE COLOR
6.WIRE COLOR
+ Excitation
Red
Red
- Excitation
Black
Black
+ Signal
Green
Green
- Signal
White
White
+ Sense
N/A
Blue
- Sense
N/A
Yellow
Shield Transparent
Transparent
Selecting the Location
To ensure accuracy, proper performance and safety, locate and operate the base on a stable, level surface. Avoid locations with
rapid temperature changes or excessive dust, air currents, vibrations, electromagnetic fields or heat.
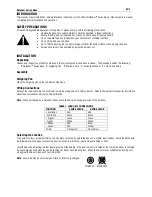
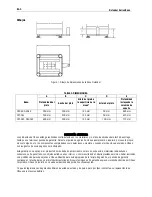
Level the base by adjusting the four leveling feet until the bubble in the level indicator (located at the rear of the base) is centered.
A wrench may be needed to loosen the locking nut above each leveling foot. When the base is level, retighten the locking nuts
up against the base to lock each foot into place.
Note
: Ensure that the base is level each time its location is changed.
CORRECT
INCORRECT

