


18
EN
Sharpness
You can soften and sharpen images to achieve different effects.
To change Sharpness setting:
In Movie/Picture Record Mode, press OK Button to switch to record menu screen.
1.
Use Right/Left Buttons to select Movie Mode. Submenu of Movie Mode will pop out on the screen.
2.
Use Up/Down Buttons to select Sharpness then press OK Button to switch to Sharpness submenu.
3.
Use Up/Down Buttons to move between nine levels. The change can be previewed immediately.
4.
Press OK Button to validate the setting and exit.
5.
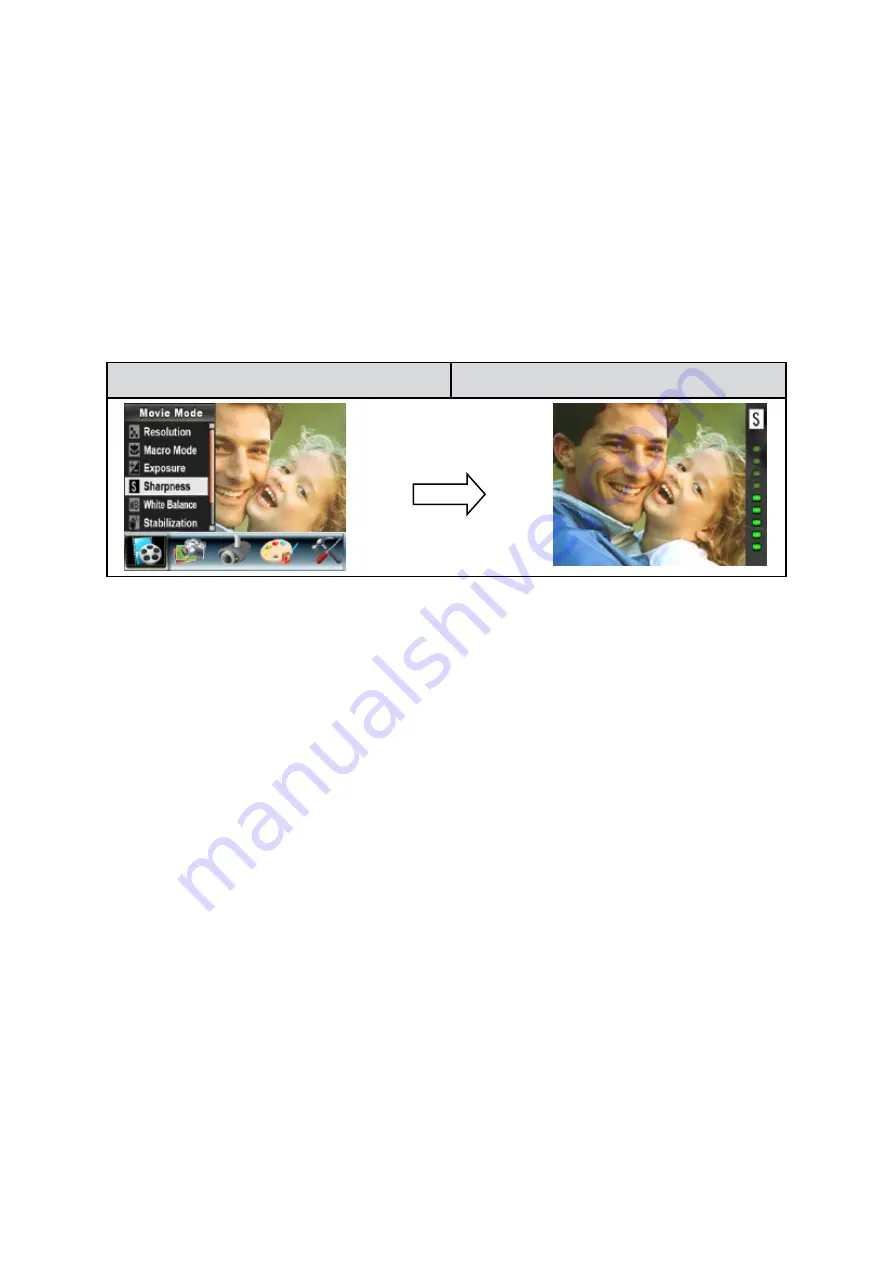
Display Screen
Sharpness Option
OK Button


