


ODYS Slim TV 68006
35
EN
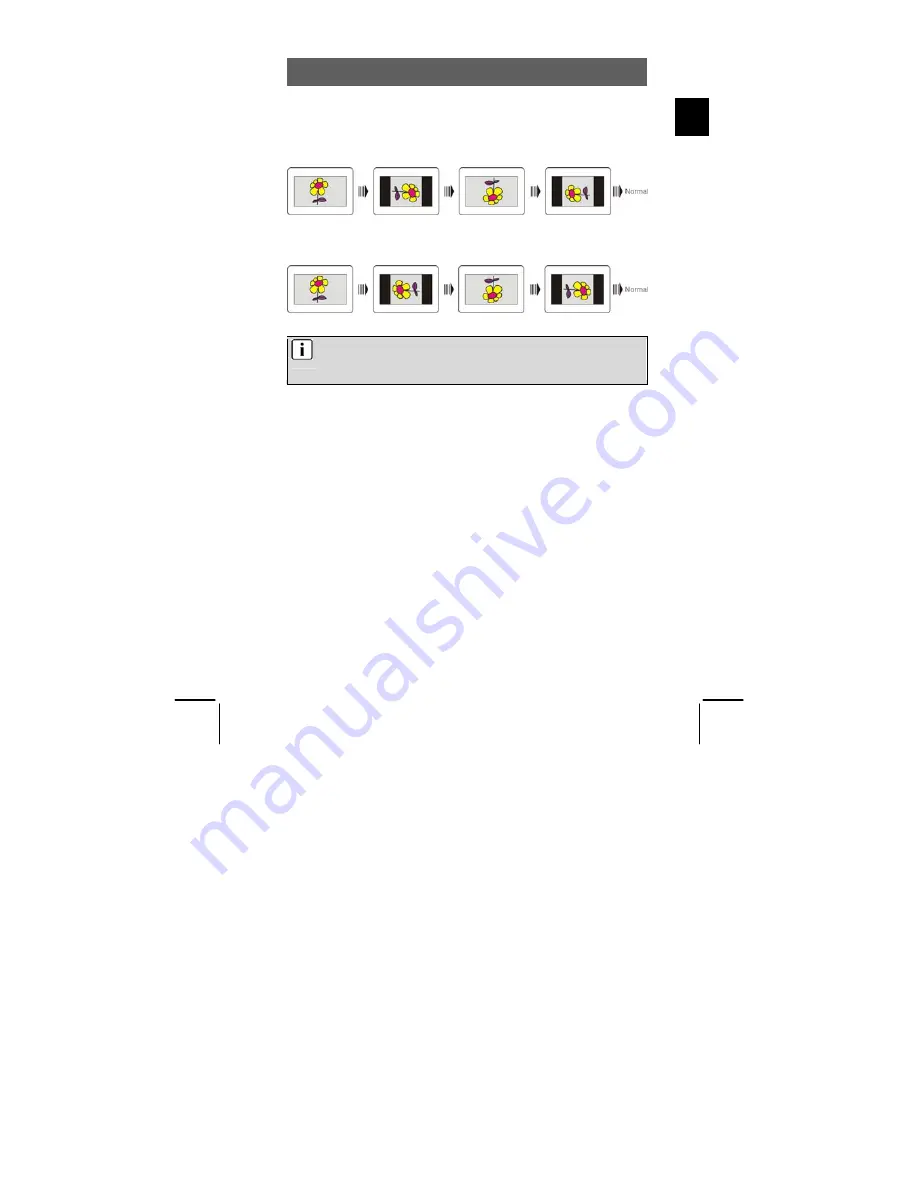
Rotating pictures
You can rotate a picture that is being displayed by using the direction
buttons (
).
Press the
button to rotate the current picture clockwise as shown below.
Press the
button to rotate the current picture anti-clockwise as shown
below.
Note
In some picture CDs, the functions for rotating and zooming
pictures are not available due to design limitations.


