2-24 Aria 1.2 Release Manual
101–1477–001
Edition 2
Verify the Upgrade
Verify that the upgrade was successful, as follows:
1. Reconnect the SMT to the server, as it was before the upgrade.
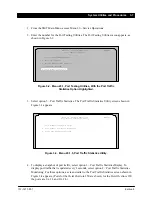
2. From the SMT Main Menu, enter 20 to select Menu 20 – Service Operations.
3. Enter the number for the Drive Copy Utilities option.
4. Enter the number for the Display Drive Info option.
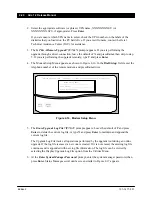
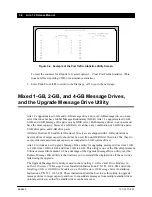
5. For an Octel Overture 250, at the Enter position of source drive [0–1]: prompt, enter 0 to
display drive information about system drive 0. For an Octel Overture 350, at the Enter
position of source drive [S0–S1]: prompt, enter S0. The Drive Serial No: field is displayed.
6. Verify that the drive serial number is correct, then type Y and press Return at the Is this the
correct drive? (y/n): prompt.
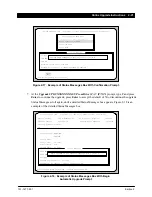
Drive information is displayed, showing the current software version in the System Boot
Area: field and the new software version in the nonactive area.
7. Press Ctrl–C and repeat steps 3 through 6 for system drive 1, if desired. Enter 1 or S1 at the
prompt in step 5.
8. Press Ctrl–C twice to return to the SMT Main Menu.
Reset AMIS Networking, if Necessary
Reset AMIS networking after the upgrade, as follows:
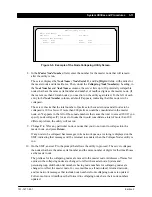
1. From the SMT Main Menu, enter 7 to access Menu 7 – Class of Service Profile.
2. In the Class of Service: field, enter the number for a class of service that had AMIS
networking disabled in the “Clear the AMIS Queue” section.
3. Return the Type of AMIS Networking: field back to its original setting, and press Send.
4. Repeat steps 2 and 3 for each class of service that was changed.
5. If menu 15.2.1 was changed in the “Clear the AMIS Queue” section, return the Number of
Attempts Before Giving Up: and Minutes Between Attempts: fields to their original values.

