L I G H T. Y E A R S A H E A D . WWW.OCEANLED.COM
OceanLED MANUAL / EXPLORE SERIES / E7 /
REVISION 3
2020
INSTALLATION & OPERATION MANUAL
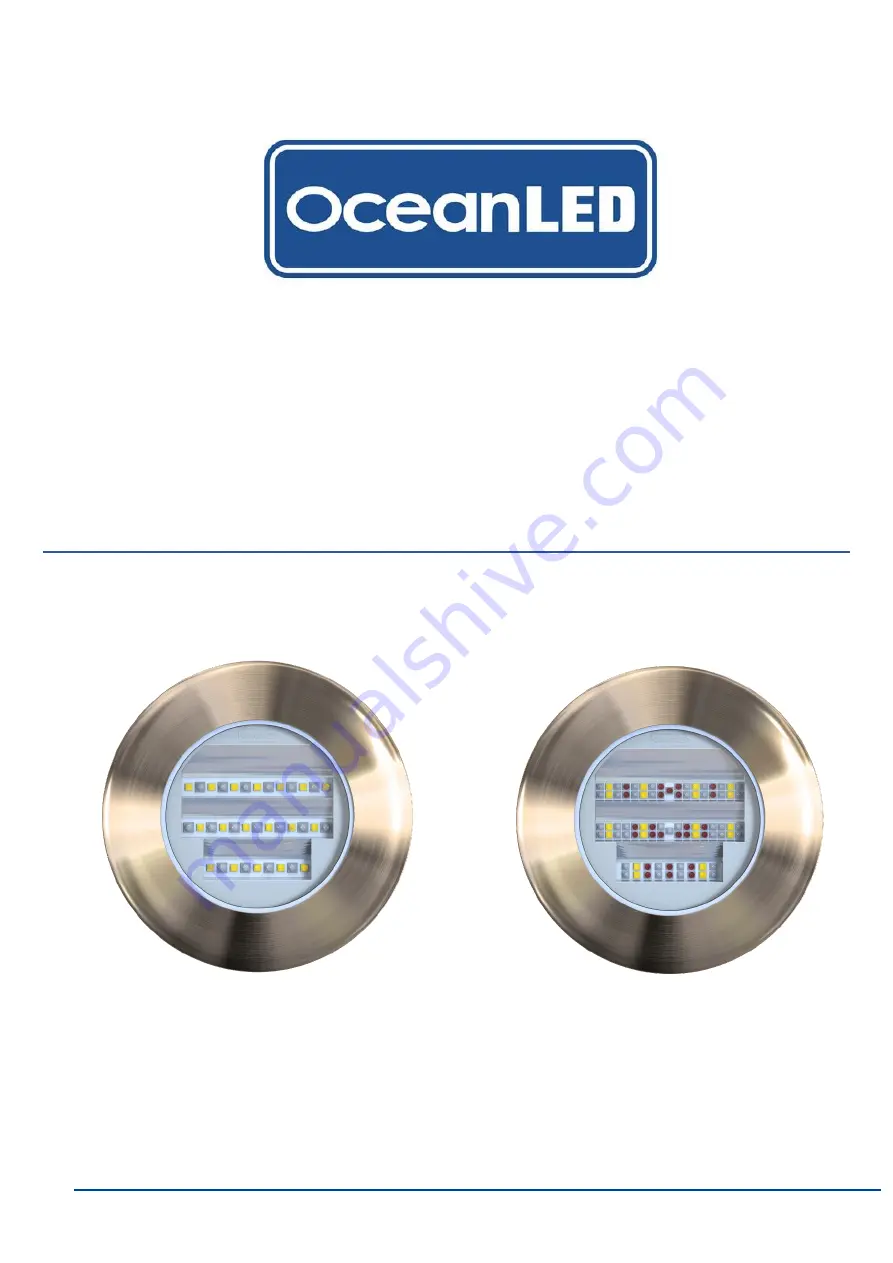
EXPLORE SERIES E7
Page 1: ...LIGHT YEARS AHEAD WWW OCEANLED COM OceanLED MANUAL EXPLORE SERIES E7 REVISION 3 2020 INSTALLATION OPERATION MANUAL EXPLORE SERIES E7...
Page 2: ...d polymer products which are impervious to saltwater corrosion however screws and fasteners used for the installation must be of a marine grade type stainless steel or equivalent and monitored annuall...
Page 3: ...to do this may result in additional installation time and could invalidate the warranty IMPORTANT NOTICE Attention Installer This manual contains important information about the installation operation...
Page 4: ...kit required for conductive hull materials or wooden hulls 8 Make sure the lights have been fitted following the beam angle and orientation 9 Correct marine sealant applied evenly around bezel Ensure...
Page 5: ...ilable in the Appendix Section 7 to evaluate all the options currently offered by OceanLED Use the chart below to determine the power supply requirements Power Consumption and Recommended Fuse Values...
Page 6: ...hnician when making modifications to your vessel Please also consult the manufacturer for more detail on modifications and installation If lights are to be fitted to a conductive or wooden hull an Iso...
Page 7: ...s to avoid the introduction of potential contaminants that may damage the product The light cartridge can only be removed for maintenance or after sales purposes and OceanLED must be contacted prior t...
Page 8: ...he hull will be detailed The LED Indicator is used as a reference point for beam direction For example if viewed from the rear with the LED Indicator at the top the beam will be pointing upwards The O...
Page 9: ...plying thread lock at point of thread contact with locking ring Torque to 2Nm DO NOT over tighten locking screws as you could damage the mounting tube and this will not be covered under warranty Once...
Page 10: ...le the mounting tube extension on the back of the standard light mounting tube then follow the procedure above in section 4 1 1 Remove the locking ring from the mountingtube 2 Apply thread lock Loctit...
Page 11: ...the compression tube inside the mounting tube extension and slide it all the way down into the tube until it reaches the light cartridge 4 Screw the locking ring back onto the mounting tube extension...
Page 12: ...ade cable is used to avoid voltage drop issues 2 Fix Explore AC Power Pack into required position Ensure chosen Explore AC Power Pack location is near enough to connect light cable without applying un...
Page 13: ...aker fuse panel to the light locations to supply constant power to the light units It is imperative that the correct sized tinned marine grade cable is used to avoid voltage drop issues Use the tables...
Page 14: ...Explore E7 Light Choice Diagram in the Appendix Section 7 for details Ensure power is disconnected before attempting to connect or solder any wire 1 Connect one contact of the switch to the red wire o...
Page 15: ...tempting to connect or solder any wire 1 Connect the DMX Control unit to the Explore Control Input Cable following the wiring connections below Cable colour Signal Black GND Yellow DMX Brown DMX Red N...
Page 16: ...5 Example DC Installation with Explore OceanDMX App Controller kit Control Link Cable Control Link Cable Control Link Cable Power In Power In Power In Power In WIFI Communication Control Input Cable I...
Page 17: ...N MANUAL 16 Example AC Installation with the Explore WIFI DMX Controller kit Control Link Cable Control Link Cable Control Link Cable Control Input Cable Included in Kit Terminator Included in Kit Eth...
Page 18: ...ver install a new light fixture then leave the vessel in the water unchecked for several days When the vessel is placed in the water immediately check for leaks Note that very small leaks may not be r...
Page 19: ...colour will be stored and remain static i e go back to step 1 in the sequence with a new stored chosen colour DMX Control Please refer to the purchased DMX Controller for details about how to use it...
Page 20: ...EMOVAL EXTENDED MOUNTING TUBE Before proceeding with this operation you MUST seek permission from either OceanLED or your OceanLED representative DO NOT remove the light cartridge from the mounting tu...
Page 21: ...llen key without removing them 5 Insert the Explore Extended Removal Tool into the mounting tube ensuring the cut outs in the tool align with the screws Twist the tool to align 6 Twist the tool to eng...
Page 22: ...ntaminant grease debris dirt are present 2 Using the 2mm Allen key remove one of the screws on the back of the light cartridge to act as a breather Failure to do so will make the installation process...
Page 23: ...d cycle of a succession of flashes followed by an off period EXPLORE SERIES NO OF FLASHES DESCRIPTION OF FAULT CHECK CAUSE FIX 1 Driver board Temperature Sensor Failure Light is faulty Contact your de...
Page 24: ...rectly Confirm all LEDs are illuminated 1 or more LEDs are not working Contact your dealer Check lights to see if water is present inside the light Water present Contact your dealer Check cable connec...
Page 25: ...til break has been located Then rectify the problem and seal joint correctly Check that the electrical connections between the supply cable and the light circuit breaker or fuse have been made correct...
Page 26: ...EXPLORE E7 2020 INSTALL OPERATION MANUAL 25 7 Appendix 7 1 OVERALL DIMENSIONS Clearance space Standard option Extension option Clearance space...
Page 27: ...ntact OceanLED 1 Connect the light assembly to the cathodic protection system as explained in Section 4 2 Measure the electrical continuity between the front bezel and the sacrificial anode This test...
Page 28: ...EXPLORE E7 2020 INSTALL OPERATION MANUAL 27 7 3 LIGHT SETUP The Explore Light Choice Diagram is also available at www oceanled com Continued on the next page...
Page 29: ...EXPLORE E7 2020 INSTALL OPERATION MANUAL 28...
Page 30: ...WG 8 AWG 6 AWG 6 AWG 4 AWG 2 AWG 2 AWG 1 AWG 0 AWG 0 2 AWG 40 45 12 AWG 10 AWG 8 AWG 6 AWG 4 AWG 4 AWG 2 AWG 2 AWG 1 AWG 0 AWG 0 2 AWG 45 50 12 AWG 8 AWG 6 AWG 6 AWG 4 AWG 2 AWG 2 AWG 1 AWG 0 AWG 0 2...
Page 31: ...G 10 AWG 10 AWG 8 AWG 6 AWG 6 AWG 4 AWG 4 AWG 2 AWG 2 AWG 40 45 14 AWG 12 AWG 10 AWG 10 AWG 8 AWG 6 AWG 4 AWG 4 AWG 4 AWG 2 AWG 2 AWG 45 50 14 AWG 12 AWG 10 AWG 8 AWG 8 AWG 6 AWG 4 AWG 4 AWG 2 AWG 2 A...
Page 32: ...EXPLORE E7 2020 INSTALL OPERATION MANUAL 31 7 6 ANGLED BEAM DETAILS...
Page 33: ...ved Specifications are subject to change without notice Trademarks are the property of Ocean LED Marine LTD www oceanled com Ocean LED Marine LTD Ocean LED USA LLC Unit 1 Jacknell Road Dodwells Bridge...