32
—
Multi-screen:
opens a submenu where you can choose from several multi-channel screen configurations, including
2 *2, 1+5, 1+7, 3*3, in multi-screen mode, you can view video from multiple camera channels simultaneously.
—
Previous screen
: Move to the screen displayed previously.
—
Next screen
: Move to the screen displayed after the current one.
—
Start Auto-switch
: the screen is automatically switched from one camera channel to the next. You must set the dwell
time before enabling auto-switch. Go to
Menu | Configuration | Live View | Dwell Time
.
—
Start Recording
: Select Normal Record and Motion Detection record from the drop-down list.
—
Output Mode
: opens a menu where you can select the output mode to Standard, Bright, Gentle or Vivid.
—
All-day Playback
: Opens a playback menu where you can playback video recorded at a specific time of the day. In If
in Multi-screen mode, double-click on the viewing frame of the camera recording video you want to replay, then select
All-day Playback. A marker on the timeline shows the time recording being played back was made.
4.2.1 Live View settings
Live View settings can be customized according to differing needs. You can configure the screen frame split, placement of camera
channels on the screen, dwell time for screen to be shown, mute or turning on the audio, the screen number for each channel, etc.
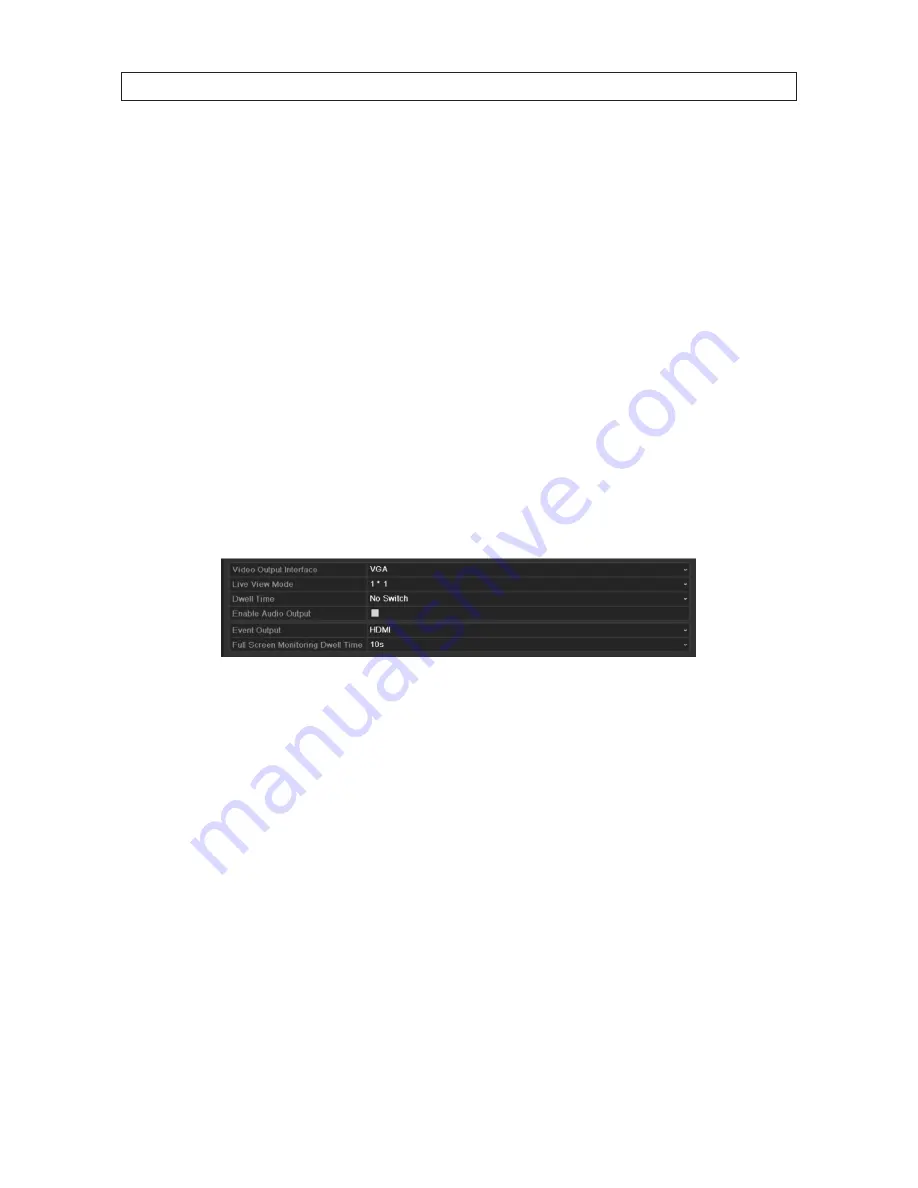
1. Open the Live View Settings menu. Go to
Menu | Configuration | Live View
Adjust the settings in the screen as needed:
—
Video Output Interface
: Designates the output to configure the settings for. Option includes only VGA/HDMI.
—
Live View Mode
: Designates the display mode (screen split) to be used for Live View.
—
Dwell Time
: The time in seconds to dwell between switching channels when auto-switch is enabled in Live View.
—
Enable Audio Output
: Enables/disables audio output for the selected video output.
—
Event Outpu
t: Designates the output to show event video. Option includes only VGA/HDMI.
—
Full Screen Monitoring Dwell Time
: The time in seconds to show alarm event screen.
2. After changing settings in the screen shown above, click
Apply
, and then click
Back
.
3. Click the
View
tab at the top of the screen.
SECTION 4: LIVE VIEW INTERFACE
Summary of Contents for NVR4020
Page 8: ...viii NOTES...


