Using Job Manager
6–4
DOC-00500 Rev. F
Job Manager
Operations
Even
after
sending
a
build
tray
to
the
3
‐
D
printer,
you
can
inspect
the
tray—
and
make
changes
to
it,
if
necessary—as
long
as
it
is
still
in
the
queue.
To inspect the build tray:
1. Select
the
job.
2. Click
the
Edit
Job
icon
or
open
the
Job
menu
and
select
Edit
.
Objet
Studio
opens,
displaying
the
build
tray.
To
make
changes
to
it,
see
The
following
operations
are
available
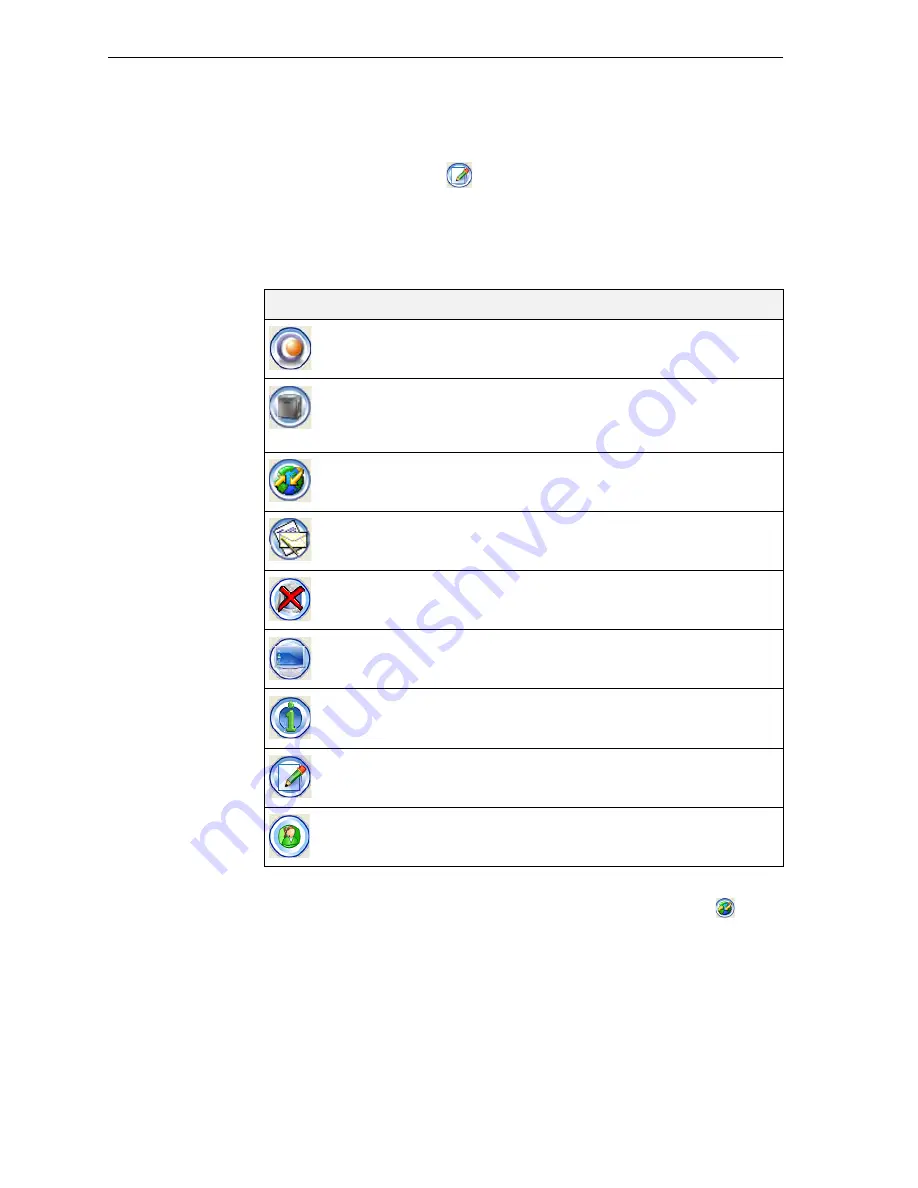
from
the
client
Job
Manager
interface:
The
3
‐
D
printer
Status
screen
enables
clients
to
monitor
the
progress
of
printing
jobs.
To
display
the
screen,
click
the
Machine
Status
icon
.
Icon
Menu Option
Purpose
3
‐
D
Printer
>
New
Job
Launches
Objet
Studio;
to
prepare
new
trays.
3
‐
D
Printer
>
Set
Printer
Displays
a
network
‐
browsing
dialog
box,
to
connect
to
an
Objet
server
computer.
To
specify
a
computer,
it
must
be
operating
and
connected
to
the
local
network.
——
Displays
the
status
of
the
3
‐
D
printer
(see
3
‐
D
Printer
>
Report Displays
options
for
user
messages
and
alerts
(paper
printer,
e
‐
mail,
SMS—see
Job
>
Delete...
Removes
the
selected
job
from
the
queue.
Job
>
View…
Opens
a
window
displaying
the
selected
tray.
In
this
window,
you
can
view
the
tray
from
different
angles.
Job
>
Properties
Opens
a
window
displaying
the
properties
of
the
selected
model.
Job
>
Edit
Launches
Objet
Studio
and
loads
the
current
tray,
to
enable
making
changes
to
the
tray
after
it
is
sent
to
the
server
but
before
it
is
printed.
Help
>
About...
Displays
the
Job
Manager
version.


