


4
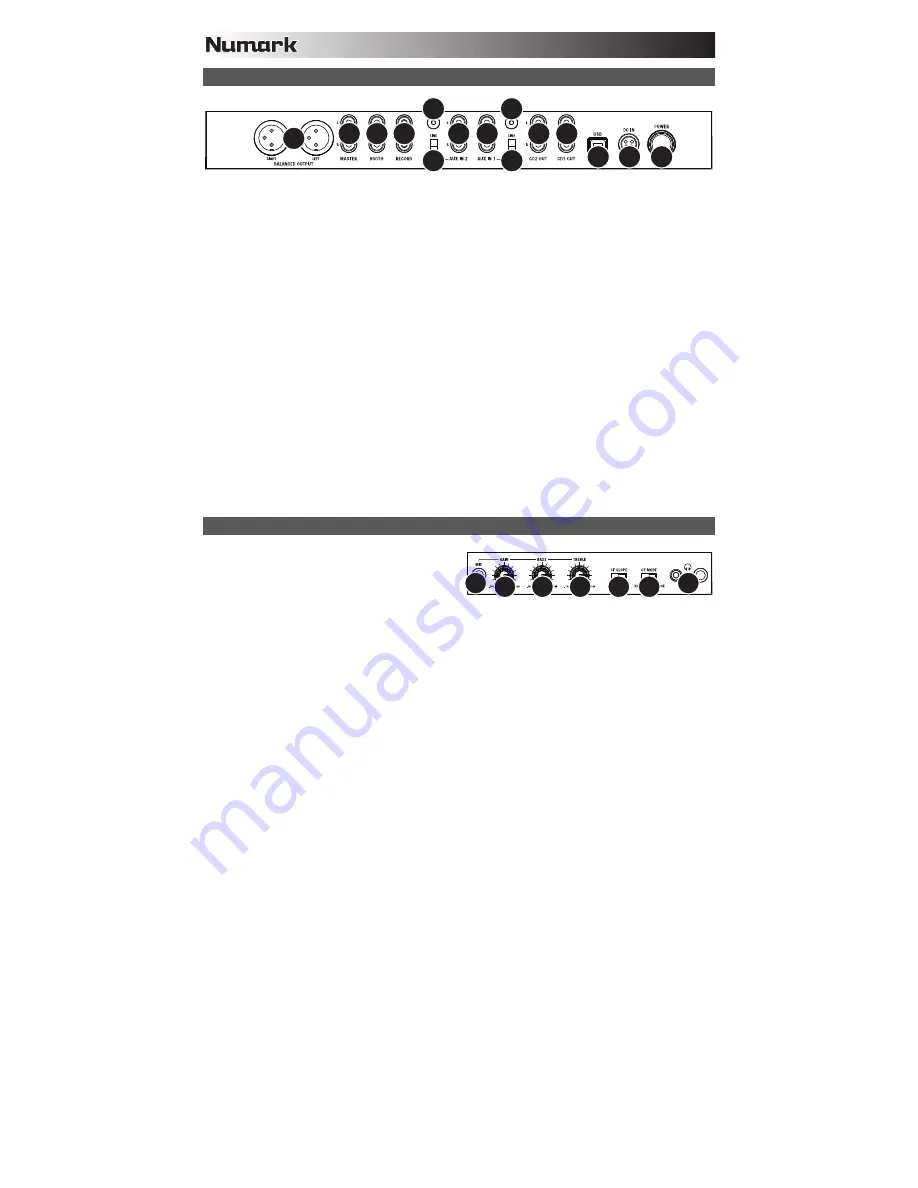
REAR PANEL FEATURES
1
2
3
4
5 6 7
8
9
9
10
10
11 11
8
1.
POWER BUTTON
– Press this to turn the unit on and off.
2.
POWER IN –
Use the included power adapter to connect the mixer to a power outlet. While the power is switched off,
plug the power supply into the mixer first, then plug the power supply into a power outlet.
3.
USB SLAVE
– Connect the MIXDECK to a computer via this USB jack and your MIXDECK can be used as a software
controller device using USB MIDI protocol. You can also use MIXDECK as your computer's soundcard. (Remember to
select MIXDECK as the playback device in your computer's sound settings. You can use MIXDECK as a soundcard with
or without using it as a software controller.)
Note:
The mixer and iPod controls do not have any MIDI function.
4.
MASTER OUTPUT (BALANCED) –
Connect this low-impedance XLR output to a PA system or powered monitors. The
level of this output is controlled with the MASTER VOLUME on the top panel.
5.
MASTER OUTPUT (RCA) –
Use standard RCA cables to connect this output to a speaker or amplifier system. The
level of this output is controlled by the MASTER VOLUME on the top panel.
6.
BOOTH OUTPUT (RCA) –
Use standard RCA cables to connect this output to a booth monitoring system. The level of
this output is controlled by the BOOTH VOLUME on the top panel.
7.
RECORD OUTPUT (RCA) –
Use standard RCA cables to connect this output to a recording device, such as a CD
recorder or tape deck. The level of this output is based upon pre-master levels.
8.
AUX INPUTS (RCA) –
Connect audio sources to these inputs. These inputs can accept both line and phono-level
signals.
9.
LINE | PHONO SWITCH –
Flip this switch to the appropriate position, depending on the device connected to the AUX
INPUTS. If you are using phono-level turntables, set this switch to "PHONO" to provide the additional amplification
needed for phono-level signals. If using a line-level device, such as a CD player or sampler, set this switch to "LINE."
10.
GROUNDING TERMINAL –
If using phono-level turntables with a grounding wire, connect the grounding wire to these
terminals. If you experience a low "hum" or "buzz", this could mean that your turntables are not grounded.
Note:
Some turntables have a grounding wire built into the RCA connection and, therefore, nothing needs to be
connected to the grounding terminal.
11.
CD OUTPUT (RCA) –
To use MIXDECK with timecoded CDs
,
use
standard RCA cables to connect this output to the
interface for your digital DJ software.
FRONT PANEL FEATURES
1.
HEADPHONES –
Connect your 1/4" or 1/8"
headphones to this output for cueing and mix
monitoring. Headphone output controls are located on
the top panel.
2.
MIC INPUT –
Connect a 1/4" microphone to this input.
3.
MIC GAIN –
Adjusts the audio level of the microphone signal.
4.
MIC BASS –
Adjusts the low (bass) frequencies of the microphone channel.
5.
MIC TREBLE –
Adjusts the high (treble) frequencies of the microphone channel.
Tip:
If you experience feedback when using a microphone at loud levels, try turning down the high frequencies.
6.
CROSSFADER (CF) SLOPE –
Adjusts the slope of the crossfader curve. Flip switch to the left for a smooth fade
(mixing) or to the right for a sharp cut (scratching).
7.
CROSSFADER (CF) MODE –
Reverses the assignment of Channels 1 and 2 on the CROSSFADER.
1
2 3
4
5
6 7
Summary of Contents for MIXDECK
Page 2: ......


