


User´s Manual DSTR 4010A
User´s Manual DSTR 4010A
29
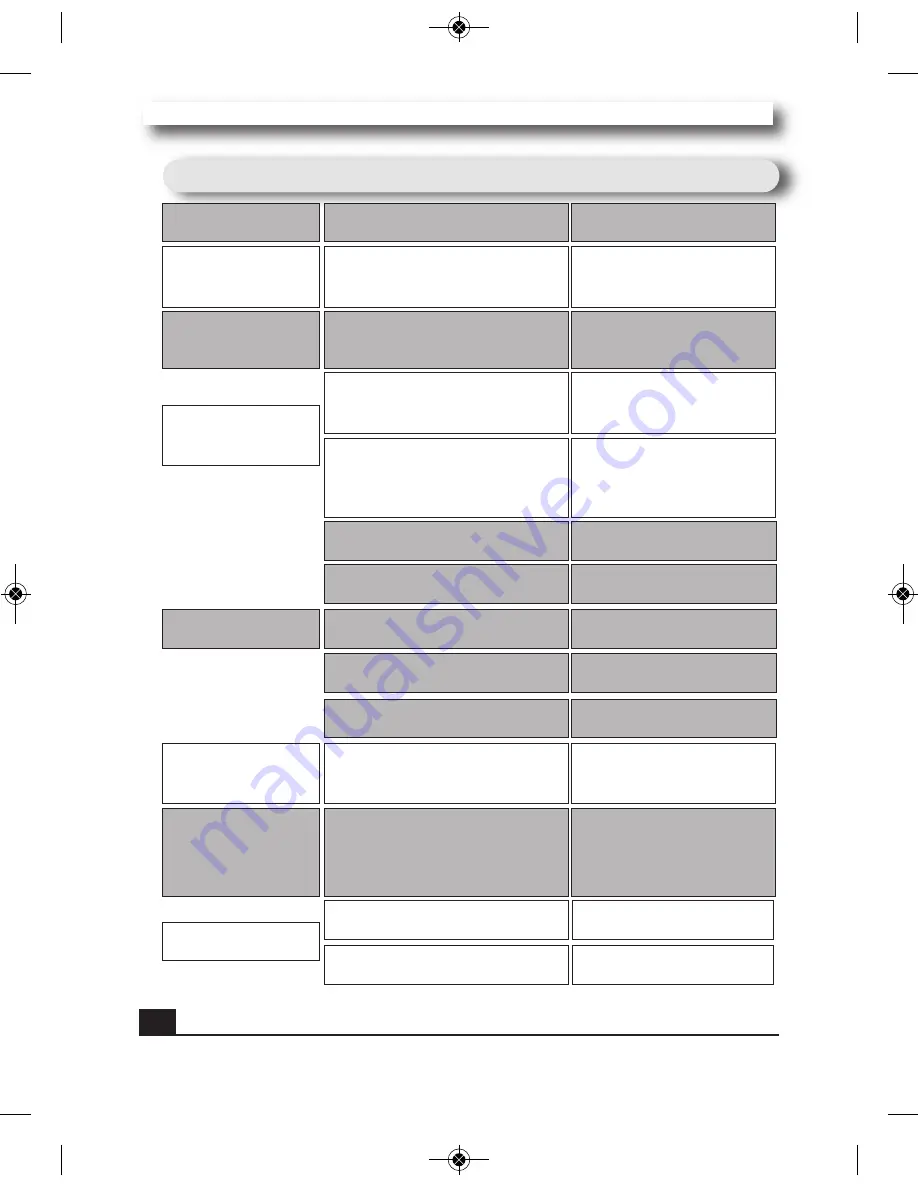
Trouble shooting-Satellite
Trouble shooting-Satellite
Problem
Possible causes
What to do
The display on the
front panel does not
light up.
Main cable is not connected.
Check that the main cable is
plugged into
the power socket.
The picture is not
showed on the screen,
when switching on.
The system is connected by RF
leads.
Check the UHF channel fixed
in your system and tune the
UHF channel properly.
No sound or picture,
but the front panel
shows red light.
The receiver is in standby mode.
Press the standby button.
There is interference on
your digital satellite
channels, an existing
terrestrial channel or
video signal.
The system is connected by RF
leads and the output channel of the
receiver interferes with an existing
terrestrial channels or Video signal.
Change the receiver output chan-
nel to a more suitable channel, or
connect the system by SCART
leads.
No sound or picture.
The satellite dish is not pointing at
thesatellite.
Adjust the dish. Check the
signal level in the Antenna
Setup menu.
No signal or weak signal.
Check the cable connections,
LNB and other equipment
connected between the LNB
and the receiver, or adjust the
dish.
Bad picture / blocking
error.
The satellite dish is not pointing at
the satellite.
Signal is too strong.
Satellite dish is too small.
LNB noise factor too high.
The LNB is faulty.
Adjust the dish.
Connect a signal attenuator
to the LNB input.
Change to a larger dish.
Change to an LNB with lower
noise factor..
Change the LNB.
The RCU is not wor-
king.
Battery exhausted.
RCU is incorrectly aimed.
Change the batteries.
Aim RCU at the , or check that
nothing blocks the front panel.
Note :
If you have tried all of the actions suggested above, without solving the
problem, please contact your dealer or service provider.
Manual_Vers. ENG_Rev.1:Maquetación 1 23/11/2009 12:53 Página 30


