


NVIP- NVRA0104/GO and NVIP- NVRA0208/GO User’s manual(Short) ver.1.0
All rights reserved © AAT Holding sp. z o.o.
12
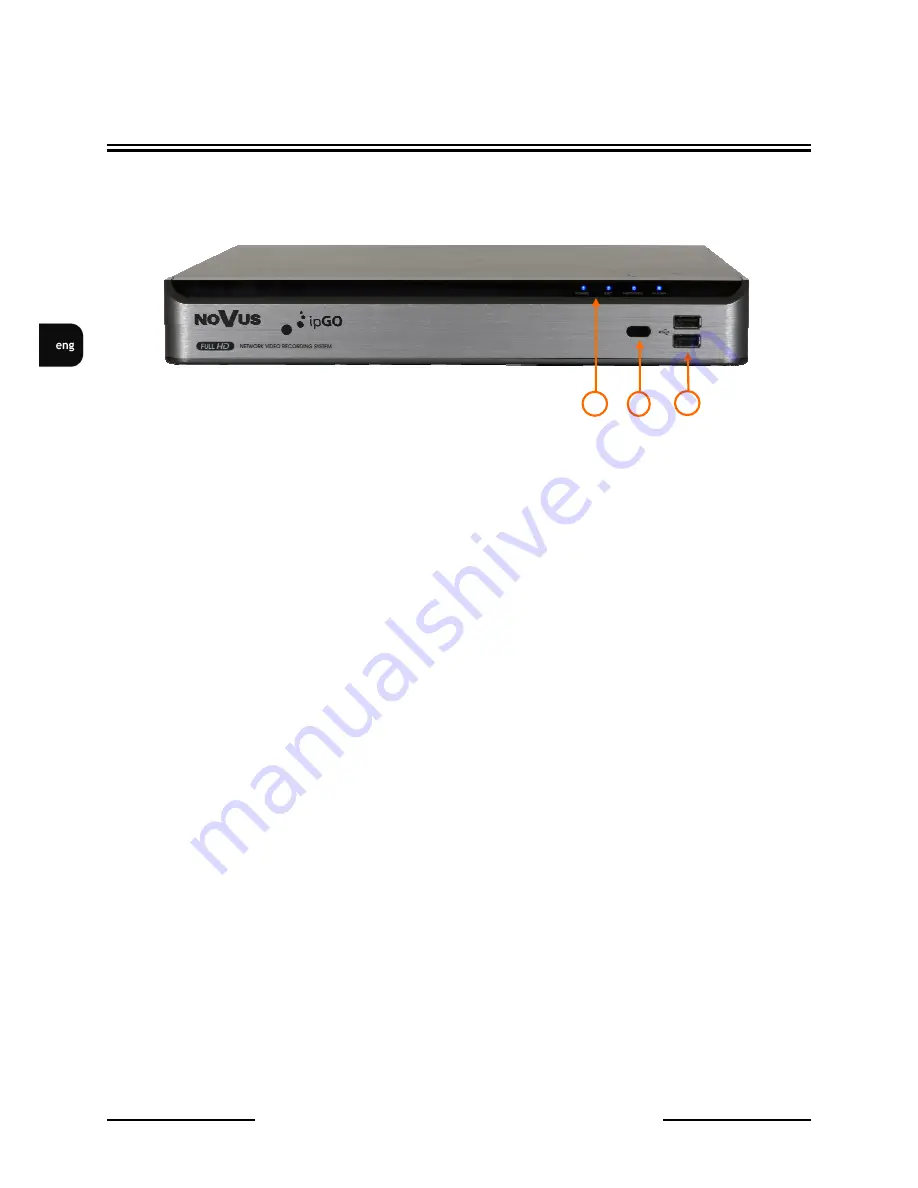
3. OPERATING NVR
3.1. Front panel description
1.
LED
Shows power, recording, network connection or active alarm statuses.
2.
IR Remote Control Receiver
IR signal receiver (remote control)
3.
USB
USB 2.0 port for external Flash memory and mouse connection.
3.2. Controlling via USB mouse
NVR features the possibility of establishing a control over the NVR using an USB mouse connected to
the USB port. Functions described below are available in „live” mode.
Double-clicking on any camera in 2x2, 3x3 display mode switches the display to full-screen mode.
Subsequent double-click returns to previous display mode.
During configuration, selection of particular options is performed via the LMB.
Certain positions allow to select them via mouse scroll.
Depending on NVR operating mode, pressing RMB displays a corresponding function menu.
3.3. Controlling via IR remote controller
The remote control will be active only if the remote control ID matches with that specified on the NVR.
If multiple NVRs are installed on one place and you have just a single remote control, use the ID button
to set the remote control ID. Only the ID-matching NVR can be controlled.
•
From SYSTEM>CONTROL DEVICE under the System Setup menu, set the REMOTE
CONTROLLER ID and press APPLY. Select between 00 and 99. For more details, refer to
SYSTEM SETUP. The remote control will be active only if the remote control ID matches with
that of the NVR's system ID.
•
Press the [ID] button on the remote control. The default remote control ID is 00.
•
Use the number buttons to provide a two-digit ID. If you want to enter 01, for instance, enter the
number 0 and 1 in sequence. Check if the remote control ID is set properly by manipulating the
remote control.
•
To reset the ID to 00, press and hold the [ID] button
.
1
OPERATING NVR
2
3


