


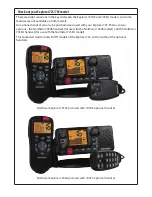


Northstar Explorer 725/705 Quickstart Guide
10
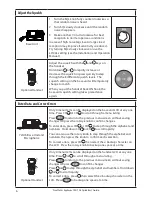
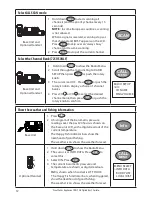
High and Low Power
Microphone and
Optional Handset
1 Press
H/L
or
H/L
IC
to toggle between HI
(High) and LO (Low) (25W or 1W) transmission
power for the entire channel bank. A beep
sounds and the selection is shown on the LCD.
2 If HI power cannot be used with a particular
channel, the annunciator automatically goes to
LO power. If you press
H/L
IC
or
H/L
again, an
error beep sounds.
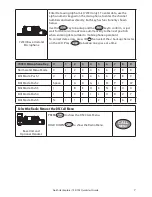
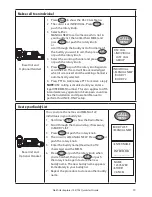
Priority Channel
Base Unit, Microphone
and Optional Handset
Channel 16 and HI power are automatically selected
at power up.
1 If you’re on a working channel and want to check
the priority channel for traffic, just press
16
or
16/9
.
2 Press again to recall your working channel.
NOTE: On the 725US ONLY the priority channel can be
set to Channel 09. To set this, just hold down
16/9
until Channel 09 appears on the LCD.
16/9
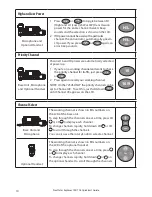
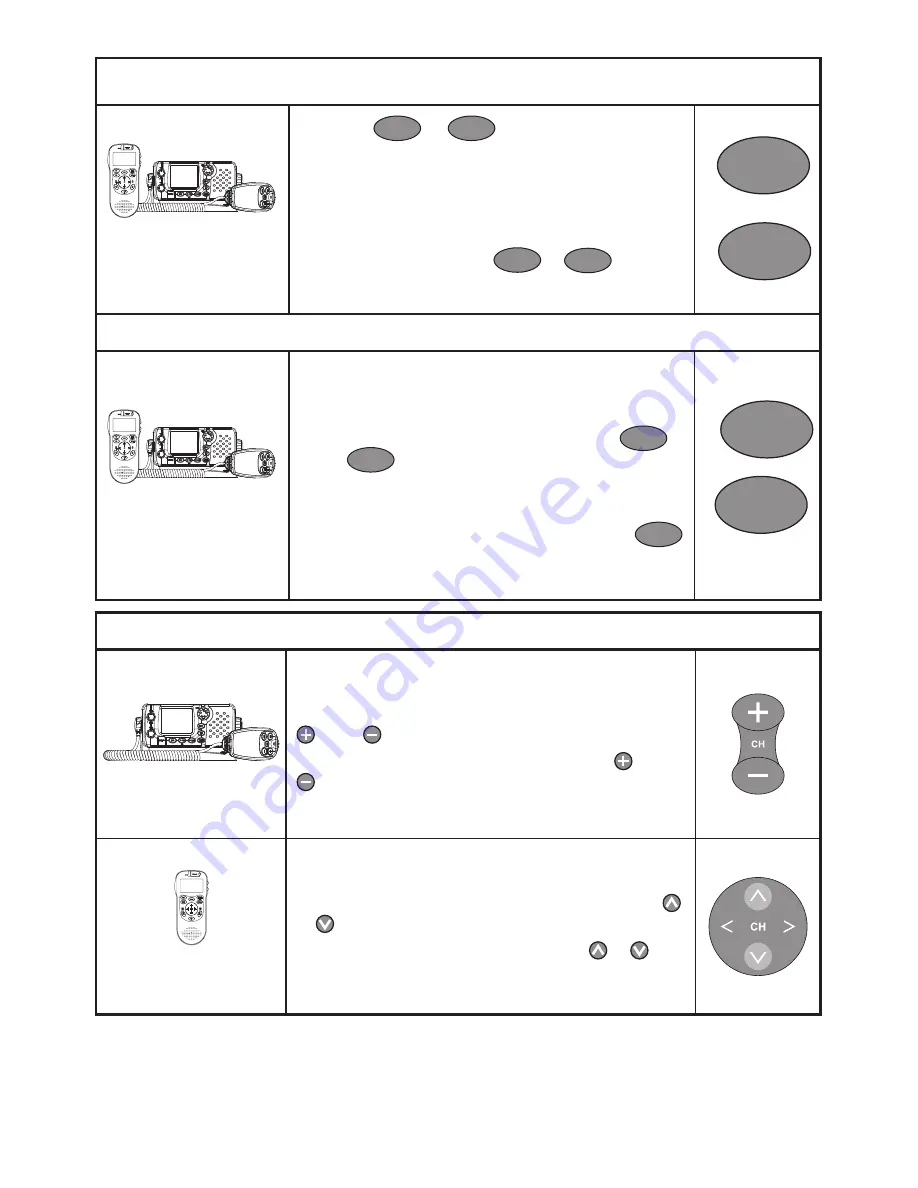
Channel Select
Base Unit and
Microphone
The working channel is shown in BIG numbers on
the LCD of the base unit.
To step through the channels one at a time, press CH
or CH to display each channel.
To change channels rapidly, hold down CH or CH
to scroll through the channels.
You can also use the rotary knob to select a channel.
Optional Handset
The working channel is shown in BIG numbers on
the LCD of the optional handset.
To step through the channels one at a time, press
or to display each channel.
To change channels rapidly, hold down or on
the optional handset to scroll through the channels.
H/L
IC
H/L
16


