1
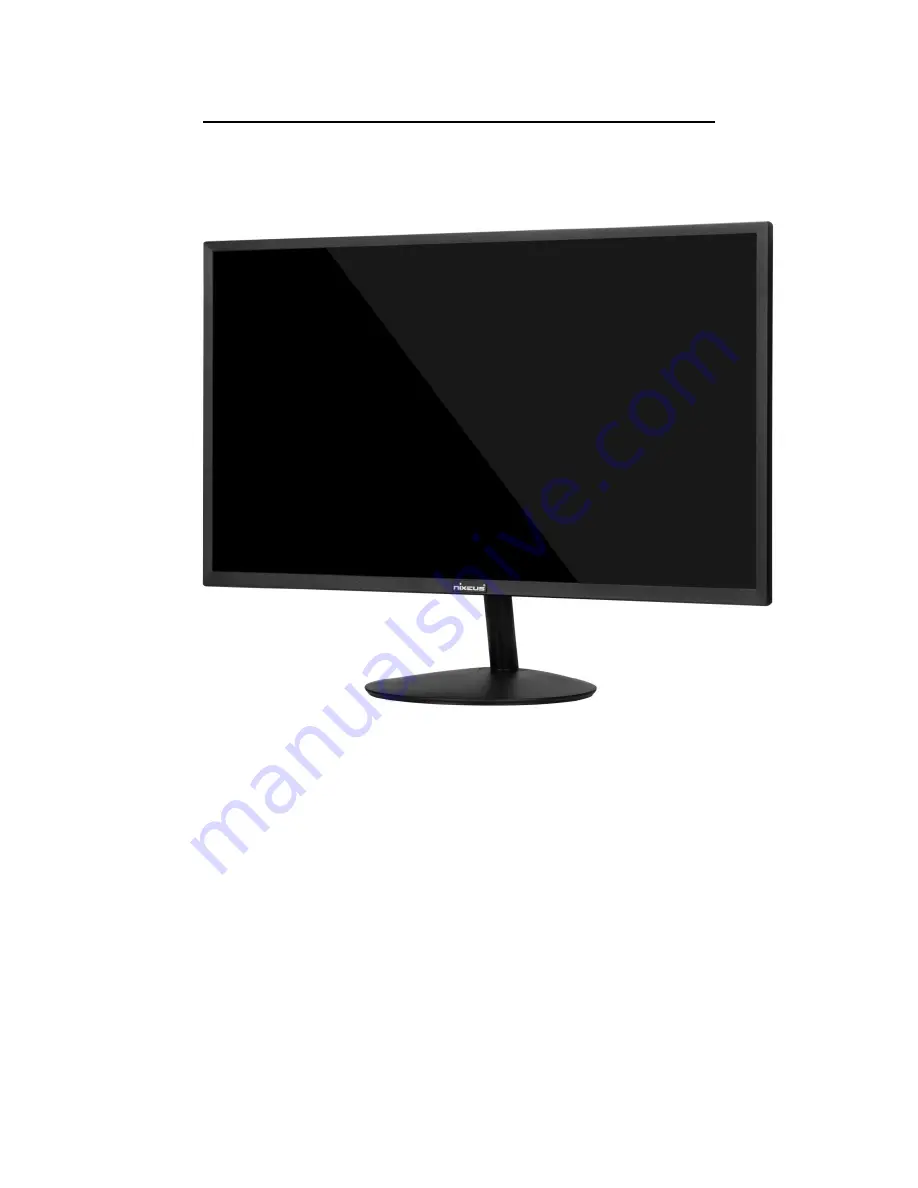
Nixeus Vue 22" IPS 1920 x 1080 60Hz Monitor
Model# NX-VUE22
User Manual
ver. 3-3-2019
Page 1: ...1 Nixeus Vue 22 IPS 1920 x 1080 60Hz Monitor Model NX VUE22 User Manual ver 3 3 2019...
Page 2: ...On Screen Display OSD IMAGE Sub Menu 15 Aspect Aspect Ratio 15 On Screen Display OSD Color Temp Sub Menu 16 Preset Color Temperatures 17 User Setting Red Green Blue Adjustment for Color Calibration 1...
Page 3: ...by Nixeus If any power connections are missing please contact Nixeus for a replacement Using un authorized power connectors may damage your monitor and void your warranty 7 During operation please do...
Page 4: ...he image persistence may remove the image persistence Please contact Nixeus if you need assistance in removing image persistence CAUTION Serious brand incidental image or after image will not disappea...
Page 5: ...Stand Base x 1 VGA Cable x 1 Power Lead Cable North America x 1 NX VUE22 Quick Start Guide 3 5mm AUX Audio Cable When using with VGA video input connections Installing Base Stand Tools not needed Ple...
Page 6: ...to be used with older computers Maximum resolution for this video connection type is 1920 x 1080 with a VGA cable AUDIO This is an audio input only port If you are using VGA or DVI video cables these...
Page 7: ...een Display Menu 7 During Normal Use and NOT in On Screen Display Menu when you facing the display and not the back of the monitor NOTE Above are button functions when not navigating in the monitor s...
Page 8: ...r functions monitor s On Screen Display Menu 8 Button Functions and Features for On Screen Display OSD Main Menu ctions monitor s On Screen Display Menu is enabled see above picture Button Functions a...
Page 9: ...see picture and press MENU to confirm selection Highlight BRIGHTNESS and press MENU to enter into BRIGHTNESS adjustment c Press RIGHT ARROW BUTTON to make brightness lower or press LEFT ARROW BUTTON t...
Page 10: ...the PICTURE sub menu use the buttons RIGHT ARROW BUTTON or LEFT ARROW BUTTON to highlight CONTRAST and press MENU to confirm selection b Press RIGHT ARROW BUTTON to make CONTRAST lower or press LEFT...
Page 11: ...to highlight Black Equalizer Next press MENU to confirm selection b Press RIGHT ARROW BUTTON to make BLACK EQUALIZER lower or press LEFT ARROW BUTTON to make BLACK EQUALIZER higher Default BLACK EQUA...
Page 12: ...king with applications that requires accurate colors a In the BRIGHTNESS sub menu use the buttons RIGHT ARROW BUTTON or LEFT ARROW BUTTON to navigate and to highlight LOW BLUE Next press MENU to confi...
Page 13: ...ovies GAME for PC Gaming Enabling this feature may affect the accuracy of picture color or monitor performance we recommend leaving this feature on the default STANDARD setting a In the BRGIHTNESS sub...
Page 14: ...or be over exposed we recommend leaving this feature off a In the PICTURE sub menu use the buttons RIGHT ARROW BUTTON or LEFT ARROW BUTTON to navigate and to highlight DCR Next press MENU to confirm...
Page 15: ...n have an artifact appearance the non native 4 3 aspect ratio we recommend leaving this feature on the default WIDE setting a In the IMAGE sub menu use the buttons RIGHT ARROW BUTTON or LEFT ARROW BUT...
Page 16: ...calibrate your monitor to your color preference a To bring up the OSD Main Menu press MENU b Use the buttons RIGHT ARROW BUTTON or LEFT ARROW BUTTON to navigate to the COLOR TEMP sub menu and press M...
Page 17: ...HT ARROW BUTTON or LEFT ARROW BUTTON to navigate and to highlight the desired preset color temperature to use for your environment b Next press MENU to select and confirm selection c Press GO BACK BUT...
Page 18: ...e for the video picture of the monitor you have to enable and activate USER in the COLOR TEMP category of the COLOR TEMP Sub Menu a In the COLOR TEMP sub menu use the buttons RIGHT ARROW BUTTON or LEF...
Page 19: ...and exit to COLOR sub menu to adjust the next color settings a To adjust the GREEN setting Use the arrow buttons RIGHT ARROW BUTTON or LEFT ARROW BUTTON to navigate and highlight GREEN and press MENU...
Page 20: ...t and calibrating the color settings Press GO BACK BUTTON once to confirm selection and exit to the COLOR sub menu To completely exit out of the On Screen Display press GO BACK BUTTON again NOTE When...
Page 21: ...OSD SETTINGS sub menu and press MENU to confirm selection b Make sure the OSD H POS selection is highlighted in red see picture and press MENU to confirm selection c Use the buttons RIGHT ARROW BUTTON...
Page 22: ...red see picture and press MENU to confirm selection b Use the buttons RIGHT ARROW BUTTON or LEFT ARROW BUTTON to adjust between 0 to 100 for the OSD V POS placement of the OSD MENU towards the TOP or...
Page 23: ...lection b Use the buttons RIGHT ARROW BUTTON or LEFT ARROW BUTTON to navigate to TRANSPARENCY Make sure selection is highlighted see picture and press MENU to confirm selection c Use the buttons RIGHT...
Page 24: ...ENU to confirm selection b Use the buttons RIGHT ARROW BUTTON or LEFT ARROW BUTTON to navigate to OSD TIMER Make sure selection is highlighted see picture and press MENU to confirm selection c The def...
Page 25: ...he buttons RIGHT ARROW BUTTON or LEFT ARROW BUTTON to navigate to the preferred LANGUAGE Make sure selection is highlighted see picture and press MENU to confirm selection ENGLISH is the default LANGU...
Page 26: ...and are grayed out a In the REST sub menu the RESET setting is the only one available Make sure selection is highlighted see picture and press MENU to confirm selection b Once RESET is selected press...
Page 27: ...A does not transmit audio to the monitor by itself Make sure the audio source playback is configured properly in your computer s operating system a In the SETUP sub menu use the buttons DOWN or UP to...
Page 28: ...UP to navigate to MUTE Make sure selection is highlighted see picture and press MENU to confirm selection b Use the buttons DOWN or UP to change MUTE to OFF or ON c Press GO BACK BUTTON once to confi...
Page 29: ...OLUME Make sure selection is highlighted see picture and press MENU to confirm selection b Use the buttons DOWN or UP to configure to the preferred speaker volume output from 0 to 100 c Press GO BACK...
Page 30: ...wed pixel anomalies Under this Limited Warranty will be at Nixeus s option to either repair or replace the defective Product during the Warranty Period at no charge to the original owner excluding shi...
Page 31: ...reserve the right to deny and reject any returned products if guidelines instructions and request are not met return shipment will be charged to the Customers End Users at their expense What Is Not C...
Page 32: ...of the State of California Some states do not allow exclusion or limitation of incidental or consequential damages or limitations on how long an implied warranty lasts so the foregoing limitations an...
Page 33: ...m or call us at 888 983 4128 This free electronics recycling collection mail back program is limited to only Nixeus branded products and is subject to product verification and approval Once approved w...