T22 - T40 - T40W
5
C 3 5 4
GB
D e s c r i p t i o n o f t h e m a c h i n e
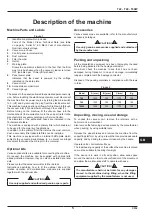
A c c e s s o r i e s
Various accessories are available; refer to the manufacturer’s
accessory catalogue.
C A U TIO N !
Use only genuine accessories supplied and authorised
by the manufacturer.
P a c k i n g a n d u n p a c k i n g
All the dispatched equipment has been thoroughly checked
before being delivered to the haulage contractor.
On arrival, check the machine to see that it has not been
damaged during transport. In case of damage, immediately
lodge a complaint with the haulage contractor.
Dispose of the packing materials in compliance with the laws
in force.
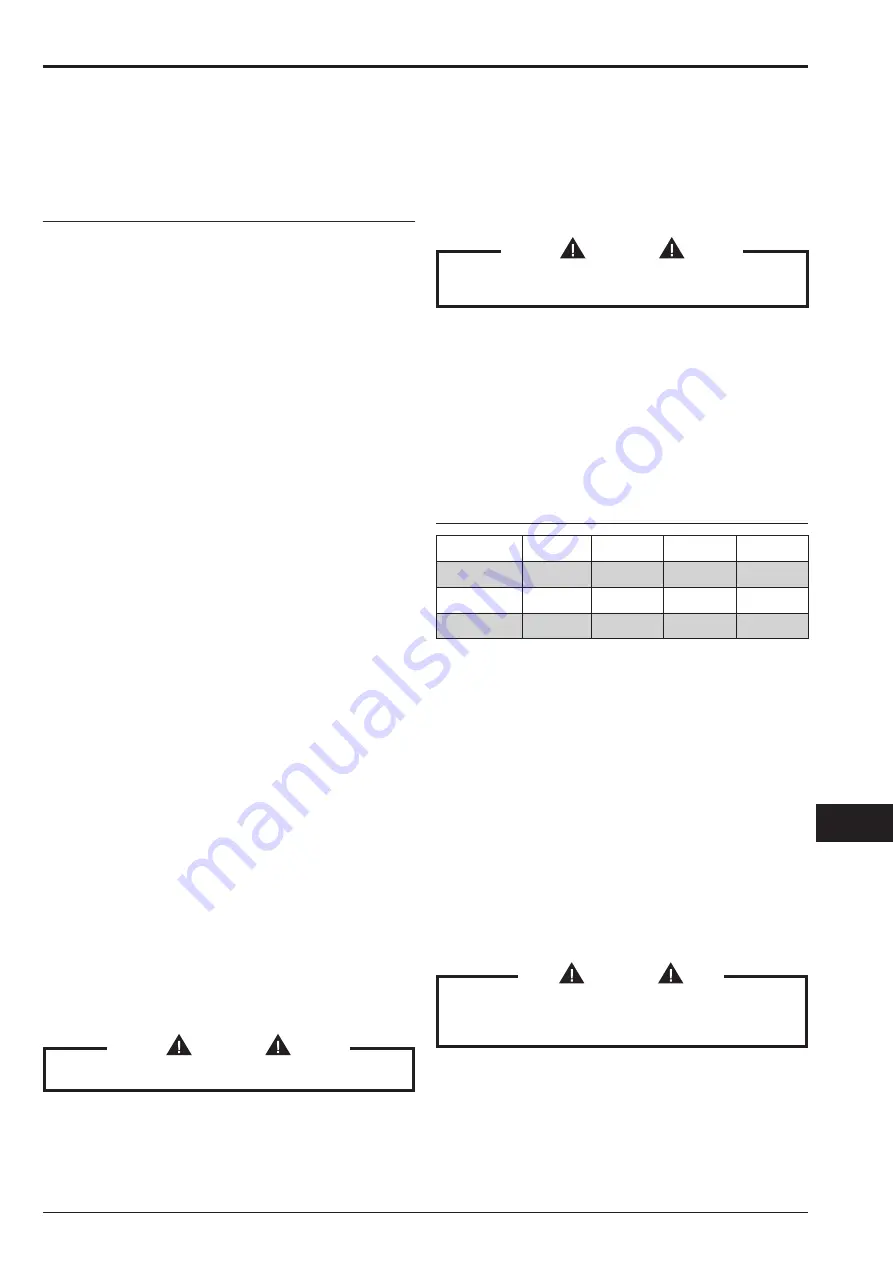
Fi g u r e 2
M o d e l
A ( m m )
B ( m m )
C ( m m )
K g
T22
1200
700
1700
144
T40
1200
700
1700
165
T40W
1200
700
1700
169
U n p a c k i n g , m o v i n g , u s e a n d s t o r a g e
To unpack the vacuum unit, remove the retainers with a
hammer and a screwdriver.
Also remove the fastening devices placed by the manufacturer
when packing, by using suitable tools.
Release the wheel brakes and remove the machine from the
supporting platform, by using a ramp that can provide adequate
capacity, and by driving the vacuum cleaner by the handle.
Operate on flat, horizontal surfaces.
The load-bearing capacity of the surface the machine is placed
on must be suitable for bearing its weight.
If the device is to work in a fixed position, allow wide space
around the device in order to ensure freedom of the movement
and allow the maintenance staff to operate with ease.
C A U TIO N !
The manufacturer shall not be liable for any damages
caused to the machine during lifting, when the lifting
equipment supplied by the manufacturer is not used.
M a c h i n e P a r t s a n d L a b e l s
Fi g u r e 1
1 .
Identification plate which includes:
Code of the Model, Class, Technical Data (see table
on page 6), Serial N°, EC Mark, Year of manufacture,
Nominal network voltage.
2.
Vacuum union hose
3 .
Control panel (normal version)
4.
Dust container
5 .
Filter chamber
6 .
Outlet
7 .
Warning plate
Draws the operator’s attention to the fact that the filter
must only be shaken when the vacuum cleaner is turned
OFF (see also par. “Primary filter shaker”).
8 .
Panel power plate
Indicates that the panel is powered by the voltage
indicated on the data plate.
9 .
Vacuum inlet
1 0.
Accessories compartment
1 1 .
Vacuum gauge
The access to the panel is allowed to specialized personnel only
who, before touching the electrical equipment, must disconnect
the machine from its power source by turning the main switch
to 0 - (off) and by removing the plug from the electrical socket.
This machine creates a strong air flow which is drawn in through
the vacuum inlet (10) and blows out through the outlet (7).
Before turning on the machine, fit the vacuum hose into the
inlet and then fit the required tool on to the end part (refer to the
manufacturer's accessory catalogue or Service Centre).
The diameters of the authorized hoses are indicated in the
Technical data table.
The machine is equipped with a primary filter which enables it
to be used for the majority of applications.
In addition to the primary filter that retains the most common
dust, a secondary filter (absolute filter) can be installed.
This machine is equipped with an internal baffle plate which
subjects the vacuumed substances to a circular centrifugal
movement that makes them drop into the container.
O p t i o n a l k i t s
Various optional kits are available for converting the machine.
On request, the machine can be supplied with optional kits
already installed. However, they can also be installed at a later
date.
Please contact the sales network for further details.
Instructions describing how to fit the optional kits and the
relative operation and maintenance manuals are supplied
together with the optional kits.
C A U TIO N !
Use only supplied and authorised genuine spare parts.
Summary of Contents for T22
Page 2: ......
Page 94: ...C 3 5 4 2 T22 T40 T40W 4 1 5 6 1 3 2 A A 4 2 1 ...
Page 95: ...3 C 3 5 4 T22 T40 T40W 7 1 0 9 2 3 1 1 1 2 4 5 3 8 2 3 1 ...
Page 96: ...C 3 5 4 4 T22 T40 T40W 1 1 1 3 1 2 1 2 4 3 5 1 4 1 1 5 0 m m ...
Page 97: ...5 C 3 5 4 T22 T40 T40W 1 5 1 6 1 2 3 2 1 3 4 5 6 4 7 8 1 1 1 2 1 3 9 1 0 5 ...
Page 98: ...C 3 5 4 6 T22 T40 T40W 1 7 1 9 23 1 2 4 5 6 3 2 4 1 2 3 4 1 1 2 3 4 5 6 1 8 ...
Page 99: ...7 C 3 5 4 T22 T40 T40W 2 4 1 2 3 4 1 1 2 20 22 1 2 21 ...
Page 101: ...9 C 3 5 4 T22 T40 T40W 26 ...
Page 103: ......

