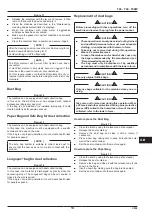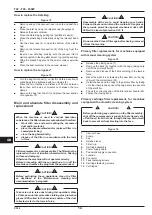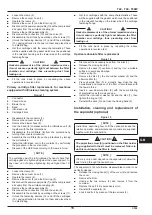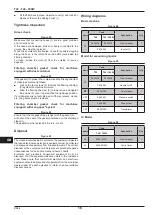
T22 - T40 - T40W
1 5
C 3 5 4
GB
■
Loosen the clamp (2).
■
Remove the vacuum hose (1).
■
Operate the levers (4).
■
Remove the cover (3) and the filter ring (5).
■
Disconnect the power supply cable (7) and the compressed
air supply from the air intake coupling (8).
■
Remove the cartridge assembly (6).
■
Disconnect the connectors (10) and the union (9).
■
Disassemble the air tank by operating on the screws (11).
■
Unlock the fastening devices (12) and lift the cartridges
(13), paying attention to the dust on them and place them
in a plastic bag.
■
Get four cartridges with the same characteristics. These
will be supplied with the gasket which must be positioned
in the relevant housing on the lower side of the cartridge
fastening flange.
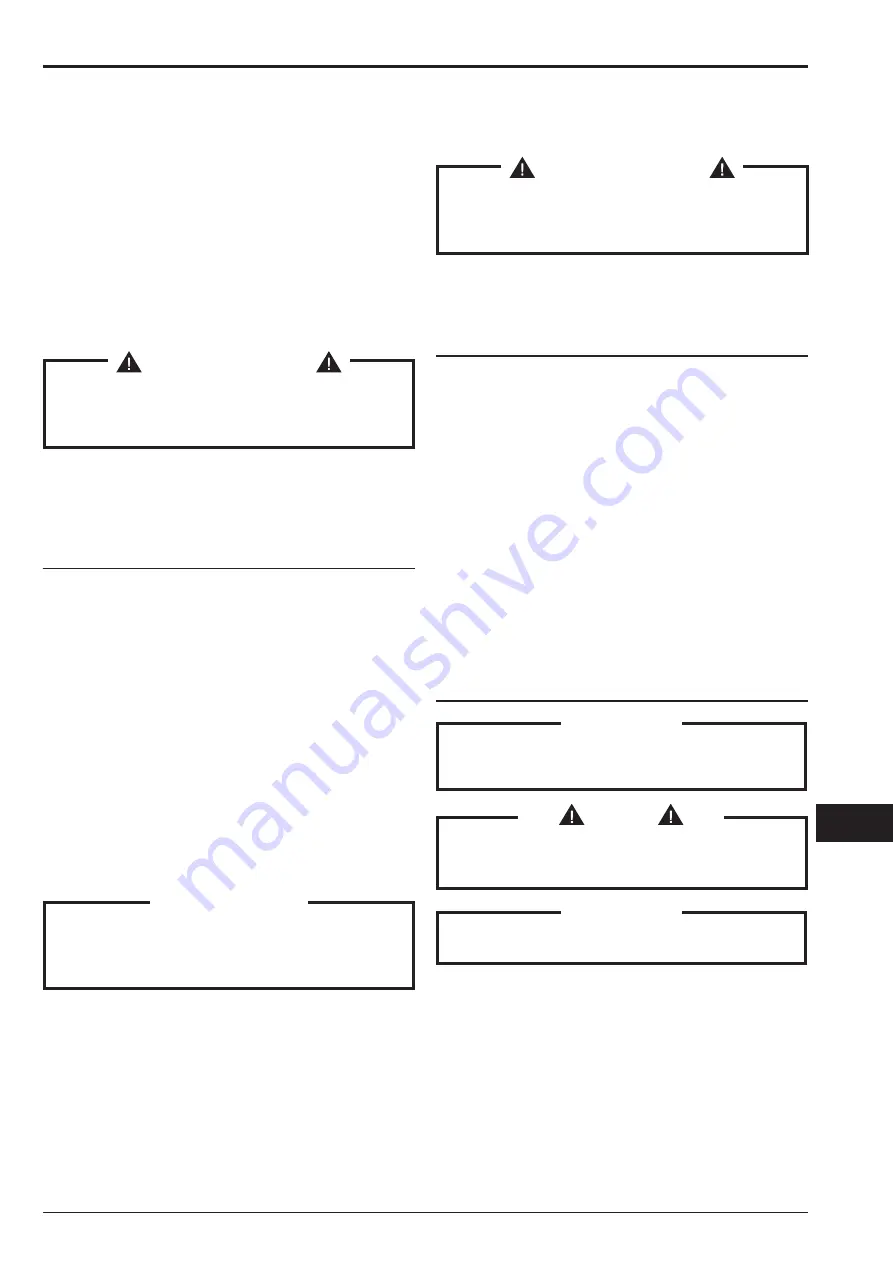
C A U TIO N !
Gasket replacement is of the utmost importance since
it must ensure a perfectly tight seal between the filter
chamber and cartridge, thus preventing dust from
leaking out.
■
Fit the tank back in place by repeating the above
operations in reverse order.
Primary cartridge filter replacement, for machines
equipped with infiniclean cleaning system
Fi g u r e 1 7
1 .
Connector
2.
Vacuum hose
3 .
Blower hose
4.
Band
5 .
Infiniclean unit
6 .
Cartridge filters
■
Disassemble the connector (
1
).
■
Remove the vacuum hose (
2
).
■
Remove the blower hose (
3
).
■
Use the band (
4
) to disassemble the Infiniclean unit (
5
)
together with the filter protections.
■
Disassemble the old filters (
6
) from the protections by
turning them counter-clockwise.
■
Assemble the old filters (
6
) on the protections by turning
them clockwise.
■
Install the Infiniclean unit in the container by performing
the procedure in the reverse order.
■
Dispose of the old filters according to the laws in force.
[ N O TE ]
The cartridges must be fully tightened by hand; check that
cartridge gasket is tightened against the upper support. In
any case, do not apply a tightening torque higher than 12
Nm.
■
Loosen the clamp (2).
■
Remove the vacuum hose (1).
■
Operate the levers (4).
■
Remove the cover (3) and the filter ring (5).
■
Disconnect the power supply cable (7) and the compressed
air supply from the air intake coupling (8).
■
Remove the cartridge assembly (6).
■
Disconnect the connectors (10) and the union (9).
■
Disassemble the air tank by operating on the screws (11).
■
Unlock the fastening devices (12) and lift the cartridges
(13), paying attention to the dust on them and place them
in a plastic bag.
■
Get four cartridges with the same characteristics. These
will be supplied with the gasket which must be positioned
in the relevant housing on the lower side of the cartridge
fastening flange.
C A U TIO N !
Gasket replacement is of the utmost importance since
it must ensure a perfectly tight seal between the filter
chamber and cartridge, thus preventing dust from
leaking out.
■
Fit the tank back in place by repeating the above
operations in reverse order.
Upstream absolute filter replacement
Fi g u r e 1 8
■
Disconnect the accessory hose from the inlet (1).
■
Release the closing band (2).
■
Remove the deck (3) overturn it, and lay it on a suitable
surface, to avoid any damage.
■
Unscrew ring (6).
■
Remove the disc (7), the iron-rubber washer (8) and the
absolute filter (9).
■
Place absolute filter (9) in a plastic bag, close the bag
hermetically and dispose of the filter in accordance with
the laws in force.
■
Insert a new absolute filter (9) with the same filtering
characteristics as the removed one.
■
Install the iron-rubber washer (8) and the disc (7), then
tighten the ring nut (6).
■
Reinstall the deck (3) and close the closing band (2).
In s t a l l a t i o n , c l e a n i n g a n d r e p l a c e m e n t o f
t h e s e p a r a t o r ( o p t i o n a l )
Fi g u r e 1 9
[ N O TE ]
Instructions describing how to fit the optional kits and the
relative operation and maintenance manuals are supplied
together with the optional kits.
C A U TIO N !
The projection screw (5) positioned on the filter holder
ring supplied with the kit must be removed; failure to
do this could cause the filter to break.
[ N O TE ]
If there is only a dust deposit on the separator (4) allow the
dust to drop through the central hole.
The separator (4) should first be disassembled in order to be
perfectly cleaned:
■
Release the closing hooks (1) of the cover (2) and remove
the cover.
■
Remove the filter.
■
Unscrew the two screws (3) and remove it from the
container.
■
Replace the part if it is excessively worn.
■
Reinstall the separator (4).
■
Lock it and fix it by means of the two screws (3).
Summary of Contents for T22
Page 2: ......
Page 94: ...C 3 5 4 2 T22 T40 T40W 4 1 5 6 1 3 2 A A 4 2 1 ...
Page 95: ...3 C 3 5 4 T22 T40 T40W 7 1 0 9 2 3 1 1 1 2 4 5 3 8 2 3 1 ...
Page 96: ...C 3 5 4 4 T22 T40 T40W 1 1 1 3 1 2 1 2 4 3 5 1 4 1 1 5 0 m m ...
Page 97: ...5 C 3 5 4 T22 T40 T40W 1 5 1 6 1 2 3 2 1 3 4 5 6 4 7 8 1 1 1 2 1 3 9 1 0 5 ...
Page 98: ...C 3 5 4 6 T22 T40 T40W 1 7 1 9 23 1 2 4 5 6 3 2 4 1 2 3 4 1 1 2 3 4 5 6 1 8 ...
Page 99: ...7 C 3 5 4 T22 T40 T40W 2 4 1 2 3 4 1 1 2 20 22 1 2 21 ...
Page 101: ...9 C 3 5 4 T22 T40 T40W 26 ...
Page 103: ......

