6
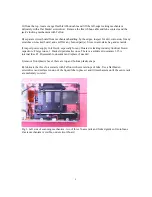
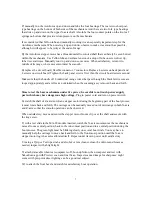
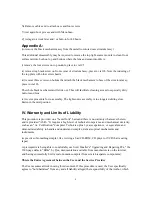
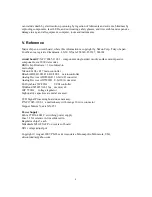
Fig 4. Right side of scanning mechanism, only one of three X-axis rails is visible, just under the
upper tension spring. The LED light source assy on top and the CCD sensor assy is within the
middle of sliding mechanism. The Z-axis Autofocus mechanism in the bottom between the two
springs.
L) on the front of mechanism is a round stepper motor, with a slot in end of the shaft. Manually run
it back and forth from end to end, to additionally distribute the Teflon lube and add where
necessary.
M) the stepper motor has a threaded shaft and attachment block to mechanism. Using Teflon lube
and surface tension of a drop of lube on screwdriver tip, delicately lube and repeat as needed. Use a
PaperMate pen cap to hold the return pressure spring out of the way for access to attachment block.
Manually run the mechanism back and forth from end to end. When satisfactory, return the carriage
to a central position.
If a medical syringe is available, it may be easier, but the Teflon may settle out and the vapor
pressure of carrier vehicle may cause it to squirt out on unintended places.
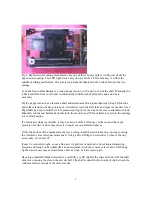
N) On the bottom of the mechanism, there is a spring-loaded brown bronze clip / spring covering
the Autofocus Z-axis stepper motor shaft. Using a Felo Phillips #0 screwdriver, remove the tiny
screw only, put in vial #4
It may be screwed-in tight, so use a like-new tip and lots of persuasive but delicate hammering,
pressure and torque on hex-shaft (like an micro-impact wrench), remove screw but do NOT bung-
up the screw-head, may need assistance here as it can be a two-person job
O) using a small flat-bladed screwdriver, carefully pry-lift slightly the clip and slide it off the shaft
of motor, exposing the slot on the end of shaft. The shaft is under the front-side of clip between the
visible metal screw ends of the motor mount


