E
20
Connecting the Camera to a Printer (Direct Print)
Refere
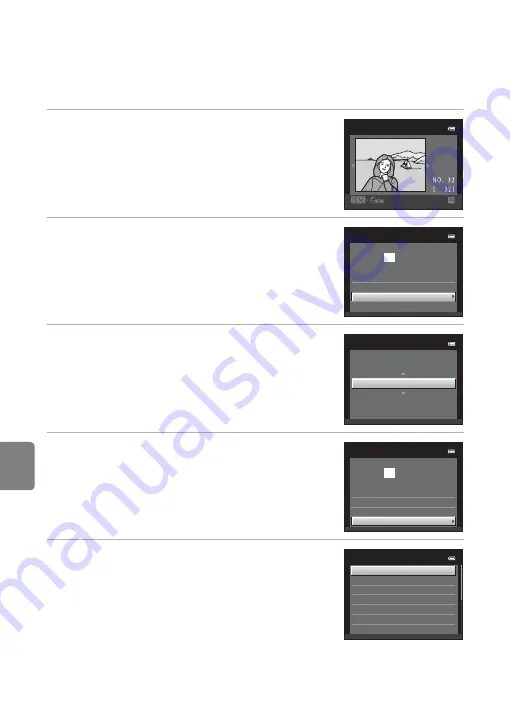
Printing Images One by One
After properly connecting the camera to the printer (
19), follow the procedure
described below to print an image.
1
Use the multi selector to choose the desired
image and press the
k
button.
•
Rotate the zoom control to
f
(
h
) to switch to 12-
thumbnail display, and to
g
(
i
) to switch back to
full-frame playback.
2
Choose
Copies
and press the
k
button.
3
Choose the number of copies (up to nine) and
press the
k
button.
4
Choose
Paper size
and press the
k
button.
5
Choose the desired paper size and press the
k
button.
•
To specify paper size using printer settings, choose
Default
in the paper size menu.
se
l
ection
1 5 / 0 5
2 0 1 3
Start print
prints
0 0
1
Pict
B
ridge
Copies
Paper si
z
e
Copies
4
Start print
prints
0 0 4
Pict
B
ridge
Copies
Paper si
z
e
Paper si
z
e
Default
1
00
×1
50
mm
4
×
6
in
.
8
×1
0
in
.
Letter
5
×
7
in
.
3.5
×
5
in
.
Summary of Contents for COOLPIX S2700
Page 1: ...DIGITAL CAMERA Reference Manual En ...
Page 28: ...12 ...
Page 50: ...34 ...
Page 84: ...68 ...
Page 100: ...84 ...
Page 180: ...E76 ...
Page 202: ...Index F22 Technical Notes and Index ...
Page 203: ......


